Facepunch.Steamworks + MonoGame.Framework = the easiest SteamAPI Integration for your app!

Hello dear MonoGame community,

you know what sucks? Yeah, exactly: when simple things are ridiculous complicated to realize or at least when they are too stressful or too much work to handle right.

You know whats great? The:

Facepunch.Steamworks MonoGame-Integration

Because it will make your life much easier when you want to integrate the SteamAPI into your app.

Why? Well, unlike many other SteamAPI wrappers, the Facepunch.Steamworks library allows to code in native C#! Say bye bye to manual function calling and finally code like this again:

foreach ( var friend in SteamFriends.GetFriends() )
{
    Console.WriteLine( "{friend.Id}: {friend.Name}" );
    Console.WriteLine( "{friend.IsOnline} / {friend.SteamLevel}" );
    
    friend.SendMessage( "Hello Friend" );
}
public static async Task<Texture2D> GetUserImage(SteamId id, GraphicsDevice device)
{
    var image = await SteamFriends.GetMediumAvatarAsync(id);

    if (image.HasValue)
    {
        Texture2D avatarTexture = new Texture2D(device, (int)image.Value.Width, (int)image.Value.Height, false, SurfaceFormat.Color);
        avatarTexture.SetData(image.Value.Data, 0, image.Value.Data.Length);
        return avatarTexture;
    }
    else return null;
}

UserAvatar = GetUserImage(UserID, GraphicsDevice).Result;

And with this specific MonoGame implementation I wanted to share my experience with that library and also to push out some small tutorials in form of sample projects (included in the repo).

So far they are the same as in my previous Steamworks.Net repo [mgc]:

  • Hello Facepunch.Steamworks: Simple sample which sets up bare basics of the SteamAPI and displaying a welcome message which includes your steam user name.
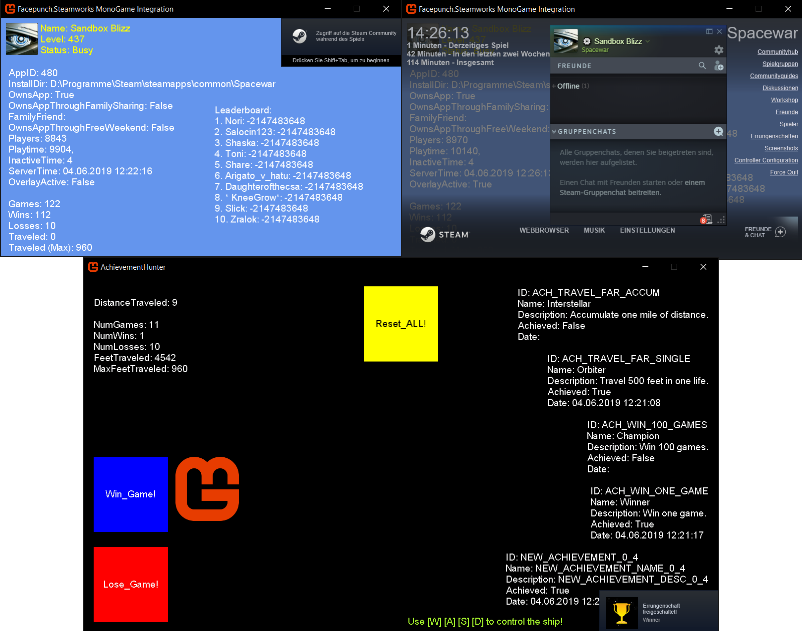
  • AchievementHunter: Simple sample which shows you the correct way of implementing achievements and stats as well as storing them on the steam server. It’s based upon the Steamworks Example ‘SpaceWar’ included with the Steamworks SDK.
  • Facepunch.Steamworks MonoGame Integration: Extendend sample which shows some features of the SteamAPI like UserStats, PersonaState, LeaderboardData, NumberOfCurrentPlayers, Steam User Avatar and so on.

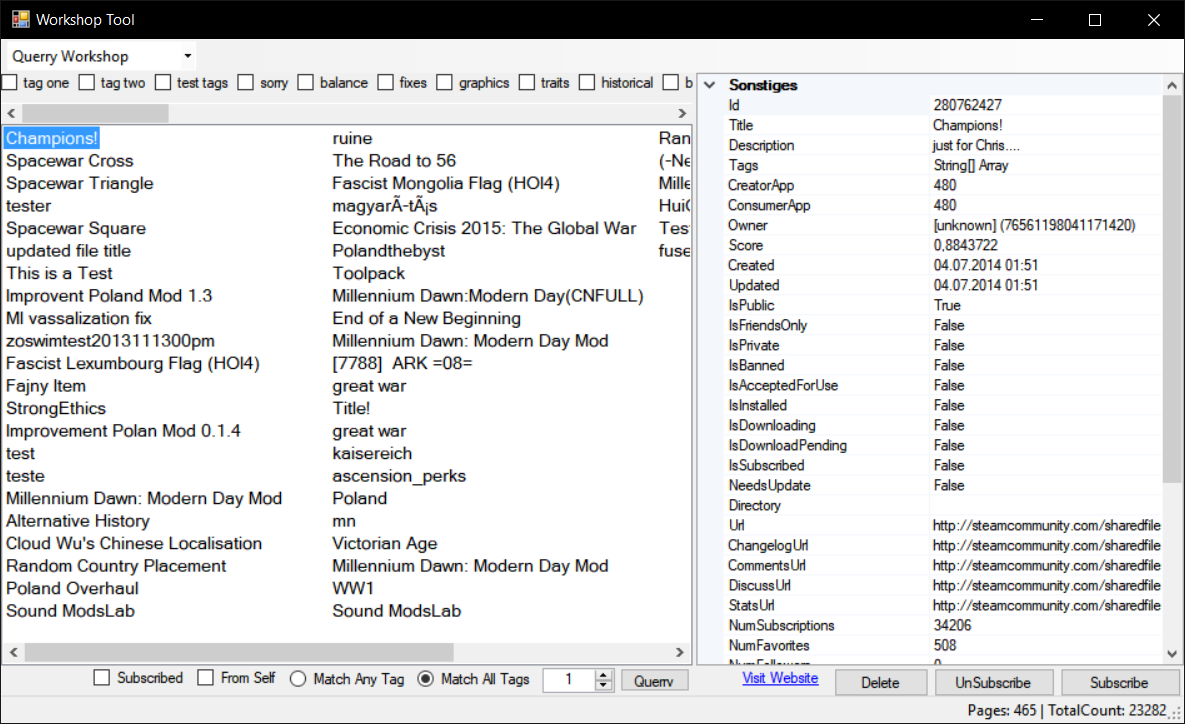
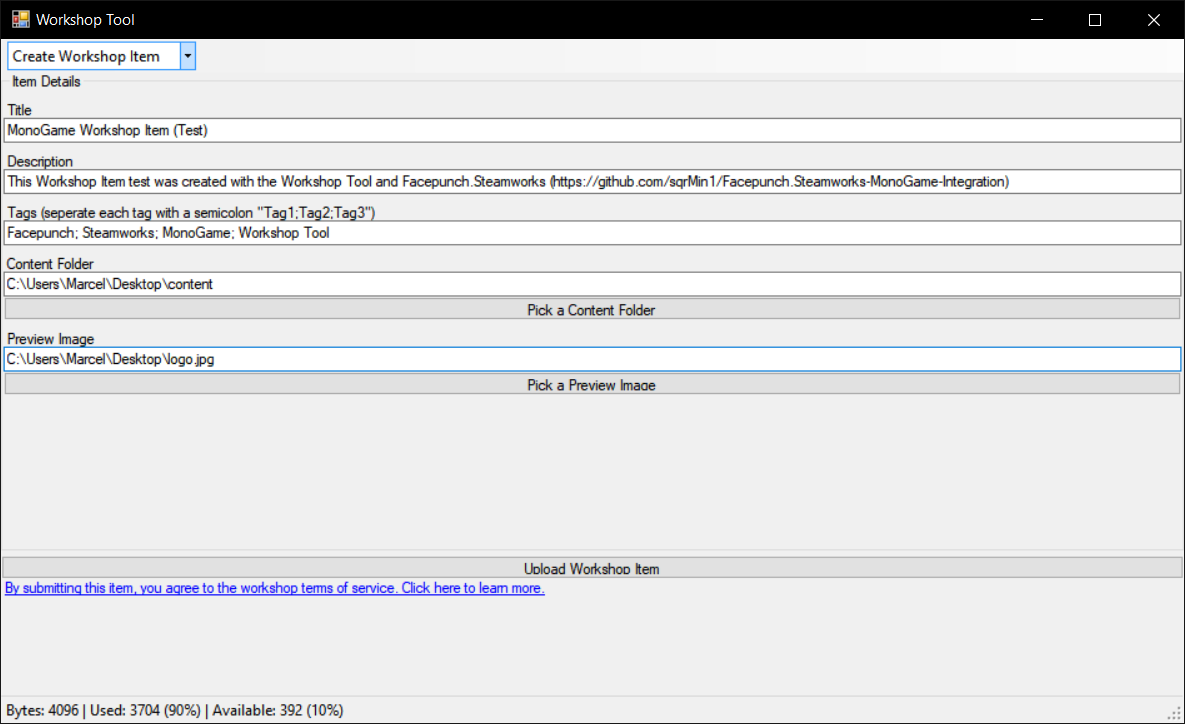
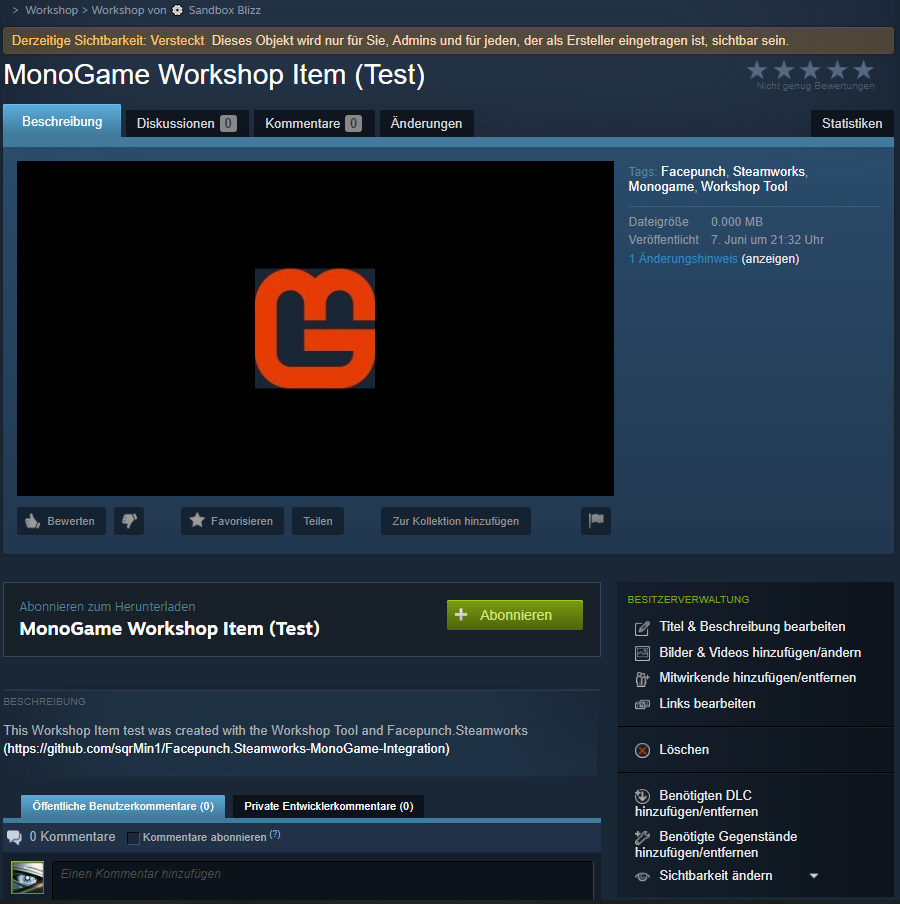
My future plan is to create other sample projects ontop of this base to show how to create a steam workshop or how to use the SteamInput functionallity, which makes all gamepads available in your MonoGame project, which are compatible with the SteamAPI.

For now I wish you much fun with this repo and happy coding!

Cheers,
Marcel | Sandbox Blizz


PS: The MonoGame logo is a Fist, so the Facepunch integration was nothing else then… DESTINY! :grin:

10 Likes

Why not Steamworks.NET? Is this better somehow and I just don’t understand?

Facepunch.Steamworks is written in a way which makes it easier to use it and is up to date.
Latest releases enable you to use SteamNetworkingSockets:
https://partner.steamgames.com/doc/api/ISteamNetworkingSockets

1 Like

What exactly makes it easier to use?

Steamworks.NET is shaped like the original C++ Steamworks API, whereas Facepunch.Steamworks has it’s custom C# API.

Steamworks.NET readme says:

Steamworks.NET was designed to be as close as possible to the original C++ API

Facepunch.Steamworks readme says:

C# is meant to make things easier. So lets try to wrap it up in a way that makes it all easier.

From my experience Facepunch.Steamworks is easier to use because all basic things that you need to host a P2P lobby, networking etc. are all ready-to-use, so you do not have to write them from scratch.

1 Like

Gotchya. Thanks for the followup

During development in general, you will get the one or other “Aha!-Moment”. I think everyone here knows them pretty well. Regarding Steamworks.Net vs. Facepunch.Steamworks the latter one gives them pretty continuously to you.

You want to create a new workshop item for example:

Steamworks.Net:

private void CreateItem()
{
    var steamAPICall = SteamUGC.CreateItem(SteamUtils.GetAppID(), EWorkshopFileType.k_EWorkshopFileTypeCommunity);
    var steamAPICallResult = CallResult<CreateItemResult_t>.Create();
    steamAPICallResult.Set(steamAPICall, CreateItemResult);
}

private void CreateItemResult(CreateItemResult_t param, bool bIOFailure)
{
    if (param.m_eResult == EResult.k_EResultOK)
    {
        publishedFileID = param.m_nPublishedFileId;
        UpdateItem();
    }
    else
    {
        Debug.Log("Couldn't create a new item");
    }
}

private void UpdateItem()
{
    var updateHandle = SteamUGC.StartItemUpdate(SteamUtils.GetAppID(), publishedFileID);

    SteamUGC.SetItemTitle(updateHandle, currentSteamWorkshopItem.Title);
    SteamUGC.SetItemDescription(updateHandle, currentSteamWorkshopItem.Description);
    SteamUGC.SetItemContent(updateHandle, currentSteamWorkshopItem.ContentFolderPath);
    SteamUGC.SetItemTags(updateHandle, currentSteamWorkshopItem.Tags);
    SteamUGC.SetItemPreview(updateHandle, currentSteamWorkshopItem.PreviewImagePath);
    SteamUGC.SetItemVisibility(updateHandle, ERemoteStoragePublishedFileVisibility.k_ERemoteStoragePublishedFileVisibilityPublic);

    var steamAPICall = SteamUGC.SubmitItemUpdate(updateHandle, "");
    var steamAPICallResult = CallResult<SubmitItemUpdateResult_t>.Create();
    steamAPICallResult.Set(steamAPICall, UpdateItemResult);
}

Facepunch.Steamworks:

var result = await Ugc.Editor.NewCommunityFile
                  .WithTitle("My New File")
                  .WithDescription("This is a description")
                  .WithContent("c:/folder/addon/location")
                  .WithTag("awesome")
                  .WithTag("small")
                  .SubmitAsync(iProgressBar);

You see? It’s the nature of Steamworks.Net to work extensively with callbacks and callresults, simply because this is the way of how the SteamApi works and it can become pretty messy over time.

I think 99% of the users out there simply want to do it like the Facepunch.Steamworks example. Especially beginners and those who want quick results. The Facepunch library does a good job hiding things behind the scenes for your convenience.

This and the power of C# is what makes Facepunch.Steamworks easier to use and for me it’s also more satisfying.

1 Like

Very cool. I prefer to have the higher level of control over my API integration that Steamworks.NET offers, but this certainly looks slick for those that don’t! :slight_smile:

1 Like

First update: Workshop Tool!

  • steam_appid.txt is not needed anymore. Facepunch.Steamworks sets environmental vars instead (SteamAppId and SteamGameId). This makes testing possible without the need of this text file.

  • Workshop Tool: Shows the bare basics of a Workshop like Querry Items, Creating Items, Uploading Items, Subscribing Items, Unsubscribing Items, Deleting Items and getting additional information about Items and the SteamRemoteStorage. Created with WindowsForms and pretty feature complete:


As you can see, it’s easily possible now to start your own Steam Workshop! There is no excuse anymore :stuck_out_tongue:

BTW: You can initialize the Workshop Tool with any AppID you own (apps in your steam library) and investigate the workshop of the corresponding app. Try it with 431960 (it’s the AppID from Wallpaper Engine). Theoretically you could also create new Workshop Items for foreign apps with this tool.

Have Fun!

2 Likes

Second Update: Steam Input!

  • Facepunch.Steamworks is now added as a submodule which aims to my own fork of the library.

  • Activate action sets from an ingame-actions-file (IGA) and receive digital and analog input data from the SteamApi. Included as a MonoGame.Framework.DesktopGL project without the Microsoft.Xna.Framework.Input namespace.

  • Added a HELP-file to make it easier for the user to start receiving input data with the SteamApi.


So, I had a small chat with Garry Newman, the maintainer of the Facepunch.Steamworks library (and creator of Garry’s Mod), because the SteamInput interface was missing in the library. After adding this missing piece we struggled to receive input data from the SteamApi, as it is a bit complex to set up.

After digging endlessly in the Steamworks developer documentation, I finally figured out how everything works and shared my results in the discussion and in a seperated README file as well as a sample project in my repo.

I successfully used my XBOX-360 controller in a MonoGame project without using the Microsoft.Xna.Framework.Input namespace. But in the end all controllers supported by the SteamApi are now usable with a MonoGame project.

To mention some of them:

  • SteamController
  • PS4
  • XBoxOne
  • XBox360
  • Switch Pro

… inclusive gyroscope sensor support and setting LED colors of supported controllers like the PS4 one.

Also all generic x-input controllers are supported.

Getting input is now as simple as:

if (_CurrentController.GetDigitalState("Fire").Pressed)
{
    _FirePressed = true;
}
else _FirePressed = false;

One thing to keep in mind is that you will work with abstract actions (like “Fire” or “Move”), action sets (like “MenuControls” or “FightingControls”) and action layers (like “SniperLayer” or “InsideVehicleLayer”) instead of button presses like “IsButtonDown(Button)”.

Don’t hesitate to ask questions if something is unclear. I’m currently also on my way discovering all features and possibilities with the SteamInput interface.

Have a nice day!
Marcel | Sandbox Blizz


3 Likes

This must be the understatement of the century.

Do you know if you have to do all the boilerplate stuff, creating the text file and sacrificing a lamb under a red moon in order for the controllers to be detected?

I’m trying to read Steamworks.SteamInput.Controllers but that array is always empty, even when I have 2 gamepads plugged into the computer and detected by steam (and can be used by other games).

This was hilarious :smiley: If you love stuff like that you definitley need to try the game One Hour One Life. Trust me… you… will… not… regret…

Jokes aside:

I just tested the solution and can confirm that you need to put the text file (game_actions_480.vdf) in the right directory to make the controller detection work.

The right directory is “Steam Install Directory\controller_config”. You need to create it manually if it isn’t there. I updated the Readme.md file for better understanding:

After that it instantly detects the plugged in controllers.

If you need to do this for your own game you need to update the id of the text file (e.g. game_actions_252490.vdf).

Let me here if you need further assistance.

thanks for the answer and the game, I’ll have a look at it :slight_smile:

I’ve been struggling a lot to add the controller support and there’s still a thing I don’t understand. I have to put a file into c:\Program Files\Steam\blablabla . That’s ok and I can do that easily.

But how do you transfer that controller support to the end user? Do I have to do an installer and copy that .vdf file into a folder is not mine? (terrible idea)
Do the users have to write themselves that file? (even more terrible idea)

It’s ridiculous that it takes 20 seconds to read the gamepad in monogame (and most engines) but it’s taken me 1+ day to get the steam api even detect the controller :frowning: Psychopaths shouldn’t be allowed to create APIs.

At the end of the Readme.md file I’ve linked the official SteamInput documentation of Valve.

They are:

  1. Getting Started for Developers (Steamworks Documentation)
  2. In-Game Actions File (Steamworks Documentation)

Which should help you to get everything up and running.

Espacially in the first link in section 4 you will find the following information:

Step 4 - Publishing

Once your game is working with the controller, you’re ready to publish. You’ll need to release your new game update and make your configuration the official one. Official configurations are automatically loaded when a player launches your game for the first time. This allows users to simply fire up your game and play without needing to go into the configuration screen at all.

You need to follow the steps after that text. They are with pictures and easy to follow.

Finally the user gets your configuration automatically when he installs and run your game (because it’s the default configuration then).

The steps you are did so far are just for privat testing and having a way to create the default configuration for your game with the help of the big picture overlay. It’s the same overlay which is used by the players, so it will work 100%.

Thanks for the answer, I’ll have a look as soon as I can. This controller issue is driving me nuts so much I’ve lost all perspective about the problem. Better to take a rest for a few days and tackle it later.

I would recommend to just getting the controller detection up by transfering the vdf file. After that it’s possible for you to lay down your controller configuration with the steam overlay (don’t forget to open the vdf file with a text editor and define controller actions).

This will boost your motivation.

The second problem of publishing your configurations file is only needed if your are done with the configuration, which is usally much later.

Do it like this and it will be less frustrating.

OK, after taking a rest and then some more stone wall headbanging I found the problem. SteamInput on Facepunch seems to be broken on 2.3.0 and after. Using version 2.2.0 (the one you used when you did the SteamInput sample) detects my controllers.

I noticed I had to comment the “simple testing” region of your code in order to compile it, and I wondered if the dll had changed since. Then found people having the same problem as me which made me think of downgrading versions.

You are right. I found the solution:

SteamInput has its own initialization process but never gets called in the new version of Facepunch.Steamworks.

I posted a way to solve the problem on GitHub.

Cheers

2 Likes