First UWP XAML Project Setup with Asset Import and Display
That got a bit long of a title there, oops, anyway… It’s time to run Visual Studio (VS) and get our first project up and running, now I will unlikely have issues with my setup at this point as I already have it running correctly with the correct SDKs (Software Development Kits) installed, you may hit issues when you attempt to create and launch a project, if that happens, either search the forum for a solution or open a new thread asking for help along with any screenshots of any error messages.
Though, looking at my VS setup, I just have one:
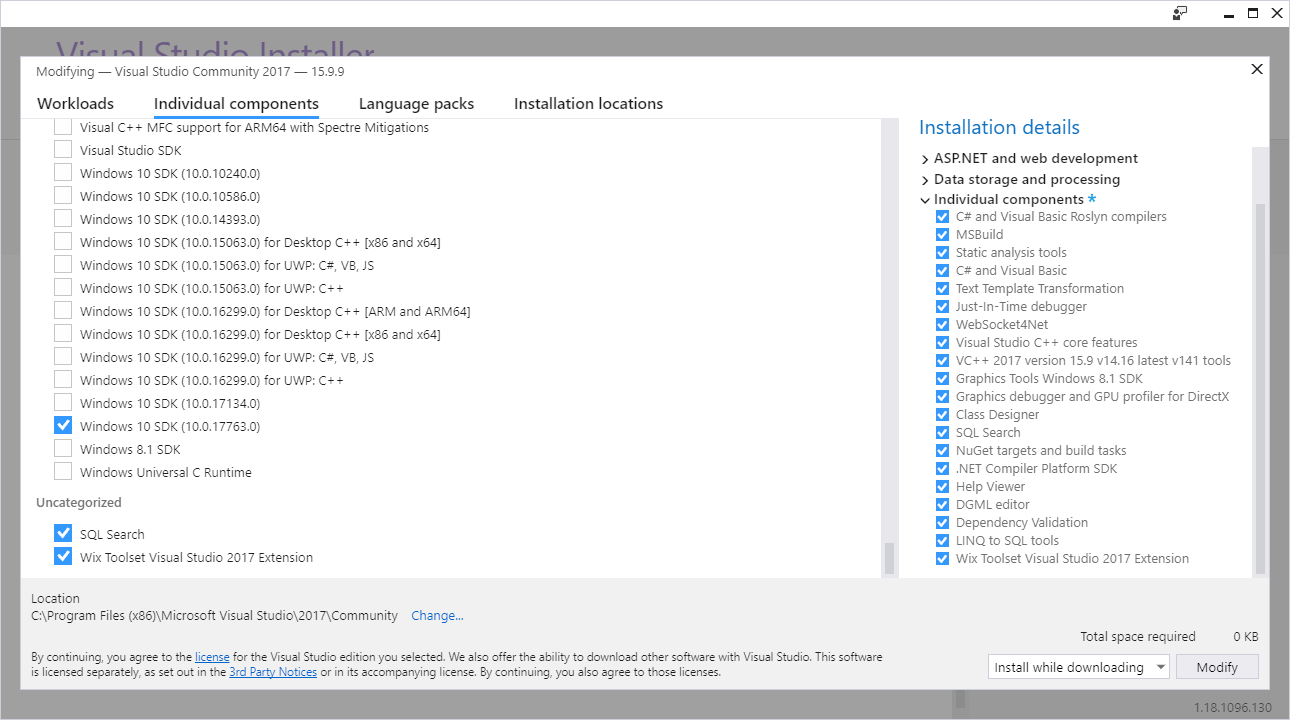
Here, we are looking at Windows 10 SDK (10.0.17763.0) at the time of writing this tutorial on 25/26th March 2019. Ignore the other stuff I have installed, I also do web development. There is another option on the first page in that installer, something about cross platform development with C# (there is also one for desktop development with C#, check that too), ensure that is selected, again, just ask for help with installer setup if you have issues.
You can use Snip and Sketch (The replacement for Snipping Tool) ‘sigh’ in Windows 10 to capture the error message or alternatively if you have it on your keyboard, with the error message highlighted, hold Left-ALT and press the PrtScn button (Print Screen) and if you have or see the OneDrive save message, just have it instantly created as an image in your photo collection in your OneDrive folder, under Screenshots, and simply drag it into the forum message box when writing a post (remember to crop out or cover over any private information if you took a desktop snip). Alternatively, after capturing the error message with Left-ALT + PrtScn, open MS Paint and hit Paste or CTRL+V and export it as a JPG or PNG image and as mentioned already, just drag it into the message box when posting a forum thread/post, this will help the community help you better.
Moving along…
So, you have VS installed and the templates, and you now have your first .xnb file ready to import to a project, that puts us:
/ Installed Visual Studio 2017/2019
/ Installed MonoGame
/ Setup Your Pipeline Workflow
X Run Your First Cornflower Project
Oops, we seem to have a failure in the list, let’s fix that…
Let’s get MonoGame up and going, remember my focus is UWP XAML at the moment and as such, let’s get one going…
Launch Visual Studio 2017/2019, and if you have not done so already, pin it to your taskbar (see previous tutorial on the Content Pipeline) to save you time in future.
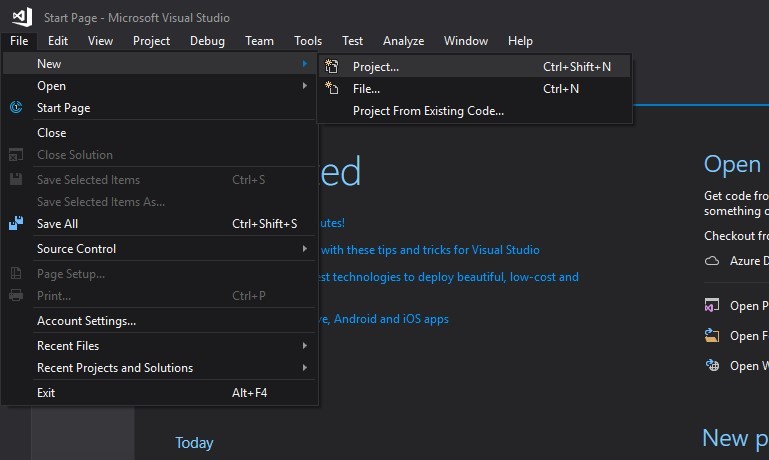
Once you have it open, head to: ‘File>New>Project…’ or as you can see, CTRL+Shift+N, like so:
Once you do this, you should see something like the following:
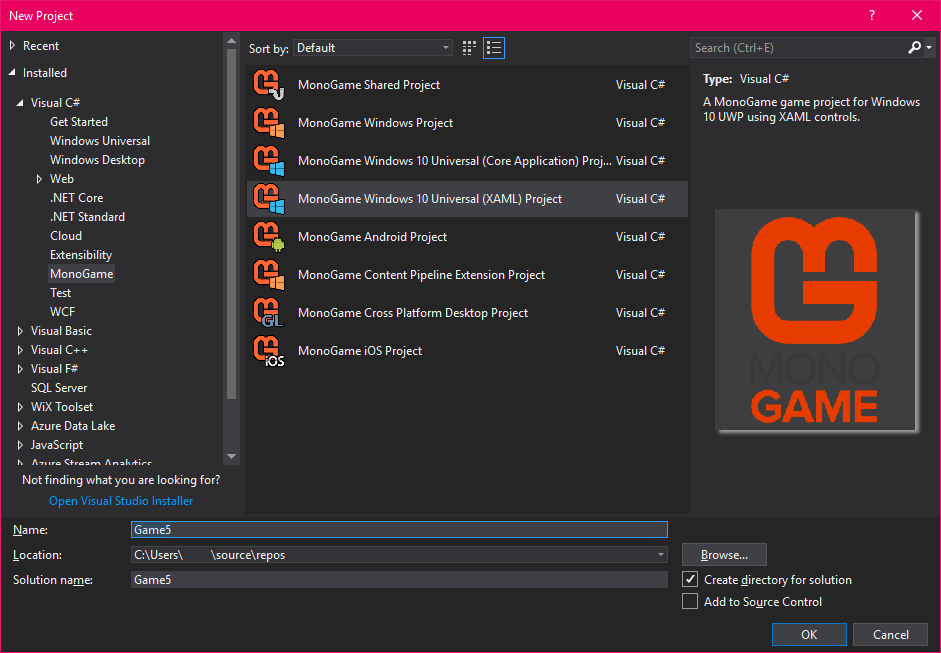
As you can see, you need to (if not already) click on: ‘Installed’, then click the expand arrow next to: ‘Visual C#’ and then click on: ‘MonoGame’, once here, select ‘MonoGame Windows 10 Universal (XAML) Project’, then in the ‘Name’ field, either accept the default of ‘Game1’ or give it a name you wish to use (This will auto increment depending on how often you start a project with GameX in the name, as you can see in the image above), leave it to be created in the ‘repos’ directory (the blank space in my image being your username), this should be the default, ensure ‘Create directory for solution’ is checked in the lower right as in the image above (This prevents you having a messy repos folder, and allows you to work on multiple projects at the same time). Leave Solution name alone.
Oh, right, Click OK.
Now, you should see a window pop-up like the following:
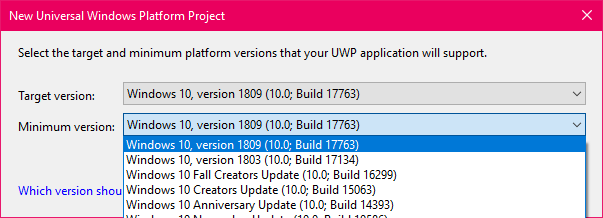
I simply select the latest one for both choices to keep things simple, but if you have other plans with your projects, you may fiddle around. Once done here, click OK and then your project should begin preparation.
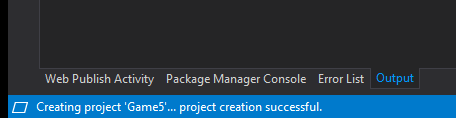
You should see this in the lower left corner, oh, I am using the dark theme for VS, you might be seeing the light theme by default.
By default, ‘App.xaml.cs’ should be open in front of you, we have one change to make first, in the top left corner, look for where it says ‘x86’ like so:
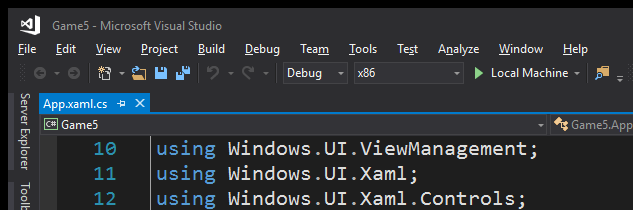
Click on the drop-down arrow next to the green arrow (make note of this green arrow, we will need it shortly) side of x86 and select x64, leave debug as it is for now, and leave local machine as it is too, you should see the following:
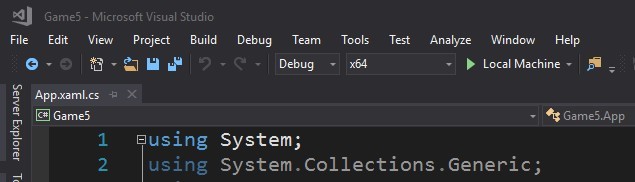
(yeah, I noticed I moved my code view, so these images don’t match up, don’t worry).
Moving along, it’s time to see if you have everything up and running correctly, hit that green arrow we saw earlier and wait a moment, you should see this:
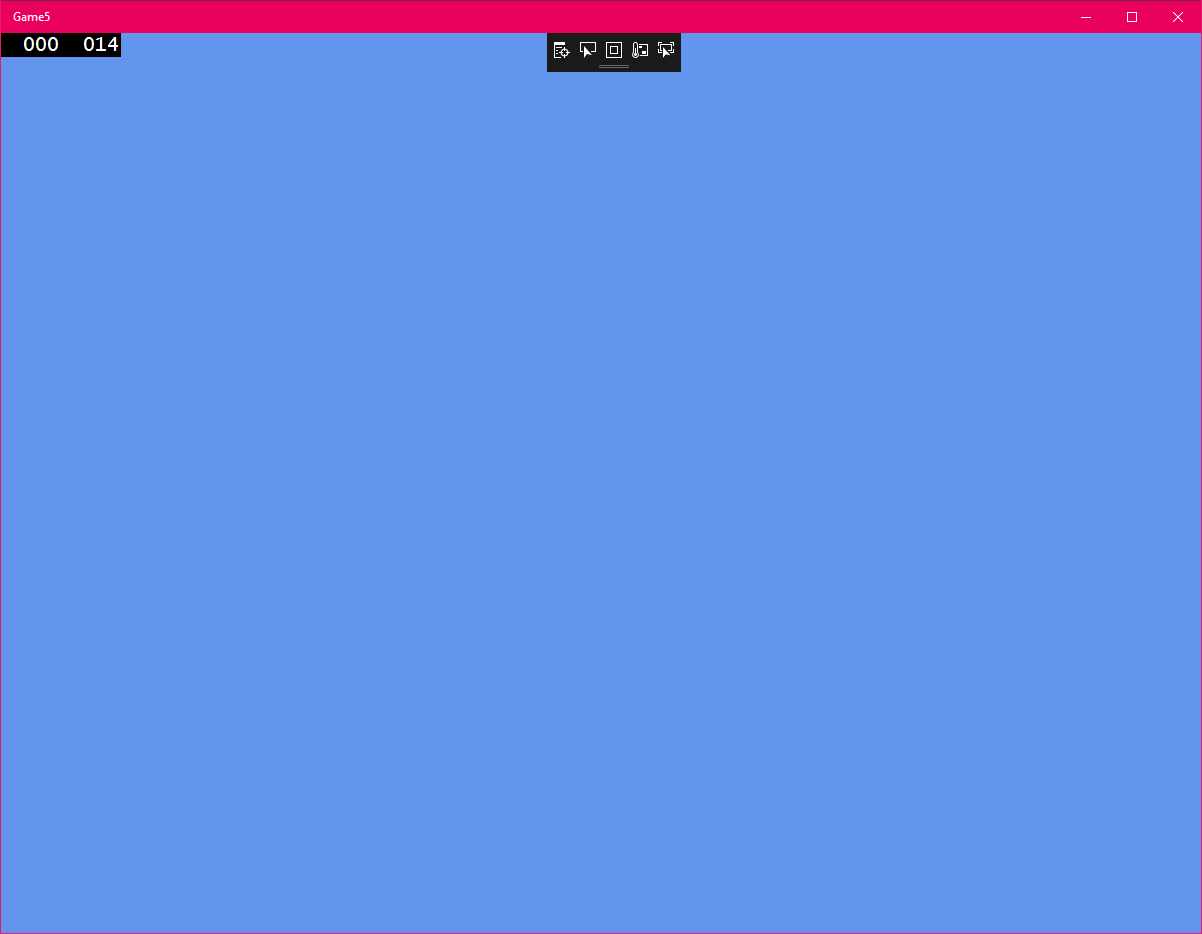
Beautiful, right? (If this did not happen for you, please open a thread on the forum and as mentioned above, help the community help you). A side note, ignore the black bits along the top for now, you won’t see these outside of debug modes when running from within VS.
This is Cornflower Blue. A colour associated with XNA game development, sort of a ‘Hello World’ for graphics I suppose? You can find this in Game1.cs and change it to any of the .NET colours. A list of ARGB values can be found here: ‘https://docs.microsoft.com/en-us/dotnet/api/system.drawing.color?view=netframework-4.7.2’ and an RGB visible list on this web searched page here: ‘http://www.99colors.net/dot-net-colors’ with both #Hex code and RGB values, handy!
Let’s go back to our list again:
/ Installed Visual Studio 2017/2019
/ Installed MonoGame
/ Setup Your Pipeline Workflow
/ Run Your First Cornflower Project
X Add .xnb To A Project And Display It
Oh, no… we failed something again, let’s fix that too…
Hunt down your .xnb file from the previous Pipeline tutorial, use a pitchfork if required, always keep your eyes protected if doing so.
We have two typical methods to add this file to the VS project, my favourite and rather straight forward method is to open Windows Explorer above or besides my VS editor environment (IDE) and dragging the file into the solution explorer area and into the ‘Content’ folder… oh you don’t know what I am talking about? Hang on… here:
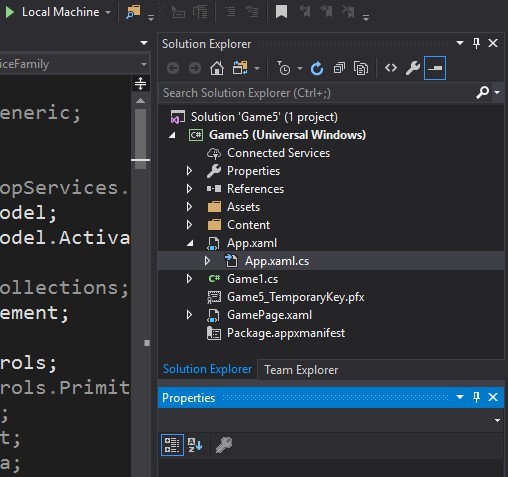
In the upper right of your IDE, you should see the frame called Solution Explorer, along with the current open and selected project document highlighted.
We won’t go into GameX.cs right now (Remember X being a number representing your project name if not changing the project name after creating multiple projects in this tutorial) but for now, focus on the folder called ‘Content’ in this area.
Everything in this window is a physical object on your hard drive, so careful what you delete here.
Now, in future, you will likely fiddle around with this folder, such as creating sub folders to house various content objects, such as Audio, Video and Images/Textures and 3D Models etc. (similar to how I mentioned in the Content Pipeline tutorial), so, for now, let’s not create a sub folder called ‘images’ and for now, simply drag the .xnb file into this folder (don’t worry I will explain the other method shortly).
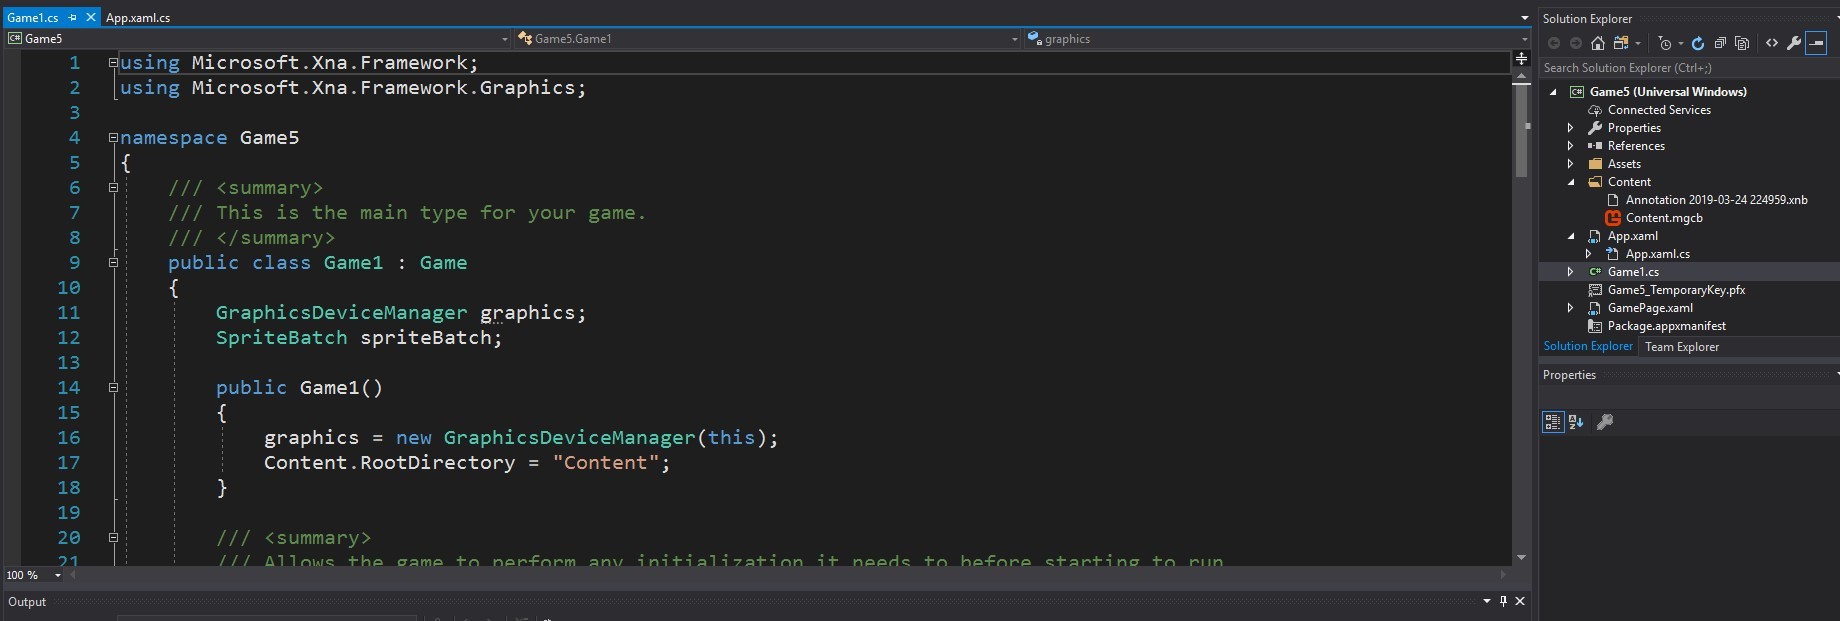
You should have the following result:
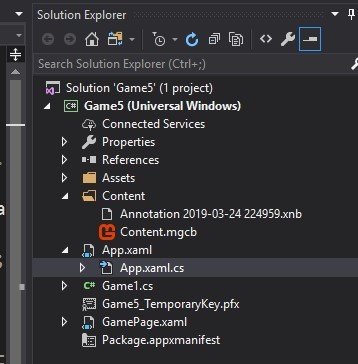
(My .xnb file is named as such, you just need to look at the Content Pipeline tutorial to find out why.)
Now, if you went to: ‘C:\Users{USERNAME}\source\repos\Game5\Game5\Content’ you should find a copy of your .xnb file there (remember this folder location, as for the alternative method, we will be heading here for it).
That’s it, this tutorial is over… oh wait… we haven’t displayed the graphic yet…
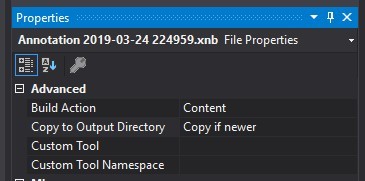
Oh, and the alternative method (I am struggling to explain this well without getting the alternate method out of the way but this is important), so, look back at the Solution Explorer window, oh one more thing, if you are using method 2 for adding objects to your project, come back and be sure to do the following, Click on your .xnb file in Solution Explorer and in the lower right corner, you should see something like this:
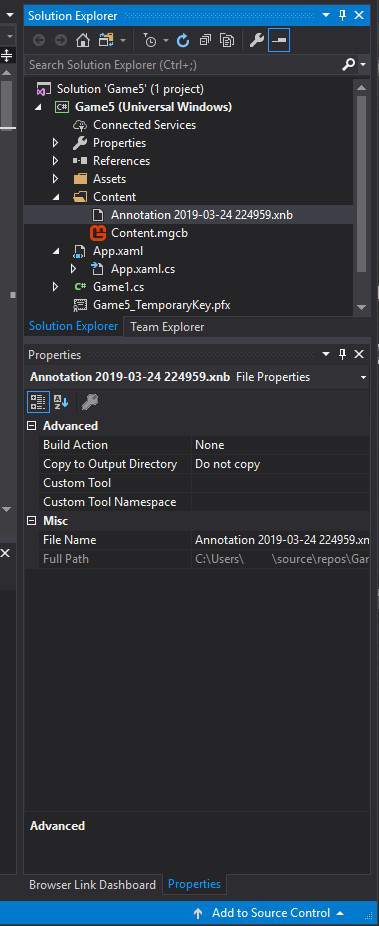
The Properties Pane or Panel, we need to focus on this part:
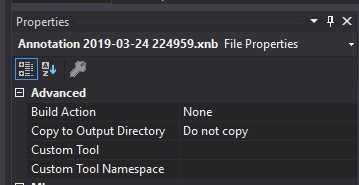
Look at the two parts named: ‘Build Action’ and ‘Copy to Output Directory’, we need to change these two, for ‘Build Action’ change it to ‘Content’ and the ‘Copy to Output Directory’ set it to ‘Copy if newer’, that’s it, you have correctly included an asset to your project, ready to use in your projects.
It should look like the following:
Now for that pesky alternative method to add content to your project.
Go back to that folder from earlier: ‘C:\Users{USERNAME}\source\repos\Game5\Game5\Content’ (of course yours will be whatever you named the project, that is to say, ‘Game5\Game5’ will be AwesomeGame/AwesomeGame, you get the message I guess), paste your .xnb in here.
Head back to your IDE and in the Solution Explorer part, look at the icons across the top.
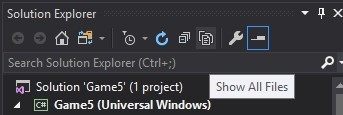
Click the icon which says ‘Show All Files’ when you hover over it, once you do this, your .xnb file should show up in the ‘Content’ folder (Click the expand arrow beside the ‘Content’ folder if not already expanded), right click your .xnb file and select ‘Include In Project’ and click that icon again to unhide all files, this, was the alternative method, I will never detail it again, hopefully.
Remember to head back and change the build and copy properties outlined earlier.
Let’s recap:
/ Installed Visual Studio 2017/2019
/ Installed MonoGame
/ Setup Your Pipeline Workflow
/ Run Your First Cornflower Project
- Add .xnb To A Project And Display It
Half way done on the last one… let’s get onto it then.
Now, I want to avoid going into the various methods you will see diving into Game1.cs (This will always be shown as Game1.cs, I may explain this in another tutorial in future) that is for another tutorial, or the many explanations readily available, I may skip it in my tutorials, but we shall see, as I have not planned a third tutorial at this point, so, I will instead simply get you moving at this point and get the graphic displayed and maybe a handy bonus too.
Let’s move on.
First stop, let’s chew into Game1.cs in Solution Explorer, double click Game1.cs, it should open on your left, you should still see App.xaml.cs along the top as well as the newly opened Game1.cs like so:
Moving forward…
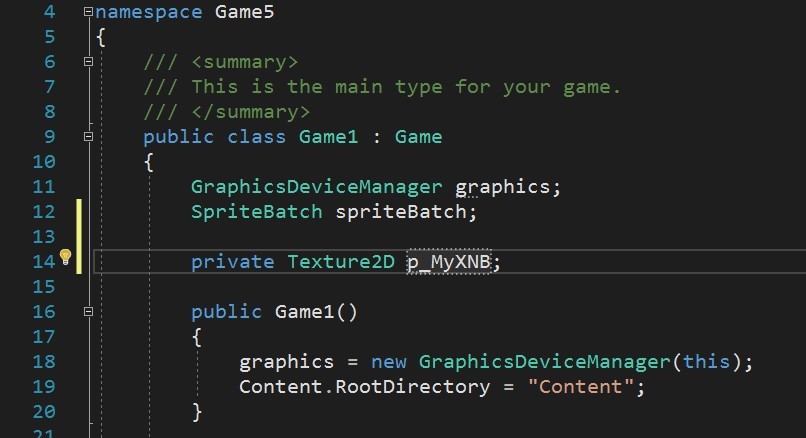
Next, we need something to hold our graphic, there is an object called Texture2D that we can use for this purpose, let’s add it to our Game1.cs file, look for:
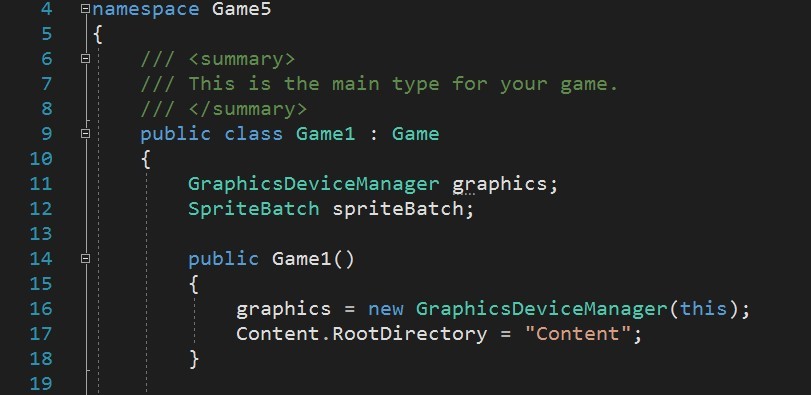
Just below where it says ‘SpriteBatch spriteBatch;’ add the following: ‘private Texture2D p_MyXNB;’ (remember, we are just getting things to work right now, perhaps if I put more fundamental tutorials together, I may come back to these C# basics.)
Like so:
Now, head a little further down this document and look for this part:
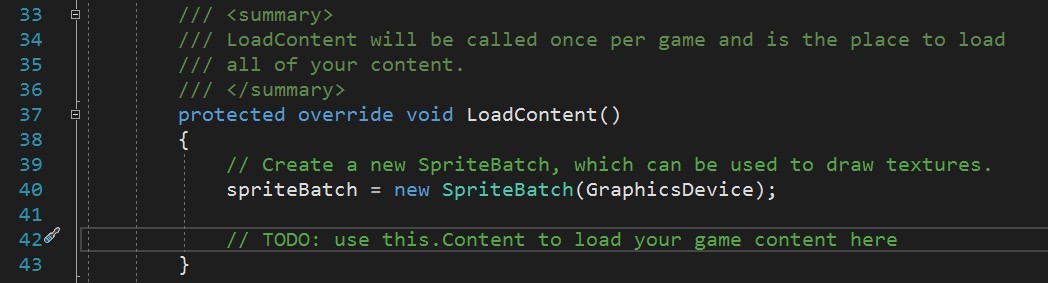
Just below the line saying ‘// TODO: use this.Content to load your game content here’ we will add some code here to load our .xnb file into the MonoGame framework, or engine if you prefer, actually I don’t know what to call it… any way…
Type: ‘p_MyXNB = Content.Load<Texture2D>("Annotation 2019-03-24 224959");’ like so:
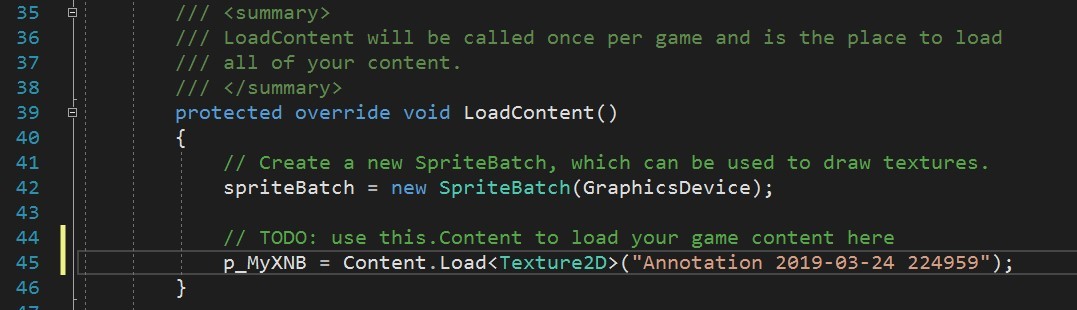
Note how the file extension ‘.xnb’ is not included in the file name.
And next, we will add some more code to place it on the screen…
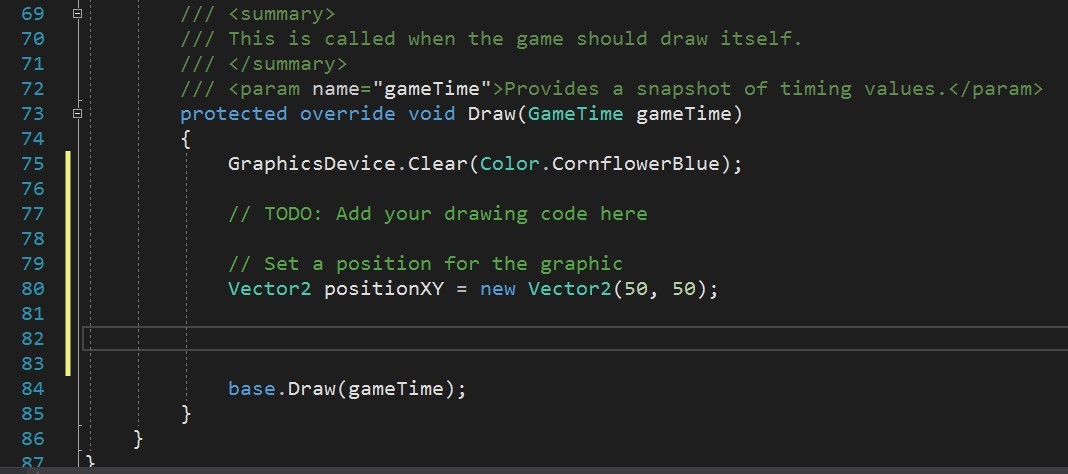
Look for this part in the Draw() method (should be at the bottom):
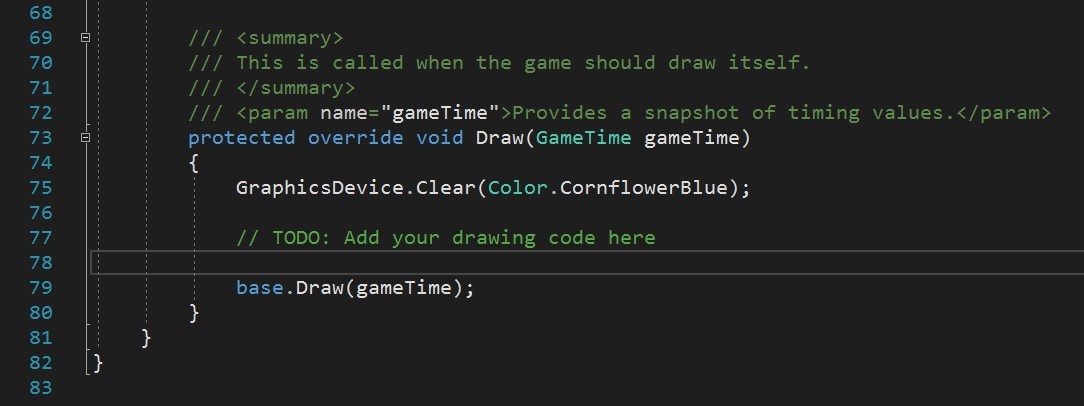
Once again, starting just below the TODO line, let’s add some code, first we need to create some code to position the graphic, add the following two lines:
// Set a position for the graphic
Vector2 positionXY = new Vector2(50, 50);
Like so:
And next we add a Sprite Batch, add the following lines:
// Begin a sprite batch
spriteBatch.Begin();
// Draw the sprite
spriteBatch.Draw(p_MyXNB, positionXY, Color.White);
// End the sprite batch
_spriteBatch.End();
Overall, we should have the following at this point:

And now, splat that green arrow to compile and run your program to see your result, here’s mine:

Success!
If you don’t get anything or some other error threw up over your floor, post a support post on the forums.
That concludes this tutorial, now I must post it to the forum with all these images in the correct places… fun!
I hope this was helpful for you, the book goes on to show some useful code, such as moving the graphic and also some special code to help with screen edges, sorry I skipped the special bit here, felt it was better being discovered in that book.
20 minutes later than planned, but I still feel fresh, so I guess I did something right…
Valentine, over and out.
EDIT
Fixed formatting, grrr. tried, giving up at this point…formatting that is…