DownUnder UI, a MonoGame based UI framework

DownUnder UI is a UI library built with .NET Core and MonoGame 3.8. Compatible with all platforms MonoGame supports; Android, iOS, Windows, and more.

Closer to usable than not, but still in development.

Features

  • Familiar functionality and workflow with Windows Forms and Qt.
  • Built from the ground up with modern transitions, animations, and shaders in mind.
  • Modular behavior system that can add any functionality.

Documentation/How to Use

This project is a shared project library, meaning it does not compile without your project. It can be added as a shared project reference directly. Read the Wiki for documentation, and the getting started guide for a short introduction.

5 Likes

Progress post, because why not? I like working in my own little hobbit hole, but I might as well share more.

Still working on this. It will be developing alongside my other project, and probably with every project I work on from here on out. My current one happens to be a website front end. Every scenario I run into I see what still needs to be done in my library.

The various misalignments will be fixed with a little more polish! I’ve already got some ideas on how to automate that. OCD pays off in UI design. There will also be a couple of nice shaders once I’m done with this specific widget, though I’m am a fan of the simplistic black with white lines. I imagine modern design to be most importantly “things that don’t hurt your eyes at 3:00 AM because no one sleeps anymore”

The code for this UI is as follows if anyone is interested in seeing how the workflow is. I was working on a visual designer, but serialization is very annoying and I’d rather not deal with it right now. Like windows forms/Qt it can easily be done in code.

using DownUnder.UI.Widgets;
using DownUnder.UI.Widgets.Behaviors.Functional;
using DownUnder.UI.Widgets.Behaviors.Visual;
using DownUnder.UI.Widgets.Behaviors.Visual.DrawTextBehaviors;
using DownUnder.UI.Widgets.DataTypes;
using MonoGame.Extended;
using System;
using System.Collections.Generic;
using System.Linq;
using System.Text;
using System.Threading.Tasks;

namespace PRTCommonWidgets
{
    public static class CommonWidgets
    {
        public static Widget LoginLayout()
        {
            Widget layout = new Widget { ChangeColorOnMouseOver = false };
            Widget inner = new Widget { Size = new Point2(370, 270) };
            inner.Behaviors.Add(new PinPosition { Pin = InnerWidgetLocation.Centered });
            inner.ChangeColorOnMouseOver = false;

            Widget username_entry = new Widget { Position = new Point2(160, 70), Width = 150, Height = 40 };
            Widget password_entry = new Widget { Position = new Point2(160, 130), Width = 150, Height = 40 };
            Widget username_label = new Widget { Position = new Point2(50, 70), Width = 60, Height = 40, DrawBackground = false, DrawOutline = false };
            Widget password_label = new Widget { Position = new Point2(50, 130), Width = 60, Height = 40, DrawBackground = false, DrawOutline = false };
            Widget login_button = new Widget { Area = new RectangleF(160, 190, 150, 40) };

            username_label.Behaviors.Add(new DrawText { Text = "Username: " });
            password_label.Behaviors.Add(new DrawText { Text = "Password: " });
            login_button.Behaviors.Add(new DrawText { Text = "Login", TextPositioning = DrawText.TextPositioningPolicy.center });

            username_entry.Behaviors.Add(new DrawEditableText());
            password_entry.Behaviors.Add(new DrawEditableText());

            username_entry.Behaviors.GetFirst<DrawText>().ConstrainAreaToText = false;
            password_entry.Behaviors.GetFirst<DrawText>().ConstrainAreaToText = false;

            inner.Add(username_label);
            inner.Add(password_label);
            inner.Add(username_entry);
            inner.Add(password_entry);
            inner.Add(login_button);

            layout.Add(inner);

            return layout;
        }
    }
}

That’s a fancier login screen. I added a behavior that automatically centers widget contents, which is why the contents of the login box are centered exactly in the middle. Still a bit of asymmetry going on with the text though (and obviously you can see the password field, which is no good).

Effects are now working correctly thanks to MonoGame 3.8’s shared content template. This probably means I’ll switch from nuget to Azure DevOps to distribute the package, but its amazing at the same time, since I’ll be able to use the ContentManager in my project again without worrying about runtime compilation.

Can’t wait to get this running in the browser! :slight_smile: Great stuff MonoGame devs, I’m loving working with this framework.

2 Likes

A failed attempt at capturing the parent widget’s RenderTarget2D mid-draw. Interesting? On top of being glitchy, it didn’t give me the past version of the render target. I’ll just have to settle for a slower more easily controlled way drawing to an additional buffer.

This whole problem is very tricky because I already have a somewhat complicated rendering solution that involves drawing “render target using” widgets from the top down and “directly drawn” widgets from the bottom up. And then of course I’m abiding by the “don’t preserve contents on render target swapping” optimization.

I actually had to make myself a diagram when I made it so I wouldn’t forget how it works. Yes, this picture is for me.

I’m doing a blur effect that will need a texture of their parent’s render without itself rendered. This is complicated, but I’m out to make the best UI framework out there, so I cut no corners.

1 Like

The entirety of the drawing code was redone for being slow and overcomplicated. It now just draws all widgets to the current render target and uses ScissorRectangle to crop content. For Widgets marked as using render targets, they are drawn to RenderTraget2Ds before being drawn normally. Parent widgets are now always drawn beforehand, and that makes it possible to use their renders while drawing children. Transparency and diffraction (and any other kind of post-processing shader) is now easy to implement.

There are overlay Effects as well, so you can draw the parent window’s render in any way you like and then do another Effect to draw an effect on top.

Lack of tutorial content is due to the fact that I am still changing things a lot… and changed things means rewriting tutorials (as well as people needing to re-learn tutorials and constantly update their code). Though I’ve made sure that it’s very easy to use.

Here’s a lazy blur effect (I’ll probably look into Gaussian blur to make this look better). It does this by redrawing that part of the parent’s RenderTarget2D with any effects applied. Probably the most practical way to do it.

.
I also need to look into distribution. Who uses DevOps anyway? :thinking: :thinking: :thinking: I’ve never seen a library distributed that way. Does anyone know if you can do nuget with shared project libraries?

Got rid of the Windows control bar for something more controllable. Also, lots of additions to the Wiki.

How much time did I waste on that green line mesh effect? Too much. :grimacing:

5 Likes

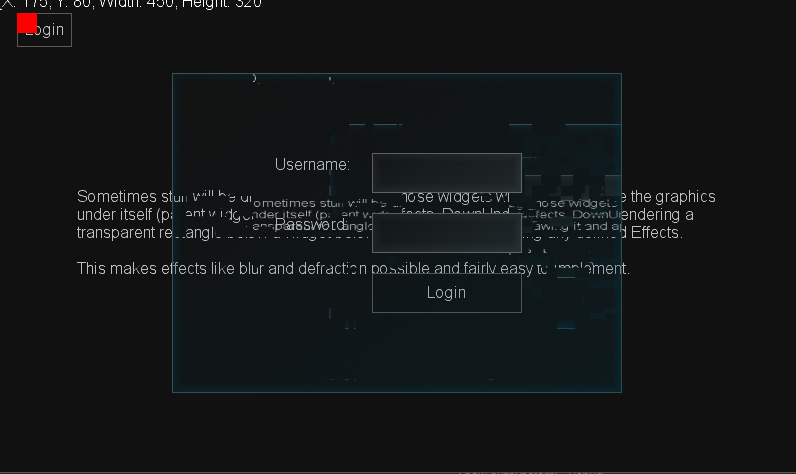
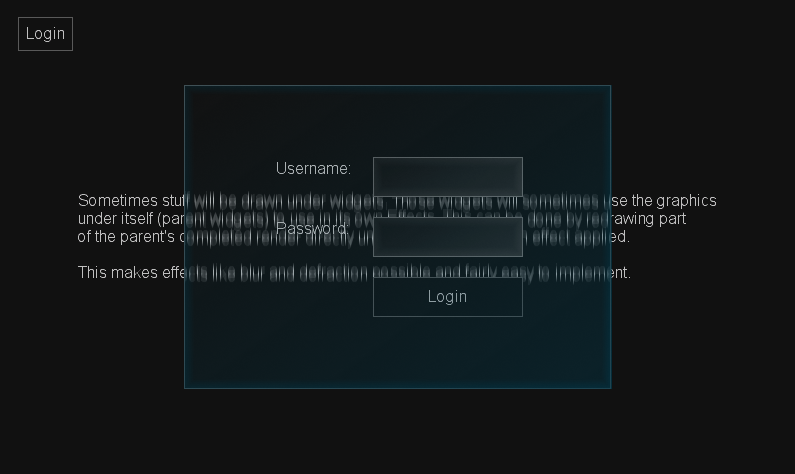
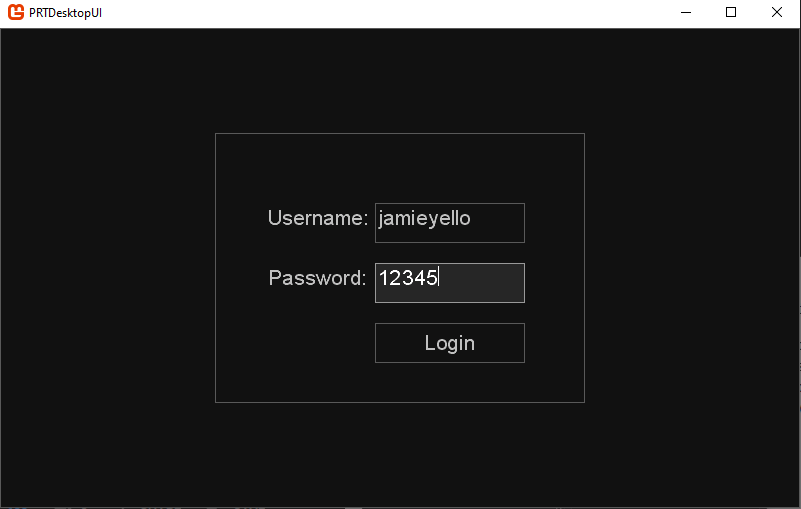
Here’s some work done with the workflow. This is what I’m working on primarily atm, getting a workflow identical to modern designers. There’s a lot of interfacing with Visual Studio to do, and it gets very tricky, but if done right it’s very easy to use.

You can double click the .duwd file to open the Widget within Visual Studio, and then save it right there. It will save the serialized Widget XML to a file in your project that will be loaded automatically. This will allow for editing during runtime as well, so you should be able to hit a key and reload the Widget you edited.

The format includes 3 files;
The .xml file, the serialized data for your widget, the only part copied over on building your project
the .cs file, the userland portion of the code where “slots” will be added (MyButton_OnClick(object sender, EventArgs args) {})
And the .duwd file, which is a partial class that is completely generated, allows you to access child widgets directly by name.

I’ve jumped through many hoops to avoid inheritance when using Widgets, which I consider a last resort (unless you’re interested in getting things done quickly, pff)

With the release of the project, there will be an installer that installs the Widget editor to your system, as well as the necessary templates for Visual Studio to use.

The last thing to do with the workflow is to find a way to access .duwd project and use it within your project, which will probably need an xml file at the base of your project with the relative paths of the xml files. This will also be auto-generated when running the editor.

There is still one big limitation though, it’s that the UI editor itself is very limited, and can’t create anything useful atm, so even when I get the whole workflow system functional I’ll still have to complete the editor.

1 Like

I was putting off my UI framework because I thought CSS does everything my UI framework does except better.

After using CSS extensively, I can say, CSS is pretty limited. CSS is designed to slap together a lazy metro-looking design quickly for deployment. I was also waiting for Monogame to add support for web, and it looks like we finally have that.

I’m going to separate positioning/layering/scrolling/culling logic into a separate non-monogame project and create a renderer that works exclusively with monogame.