The original thing:
Click to see
So, I have had to step back again for a while and have had the urge to get back to coding again, so, I was wondering, should I write yet another guide for the fresh meat, err I mean, Forum Members, [cough-cough] [Halloween lol].
I am on a fresh system and figured I may as well document each stage of setup, but keep in mind, that for the time being, I am a UWP dev, however, that may soon change depending on how things develop in the next Windows OS update…
So, do chime in, the buffet is waiting, I mean, say hi and add to the interest list, and I shall cook up, I mean, write up a guide for you beginners so that you might go about coding with the all too brilliant, http://www.MonoGame.Rocks I mean MonoGame.Net.
You may also pen in a request for anyone to write up a guide for your chosen alternative OS, and someone may find the time to make one in a new thread too.
TL/DR
So, I will be making one anyway, but it could take a few days.
Happy Coding and welcome to all the newcomers of recent.
PS.
Click my username and hunt for the old threads I posted for some guides for XBOX and UWP setups and tips. I also have a useful links thread, which is full of… useful links.
So, where are we, let me see…
What do we need to do:
– Purchase a box of tissues [optional]
– Obtain Visual Studio and install it
– Obtain MonoGame and get it set up
– Run our first project
– [1/2] Come back to the forum and boast in a new thread how we are super happy that it works [and ask for what to try next] [optional]
– [2/2] Come back to the forum and scream in a new thread how we are upset that it went wrong [and ask for help] [optional]
As you can see, we have a tremendous amount of work ahead of us, so let us begin…
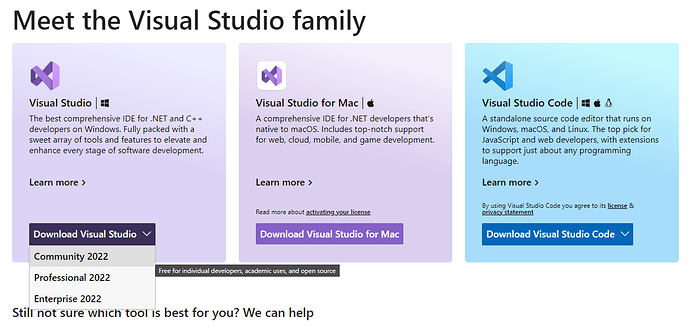
For the first thing we hit a search for ‘Visual Studio’ and get this page [hopefully]:
Visual Studio: IDE and Code Editor for Software Developers and Teams (microsoft.com)
Where most of us mere mortals will download the community edition, those pesky corporations will probably download the enterprise one, pft. show-offs…
Assuming the page still looks like the above… clickety on that one…
Moving on…
Once the installer downloads, run it and you should see this…
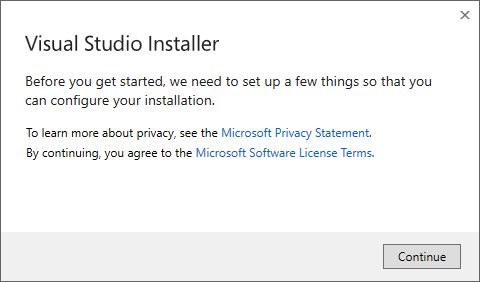
Don’t worry if you don’t just note how long ago this guide was written and hit a request for a newer guide…
Click Continue…
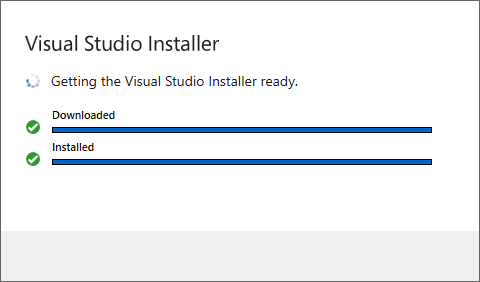
Let it do its thing…
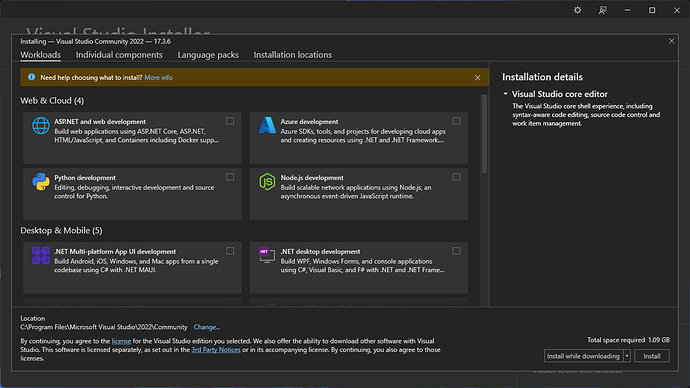
Once this completes, you may get thrown up a screen looking something like the following:
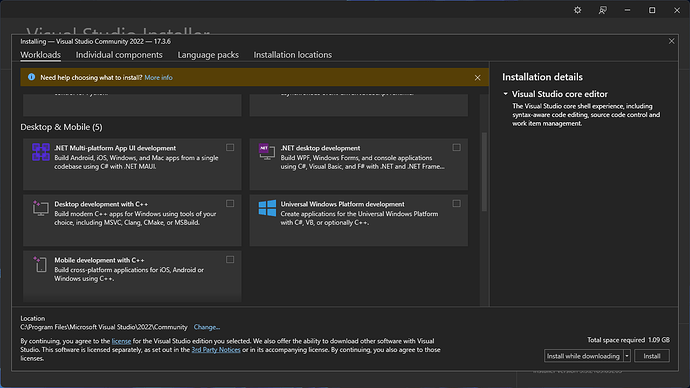
Scroll down a little to discover the two on the right side…
Specifically:
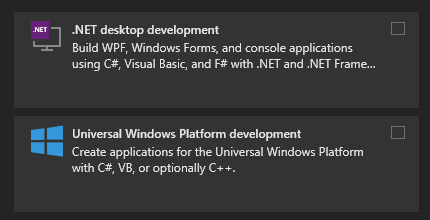
Tick these two…
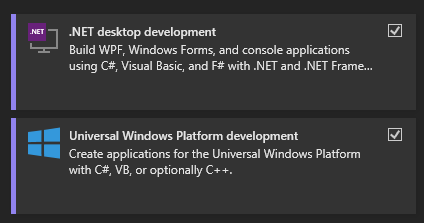
Like so…
Now, we want some key extra bits…
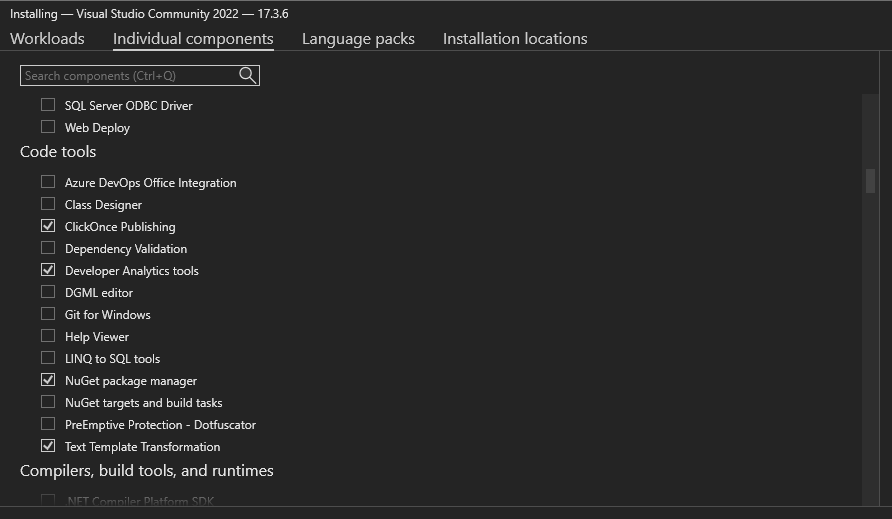
At the top, click on ‘Individual Components’

Scroll down the list you find here to this part:
Select Class Designer, Dependency Validation, LINQ to SQL Tools, NuGet targets and build tasks, optionally, DGML editor and Help Viewer…
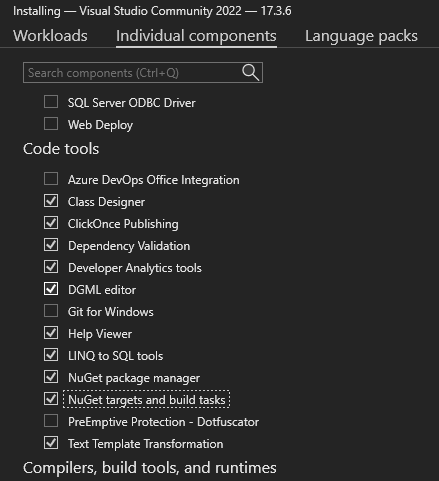
Oh, and also… scroll further down to…
The emulation thingy, only if you need them, if you plan to emulate some devices, you will require one or both of these:

Scroll down further to Games and graphics…
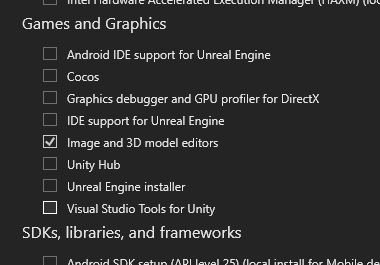
Select ‘Graphics debugger and GPU profiler for DirectX’
Side note, GitHub is built into Visual Studio now…
If you don’t know what a Git is, umm, don’t worry about it for now… it will come up in a discussion at some point… speaking of discussions, have you been to the MG Discord yet?
It is teaming with things that convert caffeine and pizza, into games…
See what I mean?
Anyway, where were we…
Oh yes…
If you scroll to the bottom…
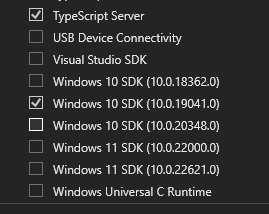
You should see something like this… err the image above…
Select the latest SDK as well as the selection that is preselected…
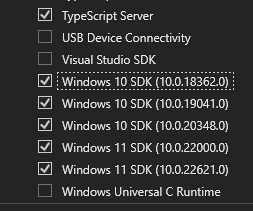
I like my choices…
Click Install… if you dare:

You can cry at this moment in time if you are on a limited bandwidth line… if so, reduce the selection of SDK kits to save a bit… or only choose the .NET or the UWP package from earlier… if you only plan to use one of them… did I forget to mention buying some tissues?
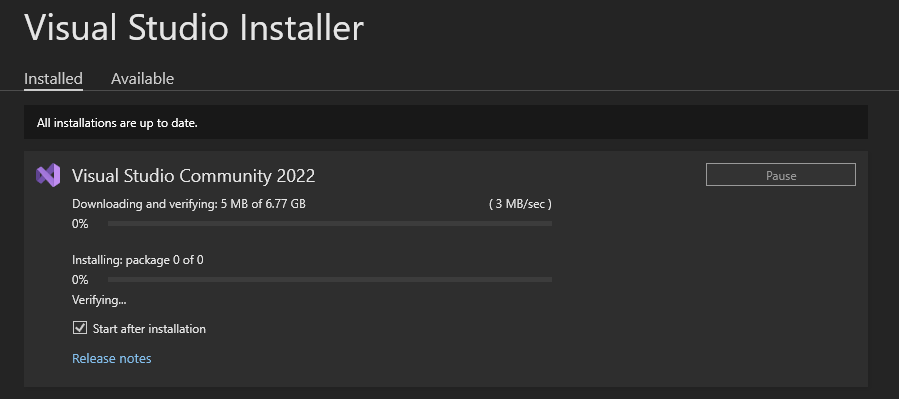
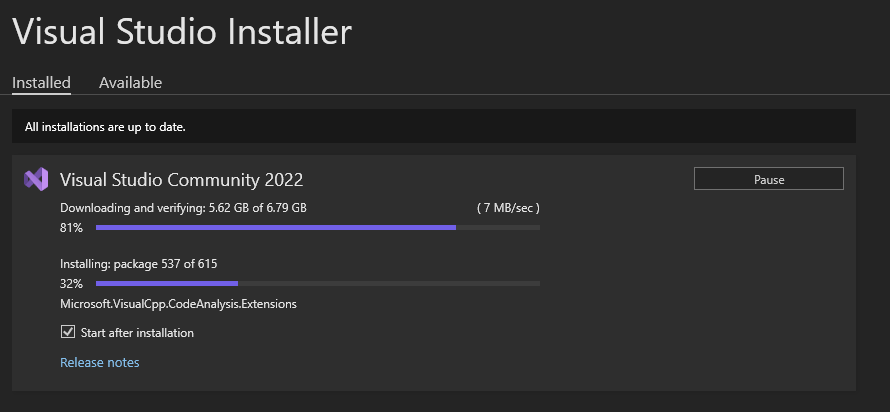
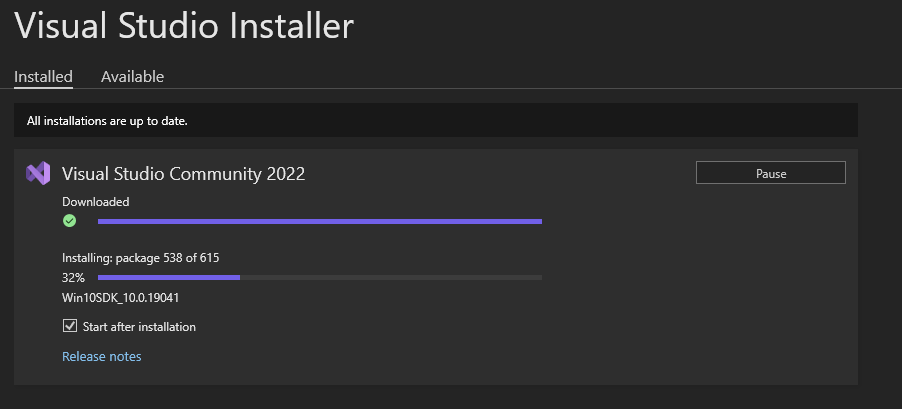
At this point, sit back, relax, make a cuppa ![]() and did you notice the wiz kids over at Visual Studio made the download way smaller for the download? see?
and did you notice the wiz kids over at Visual Studio made the download way smaller for the download? see?
Perhaps save on buying that tissue box I guess…
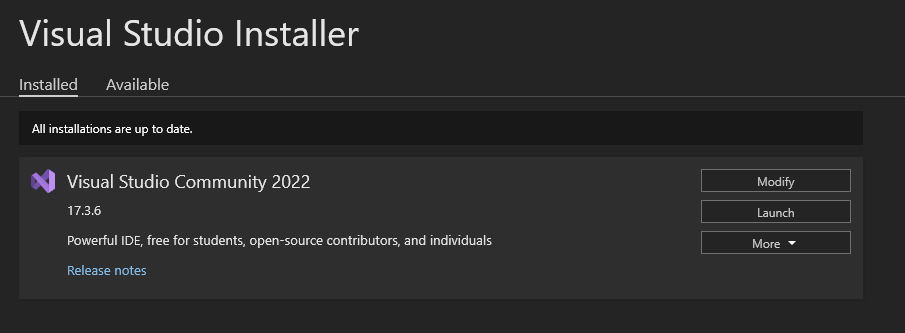
Up to you to allow it to start after installation, but it makes starting it easier, and you can pin the icon to the taskbar easily at that point too, when it opens that is…
Time for a brew…
I made a PG Tips…
Moving on…
Nonessential ranting, click to expand
More tea I guess…
Almost there…
Oh, come on!
Grabbed myself some JaffaCakes

You may or may not receive this notification, I did because… reasons… moving on…
Mine did not launch [I should but cannot be bothered right now, restart] so I launched it from the installer window, note, if you always start the installer first, you can always get notified about updates to Visual Studio…
This is going to age like butter…
This is new for me…
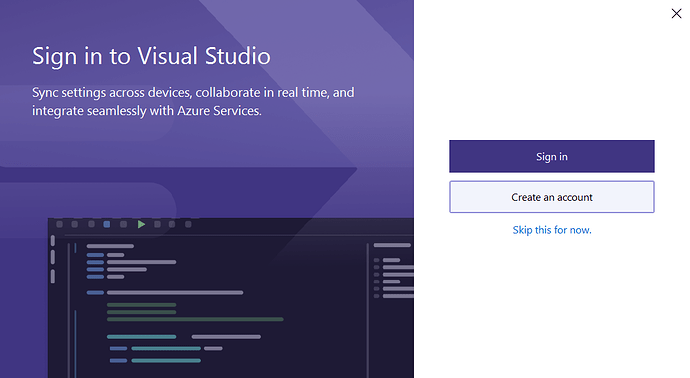
I suggest signing in with an account you have either already, or intend to use for a developer account with Visual Studio…
Side note, err be careful how you register, you cannot change emails used for a company back to or from an individual user account for publishing… to the store… small side note…
Moving on… time to sign in and get that yummy MonoGame…
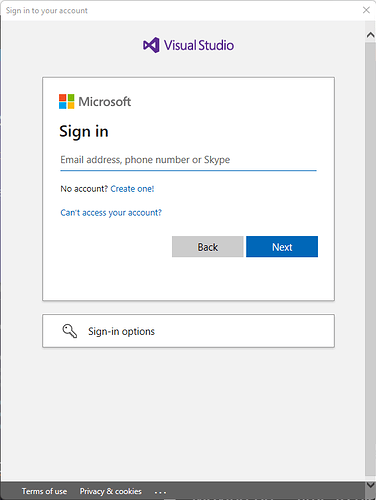
Side note, this should be what you see when signing in…
Be sure to be using 2FA [Two-Factor-Authentication]
Before I forget to mention it… take a second if you have it to support Monogame:
Great for PayPal users or people who don’t have PayPal
Donate | MonoGame
And that moderny Patreony thingy
https://community.monogame.net/t/monogame-patreon/17860/11
Nope, I am not paid to be here, at the time of this writing, and likely won’t be for a long while, just spreading the good word…
Anyway, where were we…
If you wander over to the Documentation pages…
Introduction | MonoGame Documentation
And then click on Getting Started and then Windows:
Setting up your development environment for Windows | MonoGame Documentation
We can see, we are already a step ahead… ![]()
Moving on…
We want to focus on this part of the page:
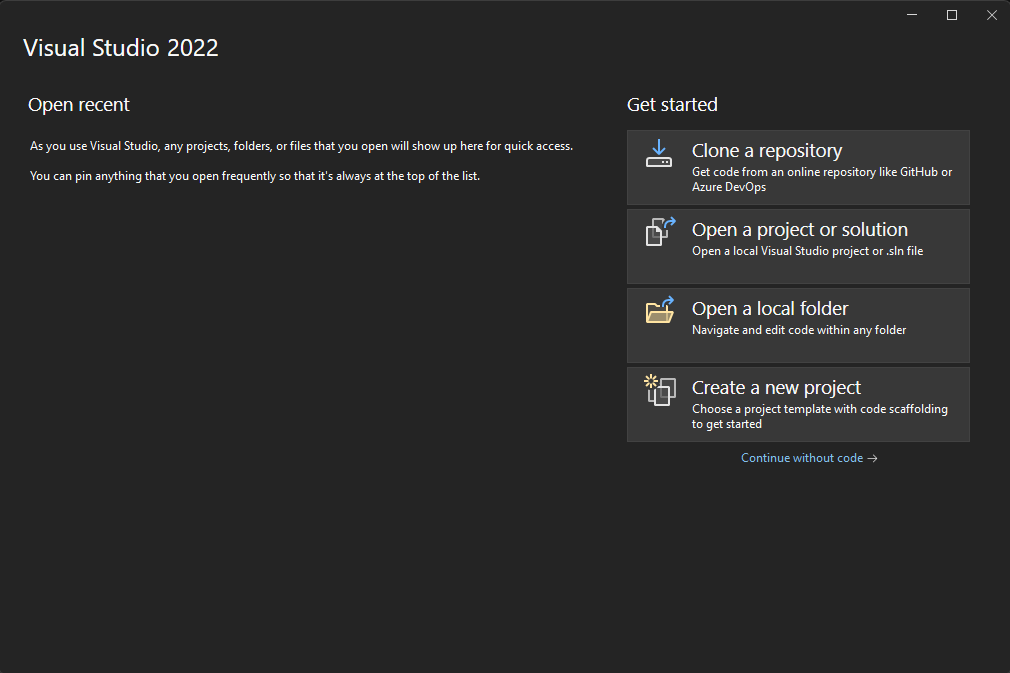
Going back to Visual Studio once signed in, we should see this splash window…
Click on Continue without code…
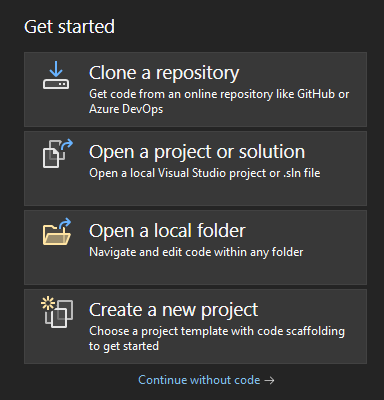
This blue text…
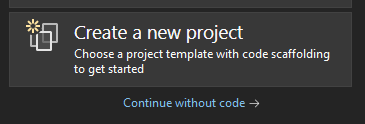
Below Create a new project…
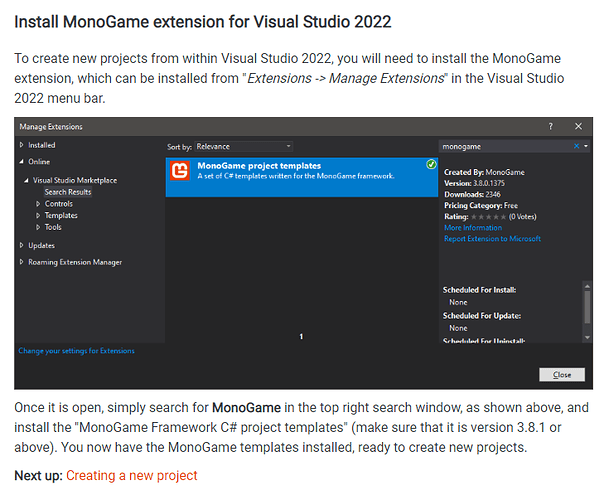
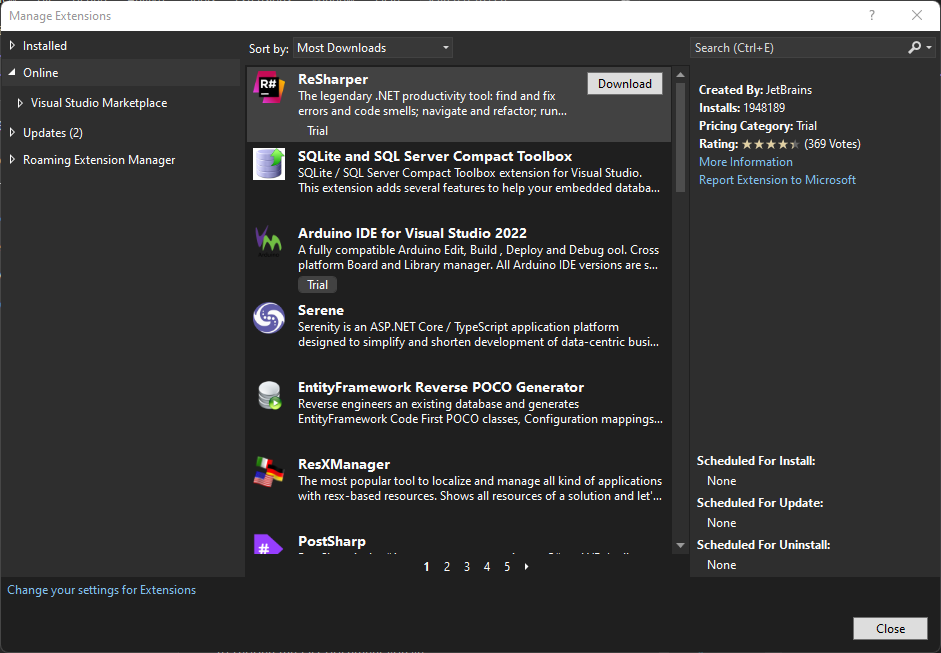
Once Visual Studio opens, click Extensions and then Manage Extensions…

This window should open up:
In the search box, type MonoGame…
Side note, notice the version you are downloading.
Click the fabled Download button:
Then look at the bottom of the window:
Click close and then close everything to do with Visual Studio… the installer can remain open for this bit…
You should see this window popup:
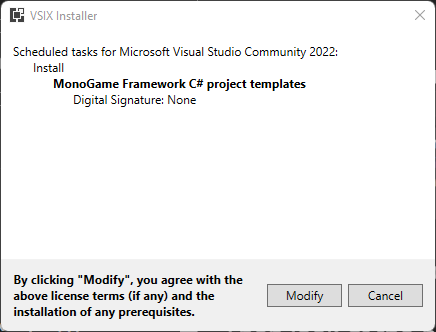
Click Modify…
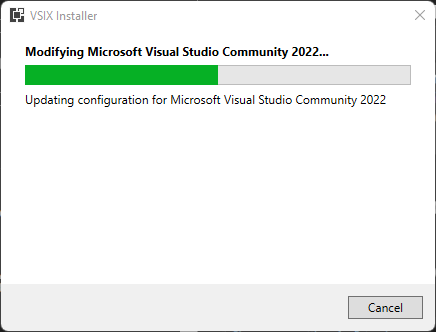
Wait for it…
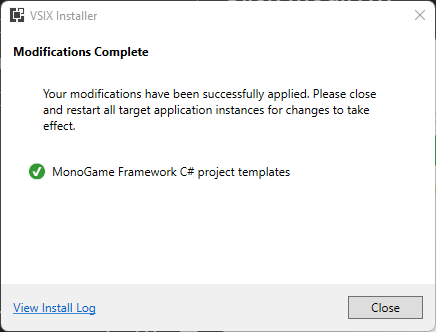
Maybe close that Visual Studio Installer now and run it again… click close, oh pin the Visual Studio Installer to your task bar if not already done…
Open the Installer again, and launch Visual Studio…
So, we have VS, and we have MG, everything should be set up at this point, so, the last bit is… running our first project!
Once VS launches, click…

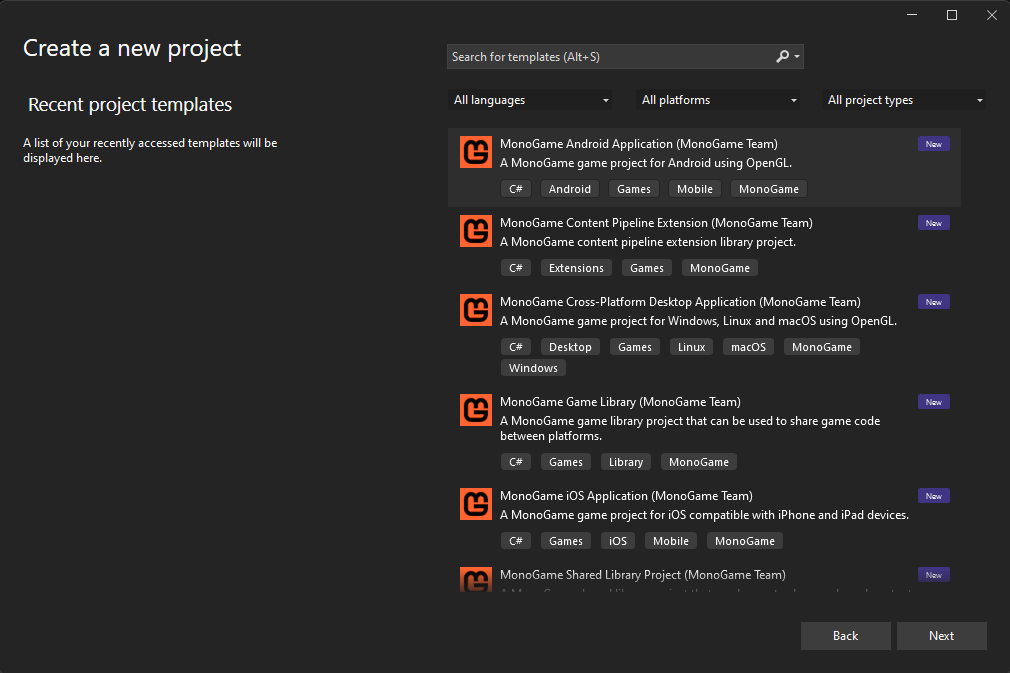
Create a new project…
If everything went well, you should see the following:
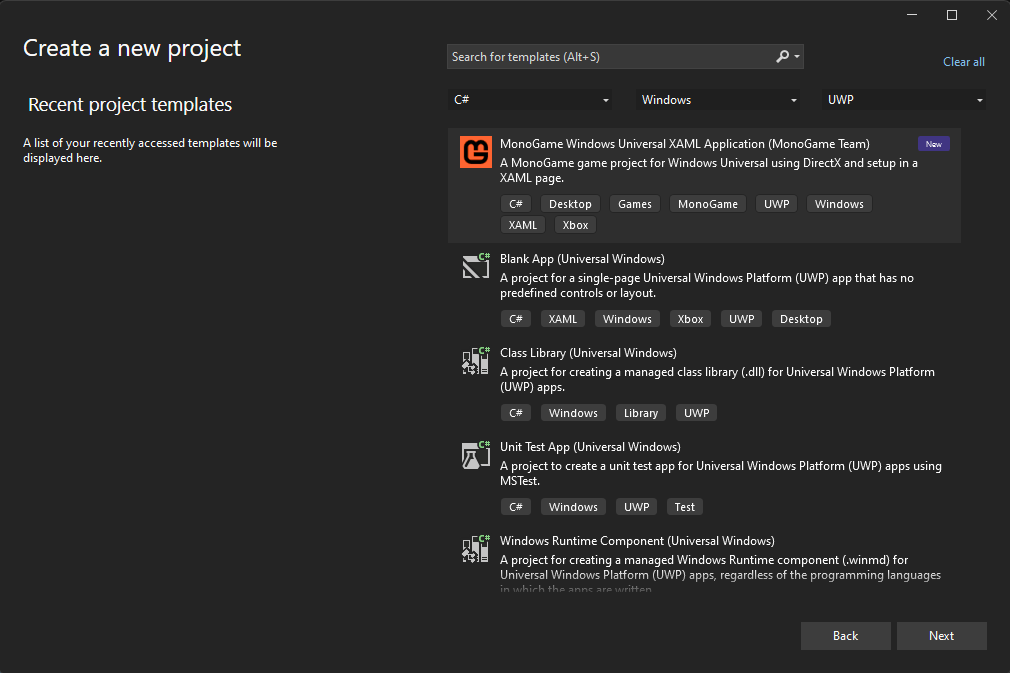
For the sake of this guide, we shall narrow down our choice to the UWP XAML project [Not sure where the CoreApp has gone, but we can safely ignore that for the time being]
If you narrow your choices to the below:
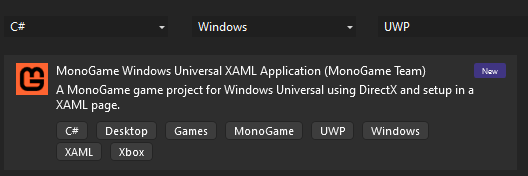
You should see the XAML option at the top as before… select this… and click Next…
Give the project a name and click Create on the next screen…
Mine is called the glorious ‘Project1’ both for the Project and Solution names…
For completely fresh developer systems, you should see this warning:
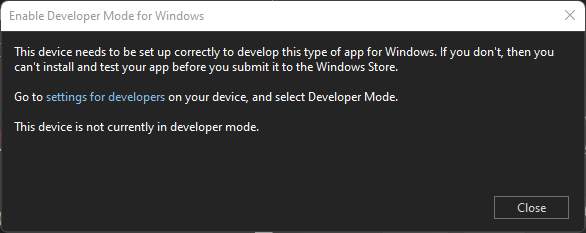
Click the blue text, it should open the settings menu just hit the toggle switch…
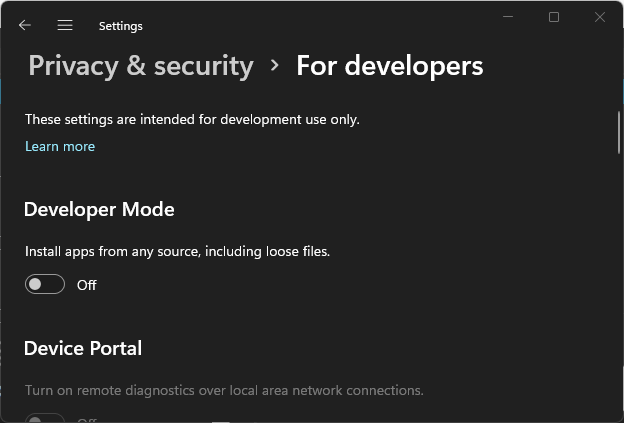
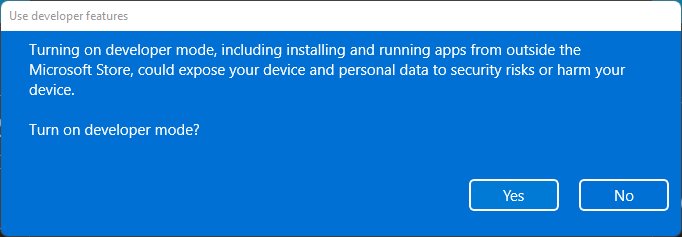
Select ‘Yes’
Close the Settings window… return to Visual Studio and close the notice window by clicking Close.
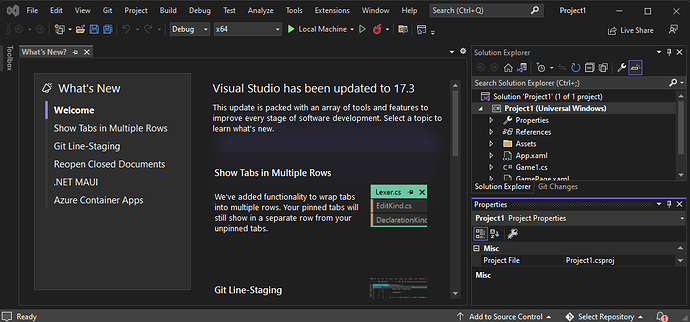
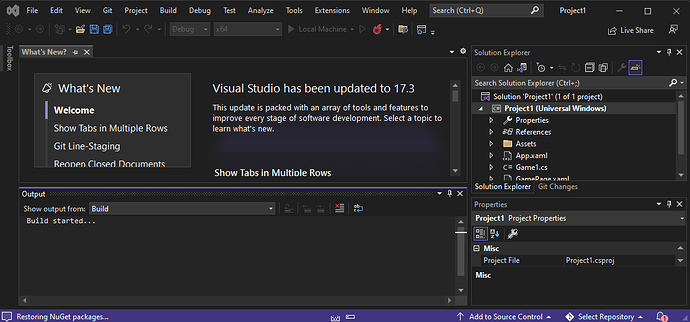
You should now see this window [I shrunk it for simplicity]:
If yours looks like this at the top:

Click the Local machine button to run your code:
If it feels like nothing is happening for a long while, this will be because it is the first time you are running a project on the system for such development, look at the lower left of your screen:
After a while it should say:

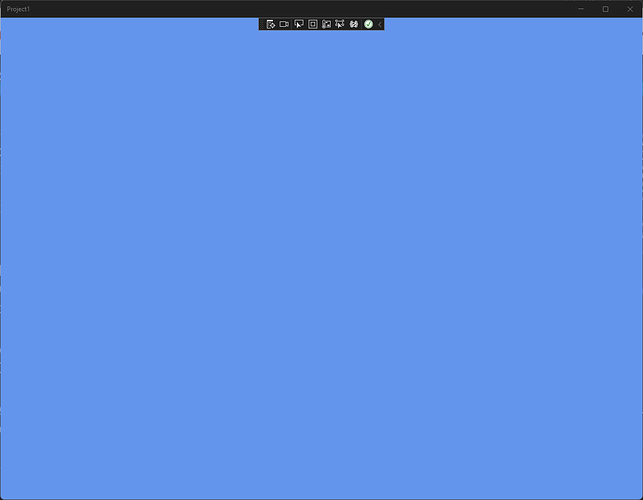
See where it says ‘Restoring NuGet packages’, let it do its magic… in a short while you should see the glorious CornFlowerBlue window…
And there you have it… you are good to go, and from here, you should probably take a look below to get started, the world is your canvas, go create!
Understanding the Code | MonoGame Documentation
I hope you found this guide useful; I may create one for Desktop development in the near future when the time calls for it.
Thank you and feel free to leave a comment below, if you have issues, post a new thread with screenshots of the point you are struggling with.
I may comb through this guide for typos at some point soon, but otherwise, not much will change.
Happy Coding and Welcome to the Community!
