Hi, I made a topic on MonoGame’s subreddit but I figured that not everyone reads that.
First of all, I’m not native english speaker so bear with me. Please don’t just read the title and jump straight to writing answer, I know it is tl;dr but this thing is hard to write in few sentences.
What I’m doing is 2D platformer where player is in dark, but there is light source around player. Torches, fireballs, particles, campfires etc act as additional sources of light.
The gameplay is mostly there, but I have no idea how to make the Dark Effect.
Only tutorial/example I found looked good, but it used shaders and I had hard time following the tutorial, and dropped when the HLSL(?) example shader didn’t compile at all.
I have tried googling and searching, but no luck so far.
I want to make it so that I could adjust Dark’s intensify so that if the area is outside, I could make the dark just almost dark, making the outlines etc visible and in caves it would be completely dark.
I don’t need/want Terraria style light that does not light up area if there is wall or something blocking, I just need “round lights” with breathing effect.
Because it is pixel game, I don’t want the light to look “smooth”, but instead have nice clean intensify layers instead. I mean, that center of light circle is fully visible, center layer drops darker and then drops to almost completely dark.
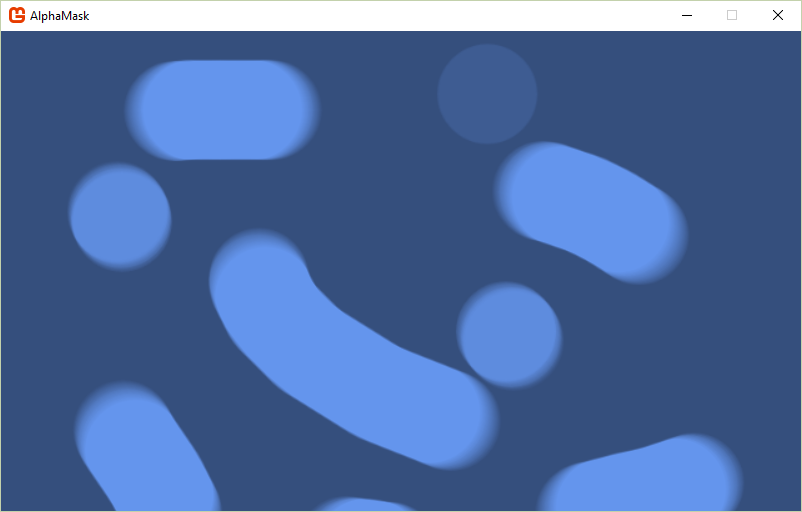
Is there somekind of Masking system in MonoGame? I have zero experience with shaders/effects, I don’t know what they are or how to use them.
Pics
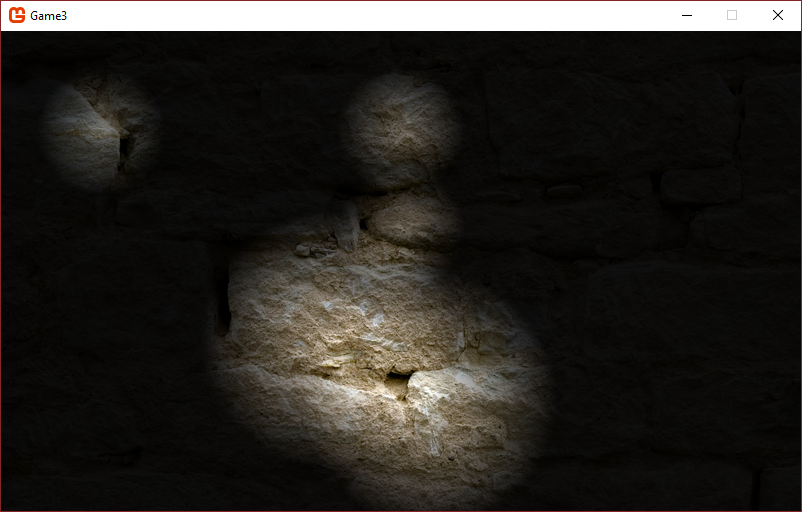
- This is closest to what I want, but I’d like to be able to control how dark the darkness is
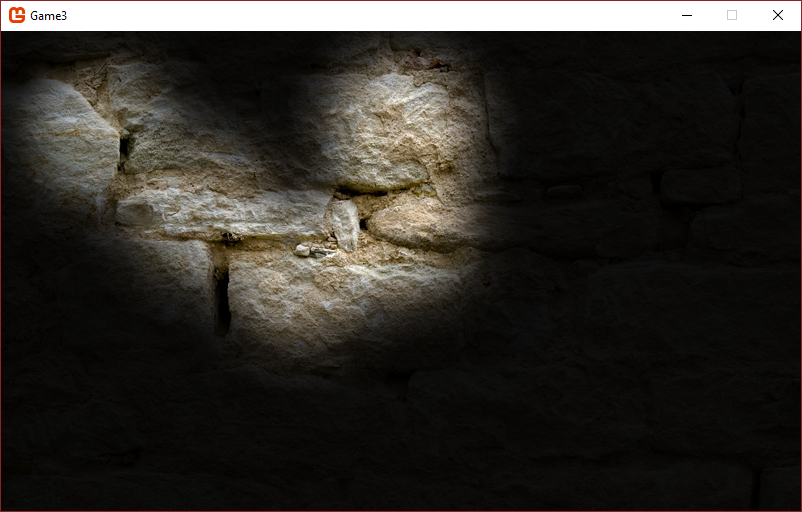
- Walls not blocking the light
My current setup
- MonoGame 3.5
- Cross Platform Project (OpenGL)
- Visual Studio 2015
- Windows 10
- Aimed for Windows, Linux and possibly Mac
All help is greatly appreciated! I’m still learning, so please if the answer is complex I’d like to have it explained for me like I was a child.


