Post statistics
Total Read Time: Approx. 18m 20s according to my TTS app. But that includes the mark-down. Spent about three days writing this up lol. Word says 1415 words.
Stats do not include this section.
Prologue - Backstory
Open Prologue
I recently ran a mini non-competitive competition on my other thread, ![]()
![]() General Conversation Thread for which the results are in this post:
General Conversation Thread for which the results are in this post:
✔ ☕ General Conversation Thread - #525 by MrValentine
Or for simplicity here is it again:
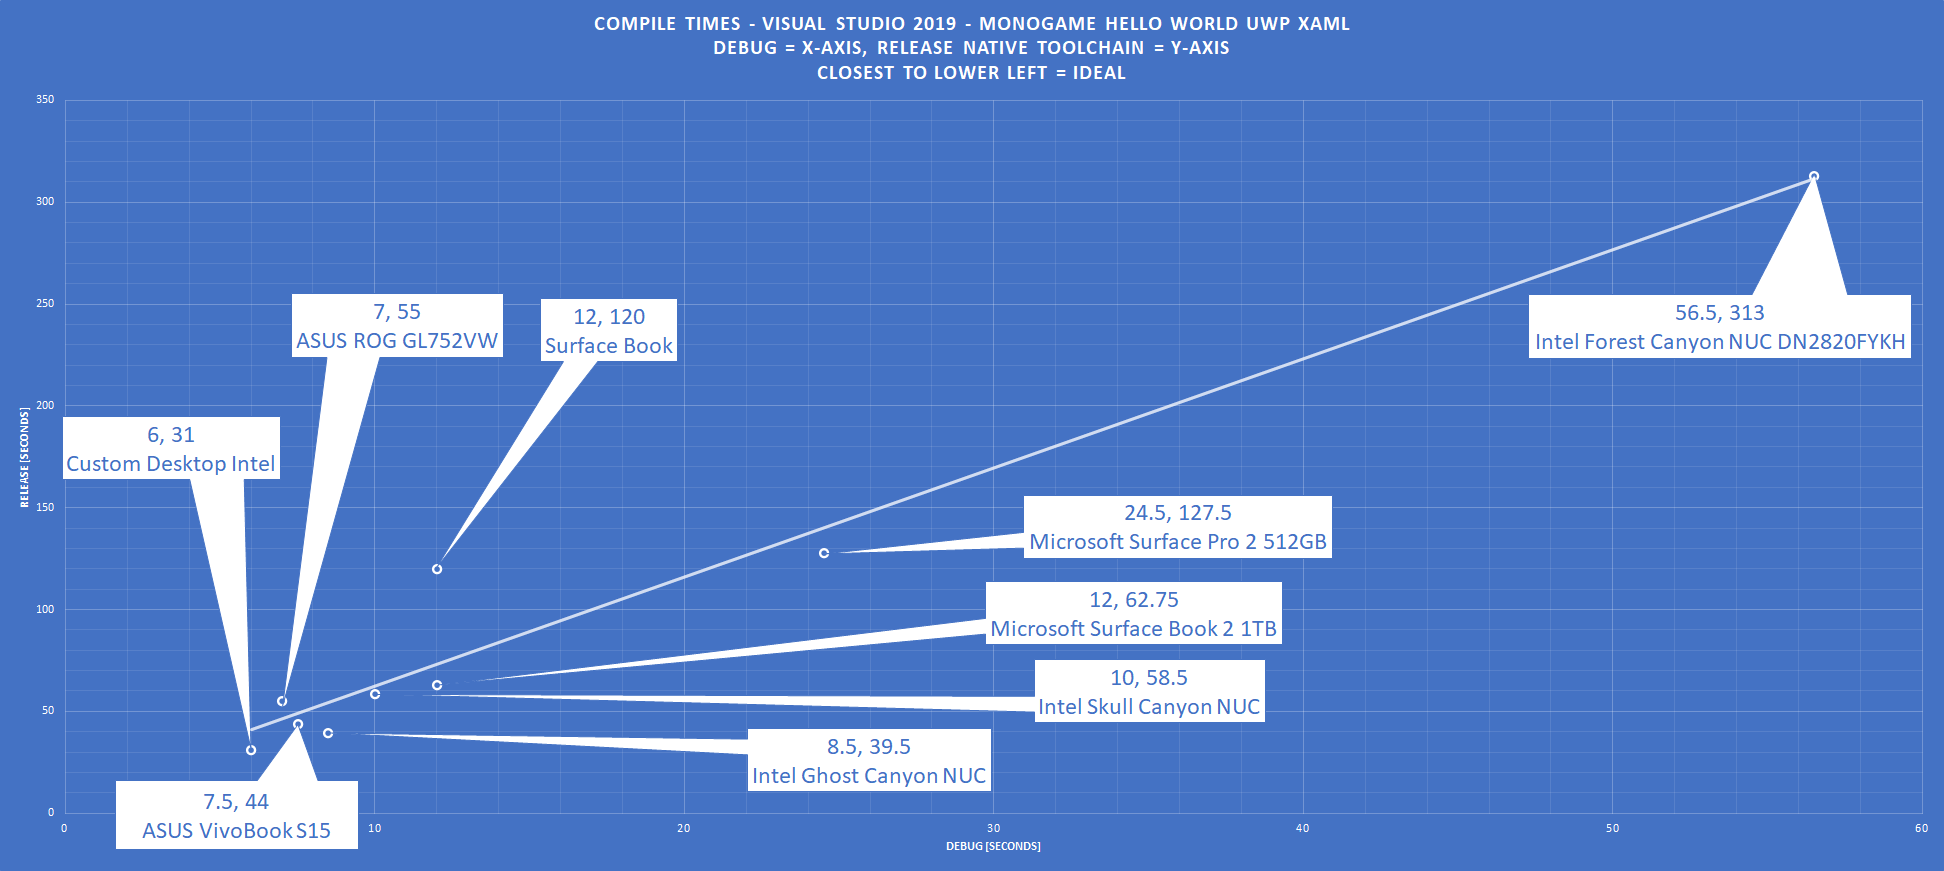
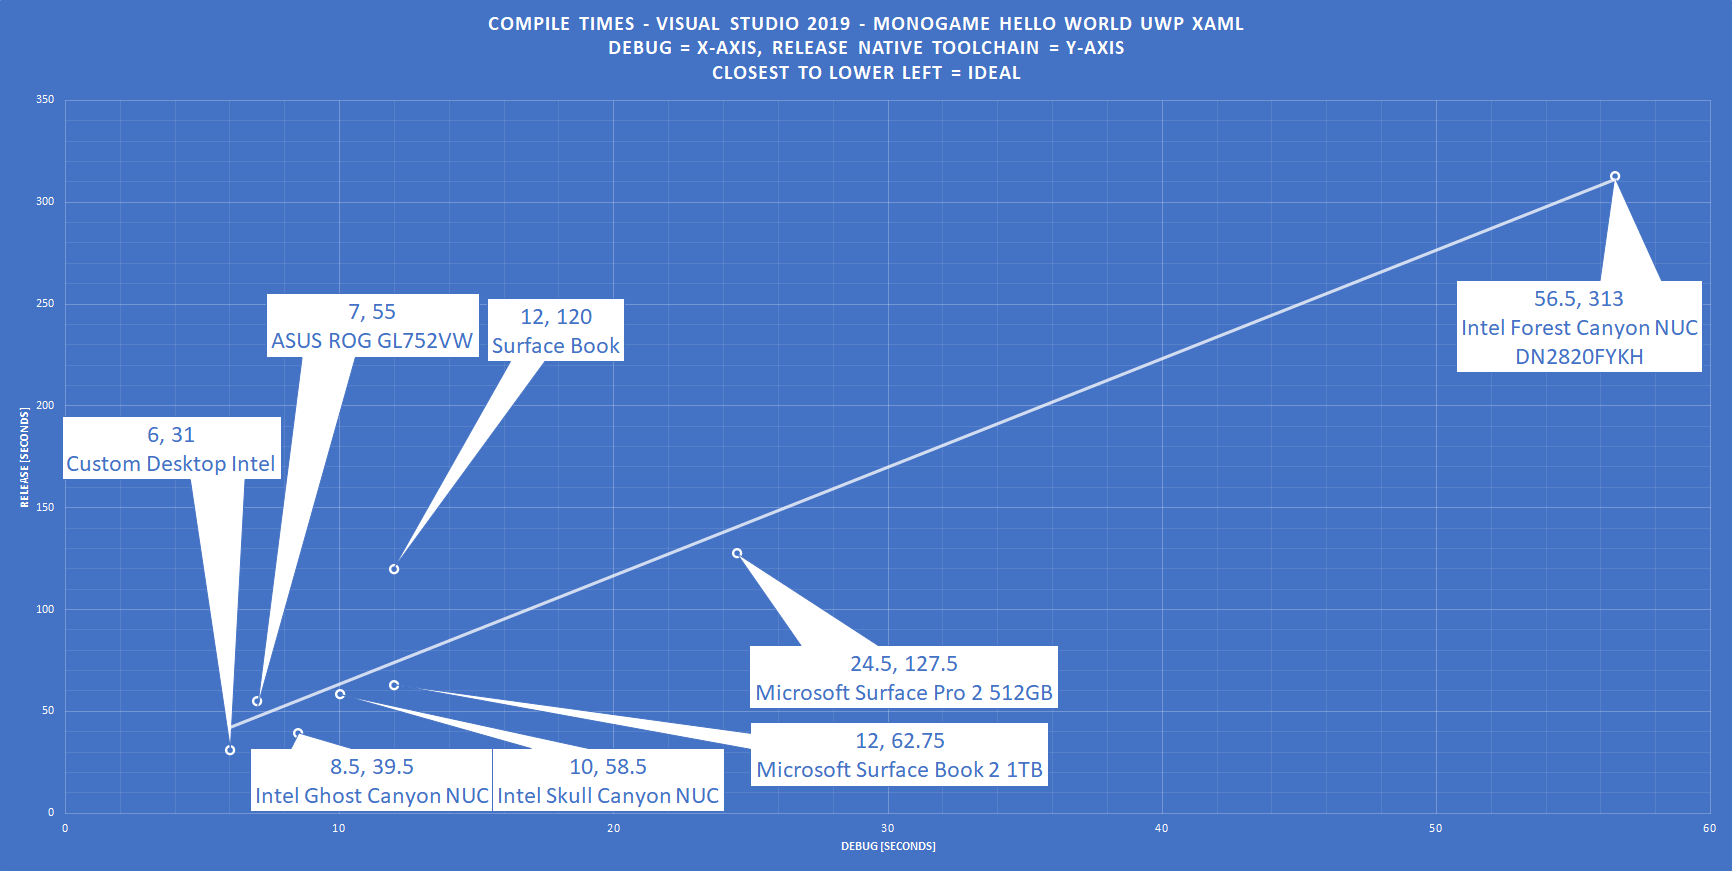
SYSTEM NAME OR TYPE CPU MAKE CPU BASE CLOCK CPU PEAK CLOCK CPU CORES CPU THREADS RAM SIZE RAM SPEED STORAGE NAME AND SIZE STORAGE TYPE DEBUG AVERAGE [seconds] RELEASE NATIVE TOOLCHAIN AVERAGE [seconds] Intel Ghost Canyon NUC Intel Core i9 9980HK 2.4 5 8 16 64 2400 Intel 760p NVMe SSD 8.5 39.5 Microsoft Surface Book 2 1TB Intel Core i7 8650U 1.9 4.2 4 8 16 1867 Samsung MZFLW1T0HMLH-000MU NVMe SSD 12 62.75 Intel Skull Canyon NUC Core i7 6770HQ 2.6 3.5 4 8 32 2400 Intel 660P 1TB x2 RAID-0 NVMe SSD 10 58.5 Intel Forest Canyon NUC DN2820FYKH Intel Celeron N2830 2.16 2.41 2 2 8 1333 Sandisk 120GB SATAIII SSD 56.5 313 Microsoft Surface Pro 2 512GB Intel Core i5 4200U 1.6 2.6 2 4 8 1600 Samsung MZMTD512HAGL-000MV 512GB SATAIII SSD 24.5 127.5 Custom Desktop Intel Intel Core i7 10875H 2.3 5.1 8 16 64 2667 1TB Samsung 970 EVO PLUS NVMe SSD 6 31 Surface Book Core i5-6300U 2.4 3 2 4 8 1867 256GB Likely Samsung NVMe SSD 12 120 ASUS ROG GL752VW Intel i7-6700HQ 2.6 3.5 4 8 16 2133 Samsung MZNLF128HCHP-00004 128GB SATAIII SSD 7 55 Simple Graph:
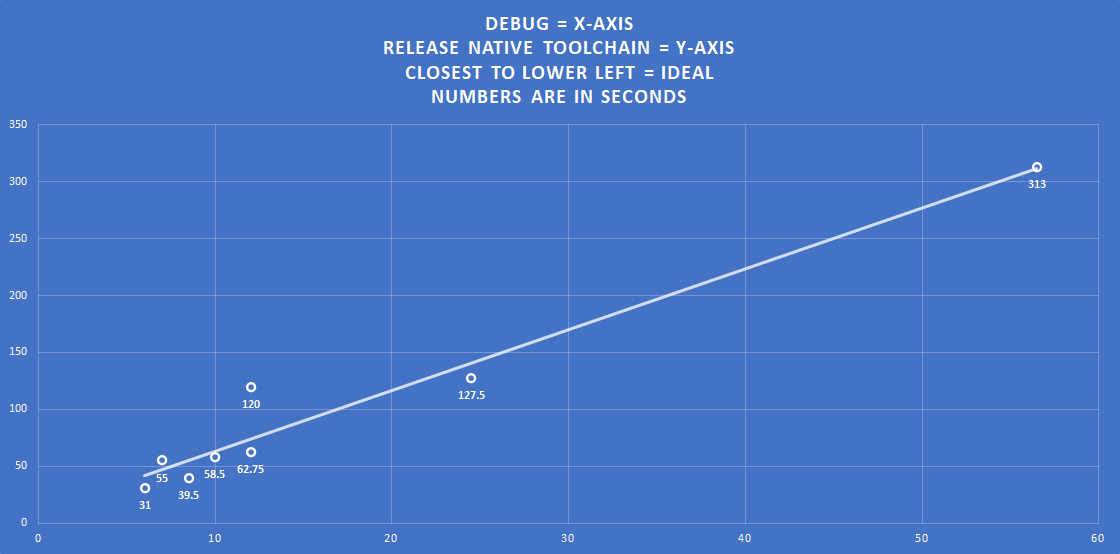
Detailed Graph:

However, a friend pit me against his 3080 upgrade a few days ago and it got me thinking, One, What’s your result? ![]() and Two, I have been thinking about discussing and creating Benchmarking in MonoGame for some time now…
and Two, I have been thinking about discussing and creating Benchmarking in MonoGame for some time now…
For those wondering, I get a nice Time Spy result:

With a 2070 RTX… he got an 18,000~ Graphics score [Not overall, he got 15,000~] with his 3080 RTX, so I cannot wait to afford a 3090 RTX! [My CPU was better]

Do share your results in here! no specs required, just a boasting thing for those who wish to participate! [Or just share the results panels as above]
Chapter One - Goals ¦ Start Here TL/DR
Open Chapter One
The main goal for this thread is code for benchmarking and building a benchmark tool as a generic testing tool! Ideally something as a MonoGame Hello World Compilation Benchmark tool! which benchmarks both the time it takes to compile and then the results for the benchmark results, a two in one goal! where the compilation time is considered! [Of course, you would need a stopwatch for when you click compile until you get the app window running or CornFlowerBlue visible]
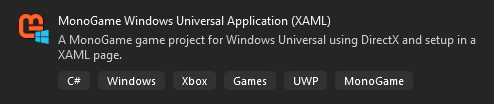
I will be utilising UWP throughout as that is my platform of choice when creating software…
However, the code will work regardless of what platform you are on so you could implement the code into your games, which is the goal here. [Though storing data files differs however for Desktop and UWP - and Android and iOS -, we will want to access debug data so likely we can use a conditional compilation symbol {bits of text code to define what is used} to use one of two codes for data storage.]
This would add a benefit to all MGDev projects I think as we can implement and include a benchmark in our game result products! same as any AAA studio!
And the win here is, complete beginners can have this from the get-go!
I have not yet decided on how I will work on this project, GitHub might be an option [I have a pro licence] so, I think that might be a good route, I can work on a private version and share a public version maybe? as I plan to release a fixed version to the store eventually, for free. I may force a licence on the tool where the project must show a specific logo or wording to point out that the code is free so that end users know there is a free version available and should people wish to build on top of the code. And to add to that, it could help grow new users here!
Yes, this is not a play-about project…
So, just getting this thread started for now to get the word out there and see if there is interest in such a project and for the rest of us to boast our systems hehe!, see! all inclusive! I will be going ahead with this project regardless of interaction.
I will likely start my next post discussing basic benchmarking and later go into more advanced discussions of metrics and calculation methods…
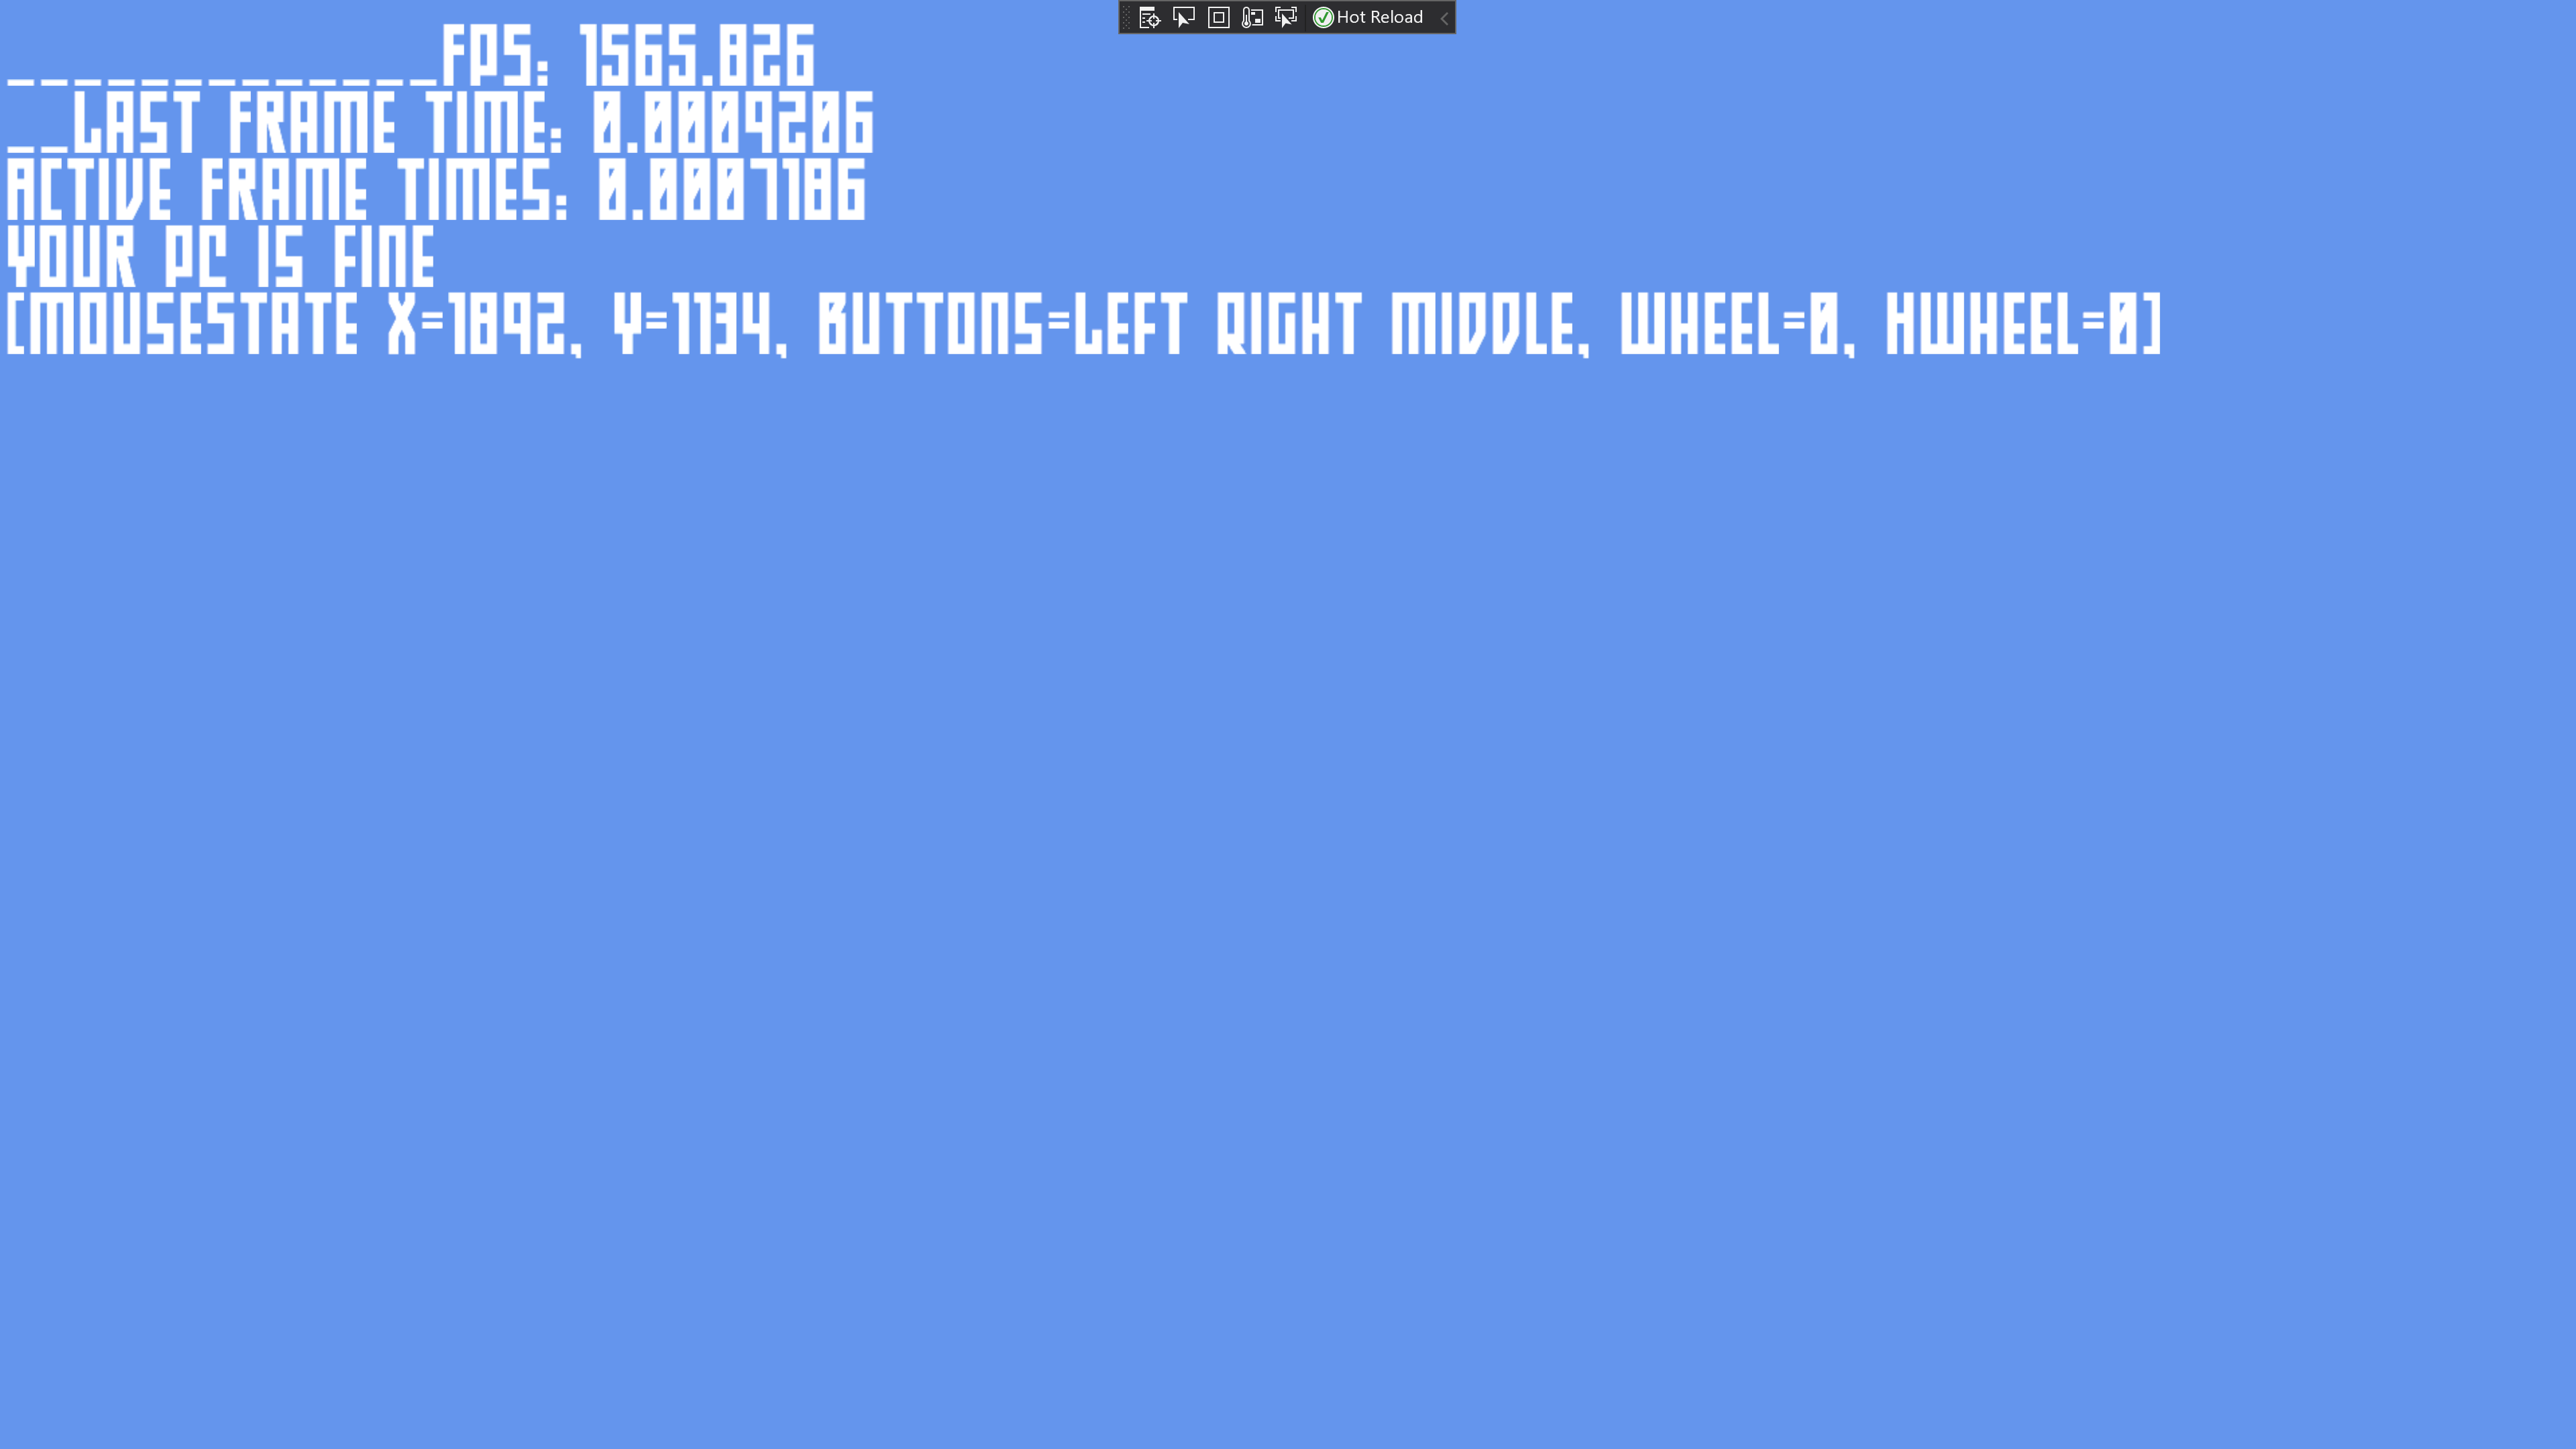
For example, a simple test app or code would be displaying simple FPS rates and upgrading it to an average FPS display… with custom fonts support… [Woops I spoke too soon, keep reading]
A more advanced discussion would be having multiple scenes and calculating the various aspects of those scenes, or how to calculate the results into a comprehensible result instead of it looking like a splatter chart… so, something like 1,569 score instead of 20,267FPS total… I have not dug into that aspect yet, but I think it will happen eventually, or we could just take the average per scene and tally that?
Chapter Two - Flashback Note
Open Chapter Two
But yeah [Looks at notes on paper], Before I forget the reason this whole idea exists…
- Do you guys remember 3D Mark 2000?
Video link here
https://www.youtube.com/watch?v=PPPVU3mjcmQ
- Here’s the full collection for memory lanes sake:
Video link here

https://www.youtube.com/watch?v=ovBUb_Yr_iw
- And an extended edition…
Video link here
https://www.youtube.com/watch?v=xs3rnFicHG8
Unfortunately YouTube videos do not function inside the details tags...
Now for me, 3D Mark 2000 was very inspirational, I have ever since wanted to create something like it. It was my first benchmark app, I tested 3DMark99 soon after as well as subsequent ones.
But copying it exact, would be a bit challenging, so I decided to do something in spirit of it, which should tick my fuzzy feelings box or something.
I should add I have some intense books on the subject and will try implementing them into the toolset somehow.
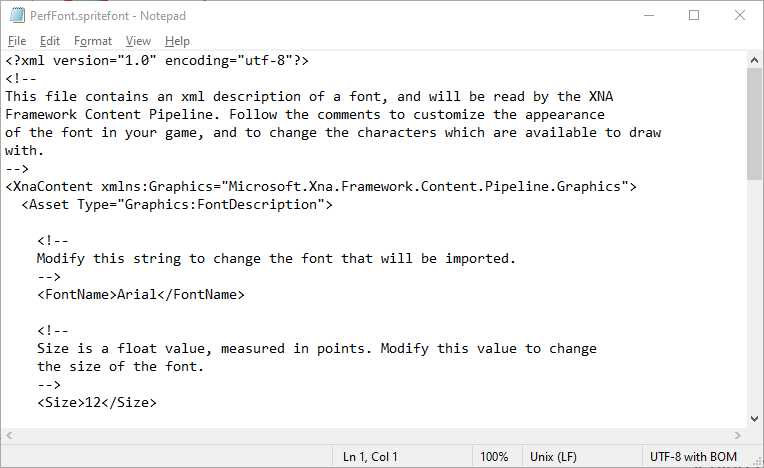
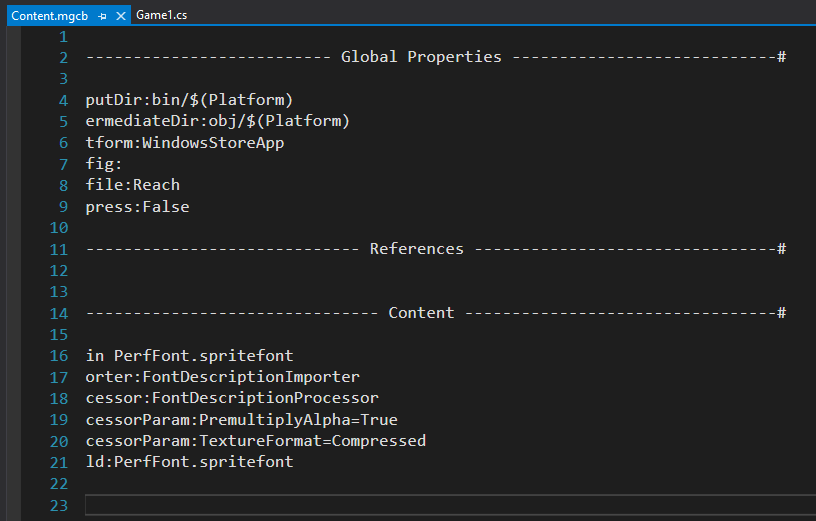
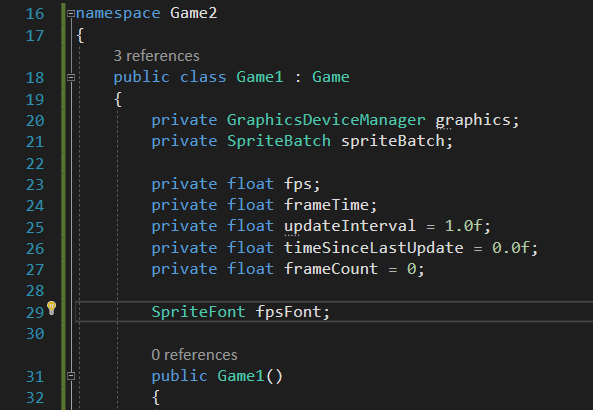
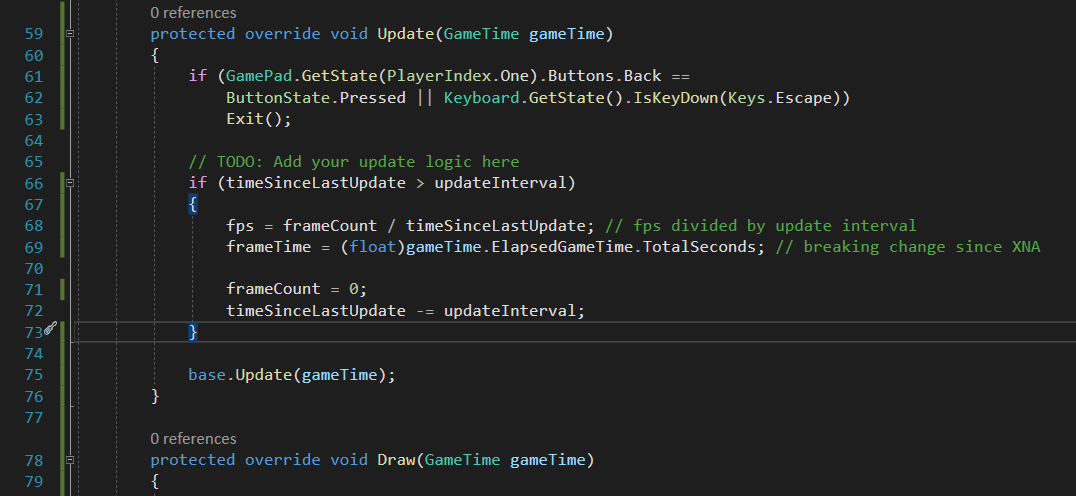
Epilogue - Gifts for Beginners*
Open The Epilogue
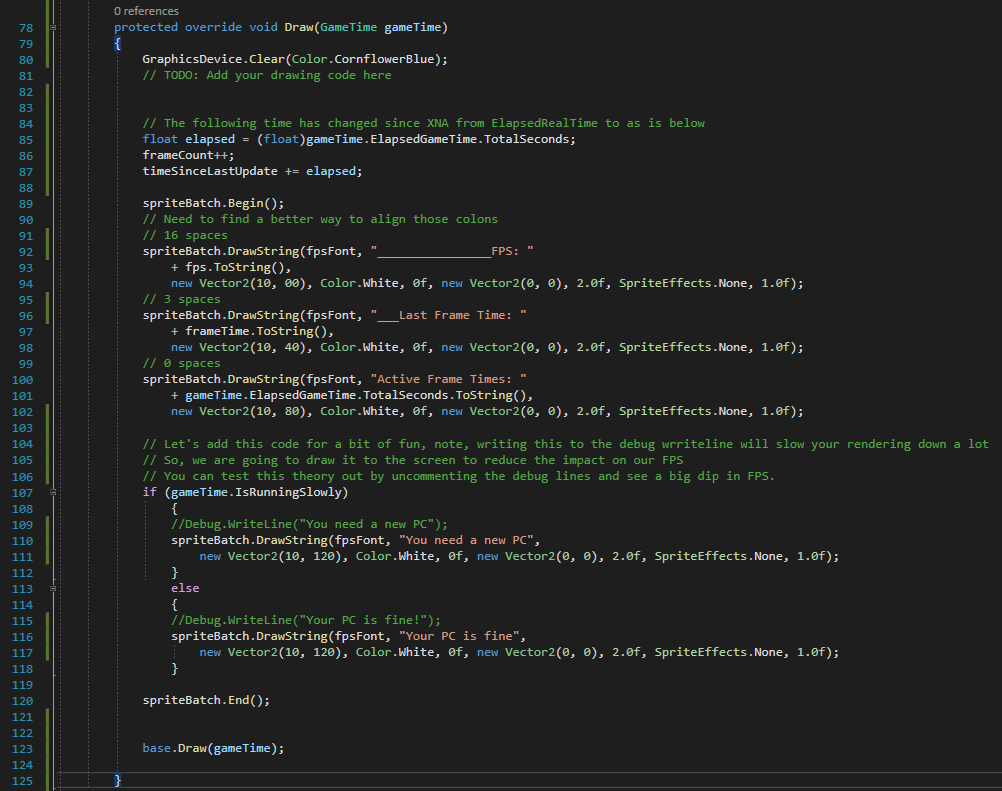
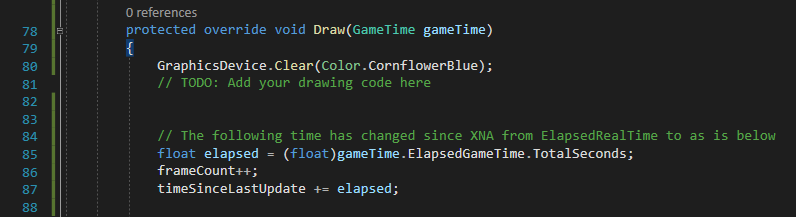
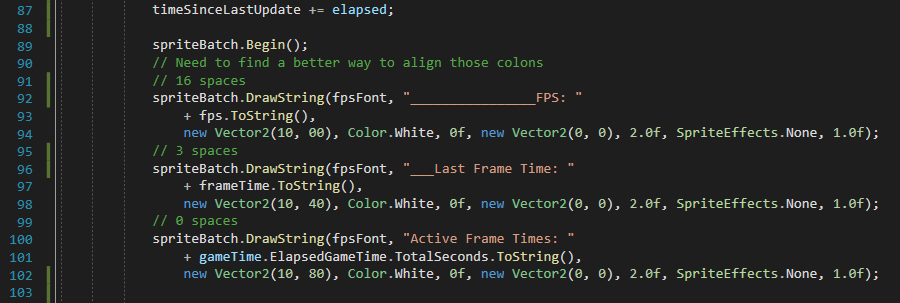
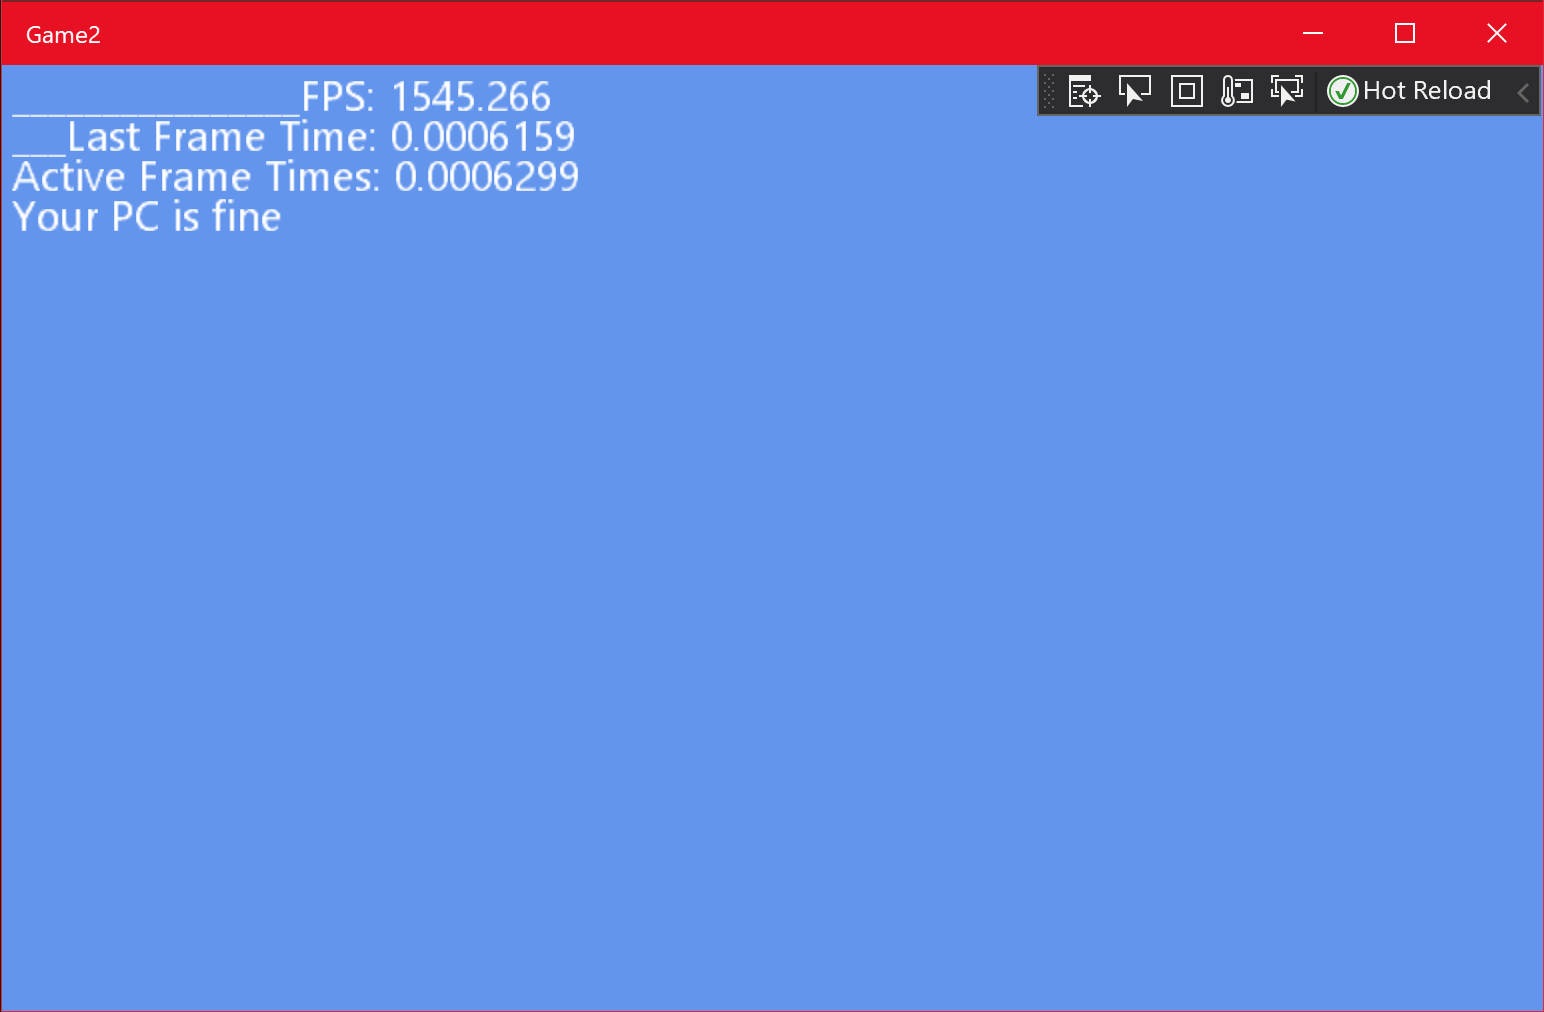
To get the beginners reading this, here’s some code to get some FPS going.
*I decided to create another post to keep this one shorter, so the code for the FPS will be posted shortly after this post.
I do hope this inspires people to give something like this a go too… the more the better! and it can make for a lovely showcase and as you will see in the Off-Topic section below, something for practice as well.
That concludes this post, below are some additional thoughts and ideas for discussion.
Thank you for reading.
Valentine.
Off-Topic Topics:
Go Hunting In The Off-Topic Forest 🌲
- Random Idea One-
I got the idea to run a mini benchmarking competition, not sure what the prize would be, but perhaps a mini MG competition just to test your skills as a personal test? could run it quarterly? This could serve as a practice project for beginners as well just so they can experience how things go together or something.
- Random Idea Two-
A side question, who would like me to review the various books I have on XNA/MG? hmm I need a webcam… maybe…
- Random Idea Three-
Is there a way to cascade sections of a post on the forum? [SOLVED]
Look at this link
An Unofficial Discourse User Reference Guide - TechForum Site and Post Help - DigiKey TechForum - An Electronic Component and Engineering Solution Forum
Yep, looks like there is a way to do that but here’s something handy for beginners on the forum! [The software used for this forum is called Discourse], See below.
Click for the link for the above
"Hide" shortcode - #12 by zogstrip - Feature - Discourse Meta
Here is the raw code view link
https://meta.discourse.org/raw/25585/12
To see how this is done, click on the DigiKey link and read the bottom of the first post there
A general post on the topic here regarding BBCode and MarkDown
Direct link to the start of the tutorial:
Is there any reference documentation for post formatting? - #2 by mcwumbly - Support - Discourse Meta
The listing and link to the tutorial:
Markdown Reference
Another handy Code link finally just cs
Direct link to a forum thread:
Selecting the programming language used in code blocks - Using Discourse - Discourse Meta
A Final Note
Yes, I do author novels, just slowly now.
And do tell me if you love or hate this format, it takes some time to get it like this, but I believe it is cleaner to navigate.
Another Final Note
I might create a forum post writing app if anyone is interested, I may get on it sooner.


")