Hey, Valentine here.
So, not long ago I started learning to code, it was something I’ve always wanted to do since the late 90’s. Around that time, I first played a game called Final Fantasy VII (7) in 1997. But then I also got lucky and played Final Fantasy Tactics too (Both are on the iPad now, go play!) among many other RPG games.
I have played many more classic games than these too, from the SNES and Mega Drive eras (and other consoles), but for some reason the PSOne kind of clicked for me (I recently bought the NES Classic Mini, SNES Classic Mini and PlayStation Classic… mainly for research, honestly! {More on this later}).
And then, in 1999, Age of Empires II (AOE II) came out and I played the demo for an entire night with high school the next morning; that was a great nap in French class.
That got me ever more interested in making my own games (AOE II), however sadly I did not know nor have the right connections at the time and thus; did not know where to begin. And so, it sat on the back burner for over a decade…
A little side track, you may be wondering, what this post was made for?
My goal with this thread was to share my roots in coding; and then show how going it the custom route can be done by very much beginners (in plain English, I mean people who have very little background in math {Mathematics} and coding in general).
So, where was I…
Quite a lot in life and time went by and then finally at the end of 2010, I decided to take the challenge seriously. I remembered something that came on a demo disk back in 2008, spent three days looking for the files; found them! I went to the developer’s website and… no, I ended up doing some market research for competitors to make sure I was making the right choice; competition was lacklustre and so, I went ahead and clicked download.
Now, at this time (end of 2010), I was already aware of Visual Basic and C#, actually I was aware of C# around 1999 (It launched in 2000) and over the years, heard of VB over and over but as I was not in Code Like A Mad Man mode, I never looked at them properly; with the old nonsensical saying of: You Need Math Skills, looming over my head. What a fallacy that was (more on that later).
But this was BASIC based code (the stuff on the 2008 demo disk), a more fundamental basic level (or high-level code) code base, so from this I could learn the functions and code structure involved in coding, without the OOP (Object Oriented Programming) complexity as well as C/C++ confusing my progress.
I strongly advise beginners to look at BASIC, either in practice (there are options which are still functionally out there) or in theory just to learn how Top Down Coding functioned, not to mention who created it and for what (you may be surprised, more on that here: BASIC - Wikipedia); should be able to find a good documentary regarding BASIC on the streamers out there.
In short, I got to understand how functions made things happen, how they related to one another and how you could combine them for various effects in a game world (remember, I was completely new to programming at this point). I also got used to the dot methods (This is when a period is placed after a word followed by another word {Like this: Player1.LivesRemaining}, you may come across this when playing with Strings or Error Messages and Class data) for accessing sub data in data structures; in other words, I had a soft introduction to the OOP paradigm(more info on that here: Object-oriented programming - Wikipedia).
Personally, I highly recommend complete beginners to grab a book on Visual Basic, and then strike up a book on C and then another on C++ (I do not claim to understand programming by the way, I cannot remember how things piece together without referencing something), you can either choose to simply read through them or go about entering the code too (Though this would help you a lot, especially with seeing how the code editor reacts as you code). And then I also suggest a good starter short book on C#, you are welcome to ask me which books I used (And which I recommend for complete beginners), I don’t want to come across as a ‘pusher’ (lol) so just PM me instead if you would like ‘the list’ or if enough people ask on this thread, I will amend this post to show my book collection on this subject.
Once you have these basics down - I personally took the long road through C# fundamentals (more like a thorough walk-through of C#) - and you also understand the core of the .NET framework fundamentals too, - but not the new and latest stuff - C# 2012 and .NET 4.5 (Actually the book I used has those in the title) was my route, I highly recommend that route and then picking up the new stuff. But I was not done there, I took another run through C# with an illustrated book to dive deeper into C#, all before I looked at MonoGame (but if you prefer jumping in, read on).
And here I am today…
I am taking a semi detour again; but this time through C# but with XNA (More on that here: Microsoft XNA - Wikipedia), that is to say… MonoGame…
Recently came across a book I had not looked at before and purchased it earlier today, and then some other factors got me thinking, hey, if I am going to go through another 468-page book, I may as well document my progress in some way now. Because I use a lot of book resources, posting code makes me feel awkward, however some code I feel stuck on and if the code is rather rudimentary; I may post a support thread every now and then to get it working. In general, I wanted this thread to serve as a Showcase type post, but I have decided to leave this in the General listing instead.
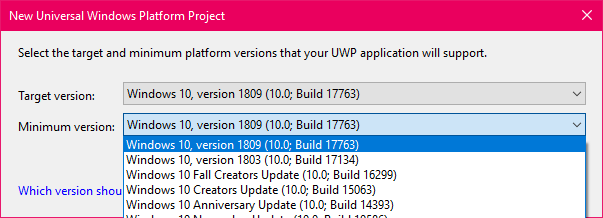
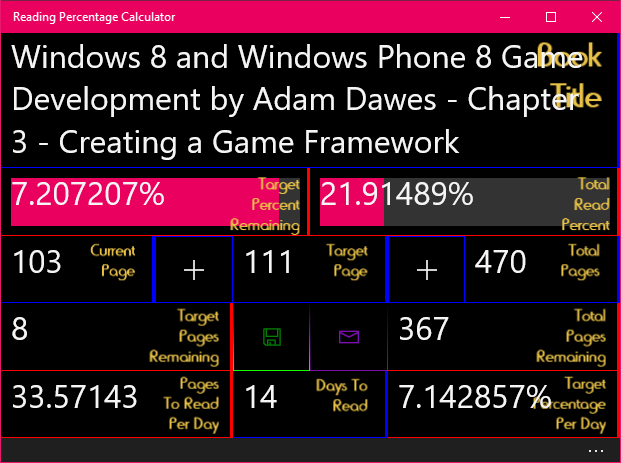
I have two starting point books, and skipping this latest addition, plan to go through my Windows UWP route as that is where I will be directing my efforts in this thread; that other book, is 470 pages thick. As such, you will see a lot of XAML and UWP based content in here for some time, perhaps a month or two.
I will try to (after creating custom assets) post as many videos as I can (I have no intention of keeping archives however, so, if my YouTube channel goes down {seems to be a trend these days, though I may utilise Vimeo at some point}, those videos will likely disappear for good, you have been informed lol) but they will simply be showcase videos, which I will also compile into a single video at some point, though for those wishing to recreate each effect, I will disclose the books and chapters I followed to make the various video showcases; upon request that is.
Back on me for a moment…
So, a little about where I come from, I was never good at Mathematics, or even English or even high school, I am partially blind, which goes some way to explain why I sucked at school really… And so, some things occurred which made me skip my high schools final year, so, I dropped out of typical education routes, and as such, in 2010, when I finally got into (Oh I finally remembered where I left off while writing this by the way) coding,
I still suffered from a lack of essential coding mathematics, basically: Algebra and Trigonometry among other skills such as Geometry. Basic math I can understand but Algebra, never quite got there, I have many math books now but it’s not for me really, though I will try more in the coming months to get up to scratch somewhat. Reading for me is one of the toughest challenges due to my vision issues, it might explain why you may have seen me on here for so long, but I have not really shown much for it; I intend to change this in the coming months (Hmm, sounds familiar, this time is different).
Oh, right, so at the end of 2010 I got into this BASIC based coding toolset, and for a time I was content, it was like speaking to a computer in text and telling it what I wanted it to do, perfect! However as with all good things, it ended and I was forced at an early time to move into C#, and so it was at this point around 2013 that I started looking into future options to move into, and then I discovered MonoGame while looking into XNA, I knew then that this was where I should be heading.
But I knew nothing about C and C++ and C#, but I had heard about Visual Basic (VB) over the years and thought, maybe I could learn that. Some time went by and my coding skills became more confident, I eventually decided I would shoot through VB briefly and direct my focus onto C/C++ and C#, hence the long route I took as mentioned already (You may not be aware of this but VB and C# used to have parity, meaning you could do pretty much the same in both languages, however, recently this is no longer the case {You can find out more in this article I found after a quick web search on the matter: Is it the beginning of the end for Visual Basic? Microsoft to focus on 'core scenarios' • The Register - in short, you are best using C# for MG}). I want to cut this short here as a lot happened between then and joining up on this forum.
So, with my skills in C# somewhat worked upon, I just need to get through a couple of books, my main reason for taking so long is, I really wanted a blog that I developed using ASP.NET to document my progress, and as with anything, life got in the way. So, here I am again, this time hoping to document as a blog, on the forum for the time being to move things forward.
As you may have noticed, somewhere up there; my short-term memory and long-term memory lack some effect.
If I missed out explaining anything or if you want to know more about anything, just ask here, you might be helping me or others in doing so too.
Anyway… TL; DR.
This thread is mainly for UWP focussed projects, I will share what I can to help other - UWP with XAML - project developers (Thinking about it, I may even investigate UI creation, as I do intend to port to other platforms in future - That’s where I may document Apple platform development too).
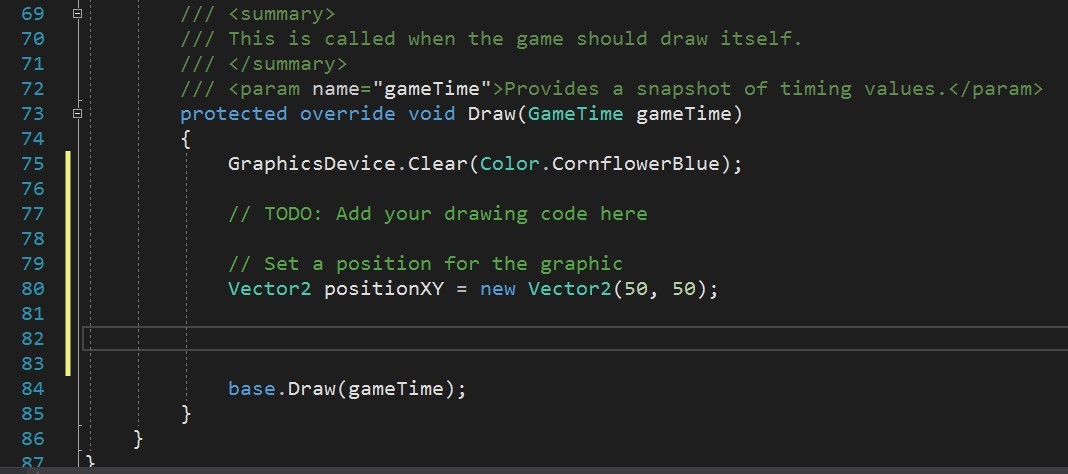
I am finally digging deep with MonoGame, and I will document my progress here. I won’t be sharing too much code (for now), but I will be demonstrating various (oftentimes unrelated) techniques and effects and such; throughout my progress that is. My main goal is to show what can be done and easily achieved with MonoGame.
Jumping aside, when new to coding or game development, there are a few options these days, there are simple coding languages as mentioned above, advanced coding languages such as C++ where you develop from the bare knuckles by interfacing with the operating system and graphics engines (no thanks) and then there are the newer options where you use a mostly point and click tool such as Unity or Unreal or the like. Then you may be thinking; where does that place MonoGame?
MonoGame, for me, sits in the middle ground - somewhere between advanced coding as well as point and click - the point and click aspect can be tools such as Blender3D or your own tools which you create for say, level design.
This is where I love MonoGame (MG), you can create the tools you need; using MG itself (On top of your platform of choice).
So, if I want to create, say, a character model making tool, I can, or a level designer for 2D or 3D games, I can, or perhaps a particle effect tool, the option is there. Some may be thinking, why though? When tools such as MilkShape3D and Blender3D exist - not to mention Unity’s visual editor - and the reason is simply, because we can, but that’s just the short answer; the long answer is, workflow compatibility and having just the functionality and usability required to keep your workflow going. Yes, you must invest time and energy into these tools, but seldom does it take little longer than learning market tools anyway.
A good example for this would be model making, sometimes you get into issues exporting a model and displaying it correctly, this can creep up on you over and over, especially if you change your model making methods (say, static objects to animated meshes).
Another core reason is, MonoGame has a very little-to-none cost for learning and getting started, so you could take your time with it, and a bonus, it costs you nothing to publish (where MG is concerned); personally I would be happy to contribute something back to the project, say, a % of revenue earned that you are happy to give back to help keep it going.
It’s not for me to explain what the history of MonoGame is, so I will simply direct you to this page: http://www.monogame.net/about/ where you can learn all about MG and I would like to direct your attention to the link at the bottom which links to: http://www.monogame.net/donate/ which is where you can contribute to the MG project, please do it when you are able to. I should probably point out at this point that I am simply just another community member here.
What I would like to put forward is, that in learning to code using C#, you can gain some highly transferrable skills (not forgetting to mention you could easily transfer to C/C++ too, but do say goodbye to the garbage collector, though you could still keep that, Hello .NET), with routes you might not have guessed, finance being one of them. You could also transfer all your skills into other mainstream game development projects, in major game studios. You could develop your own software across many platforms - heck, even start your own chat app after learning how networking works for multiplayer game development - and heck, C# is still huge in the enterprise sector, so if you decide coding is not for you or game development overall, you haven’t really lost too much; if anything, you got some major plus marks on your resume.
Now, coming back to when I mentioned buying those classic consoles, I have been partial to 3D game development as I find it easier to understand and far more interactive, but I have recently started to consider 2D development and so, think I might develop my first game in 2D and along the way, show some interesting things as I learn them.
At present I am unable to support the MG project financially, but I hope in doing this here; I can help grow the community and assist where possible as I focus more time on coding with MG.
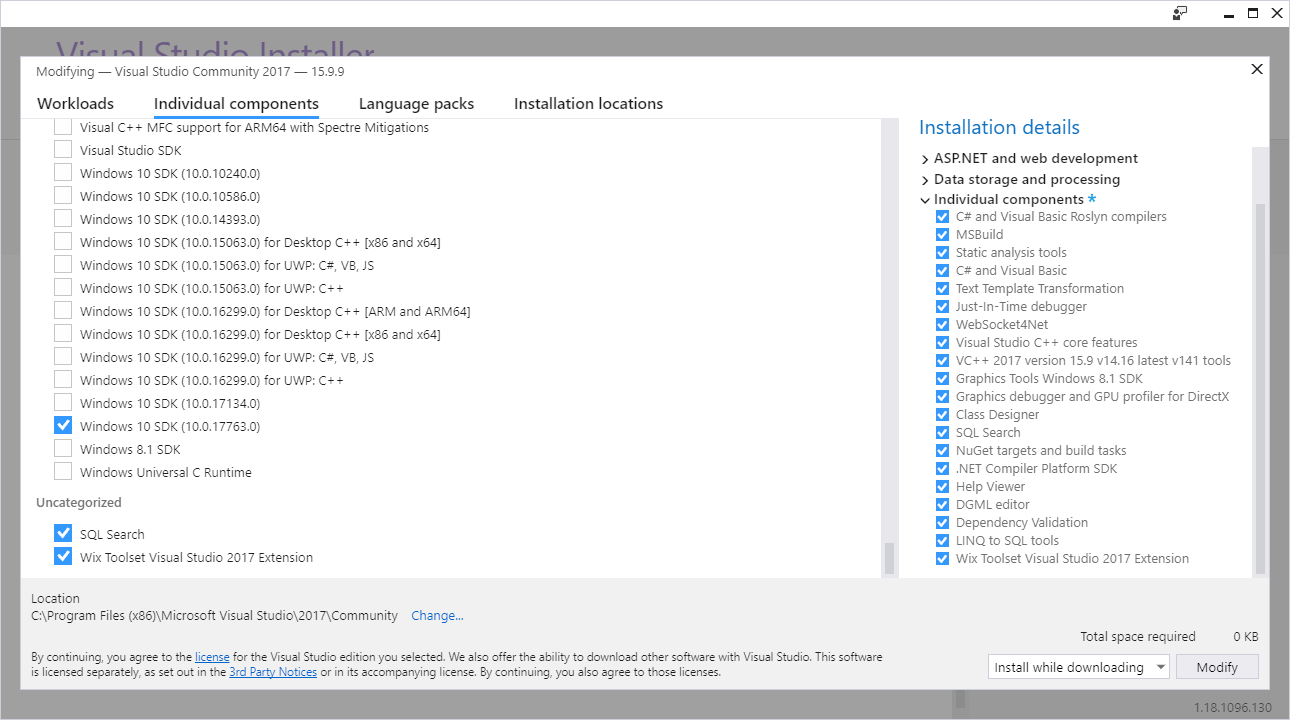
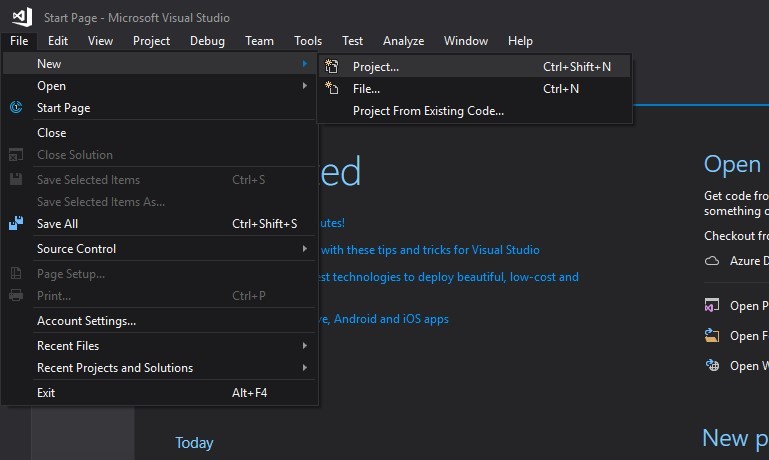
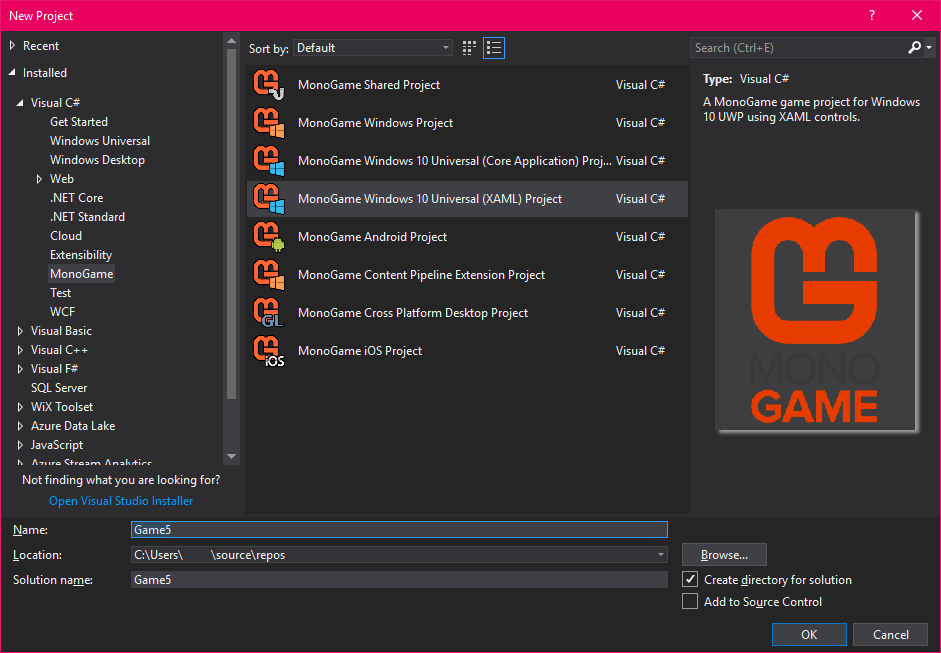
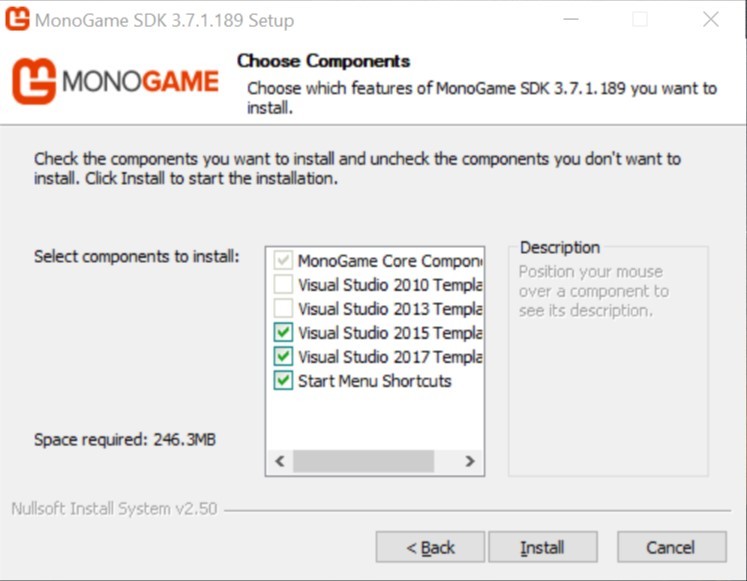
The first book I have to get through is based on MonoGame 3.0, a lot has changed since then and as such I will try to put together a guide on getting MG installed and set up, though this is often easier said than done, as many users come across issues simply installing (I have yet to have these) MonoGame (my route here will be Visual Studio and MonoGame Executable Release {not Dev Branches}).
Going back on math skills… Do you really need math skills? Yes, but not so much advanced skills as there will likely be a tutorial explaining concepts here and there; though improving them (your math skills) as you go, will only help you more. As I mentioned it being a fallacy on you needing advanced math skills, this was something that may have been true in the past, however these days, less so as documentation and tutorials and videos and such are in the multitudes, you just need to understand how things correlate with one-another to make things work as you wish them to, but again, getting your math levels up a bit never hurt, try reading a math book on your daily commute.
Adding to the skillset talk:
What other skills do you need if going it alone?
- 3D modelling [to help cut down on project cost]
- 2D art [useful in many ways]
- Video Editing [useful for marketing and cutting your bottom line further]
- Project Management [a very essential skill, and highly transferrable too]
- More to follow in future.
If I had to spend money, where should I focus it?
- Art [marketing material / concept art, box art {yes, it is still a thing}] – by way of hiring a professional artist, look for sites like Fiverr that can help reduce this cost.
- Music [nothing beats a track made specially for your game, many indie games today have professionally made soundtracks, a bonus; you can use them in your showcase videos]
- Assets [These are things like: game levels, objects, player characters and effects – as well as music and sound effects]
- More to follow in future.
So, anyway, before this hits page 8 in Word, I guess I should conclude this for now as the start of something big and un-wielding, long and tiring, joyful and rewarding!
If you really need an install and first project setup guide with the current (currently 3.7.1 release and Visual Studio 2017 {2019 is almost in public release} as on March 24th, 2019) release of MG, I can make one for UWP development with XAML for now.
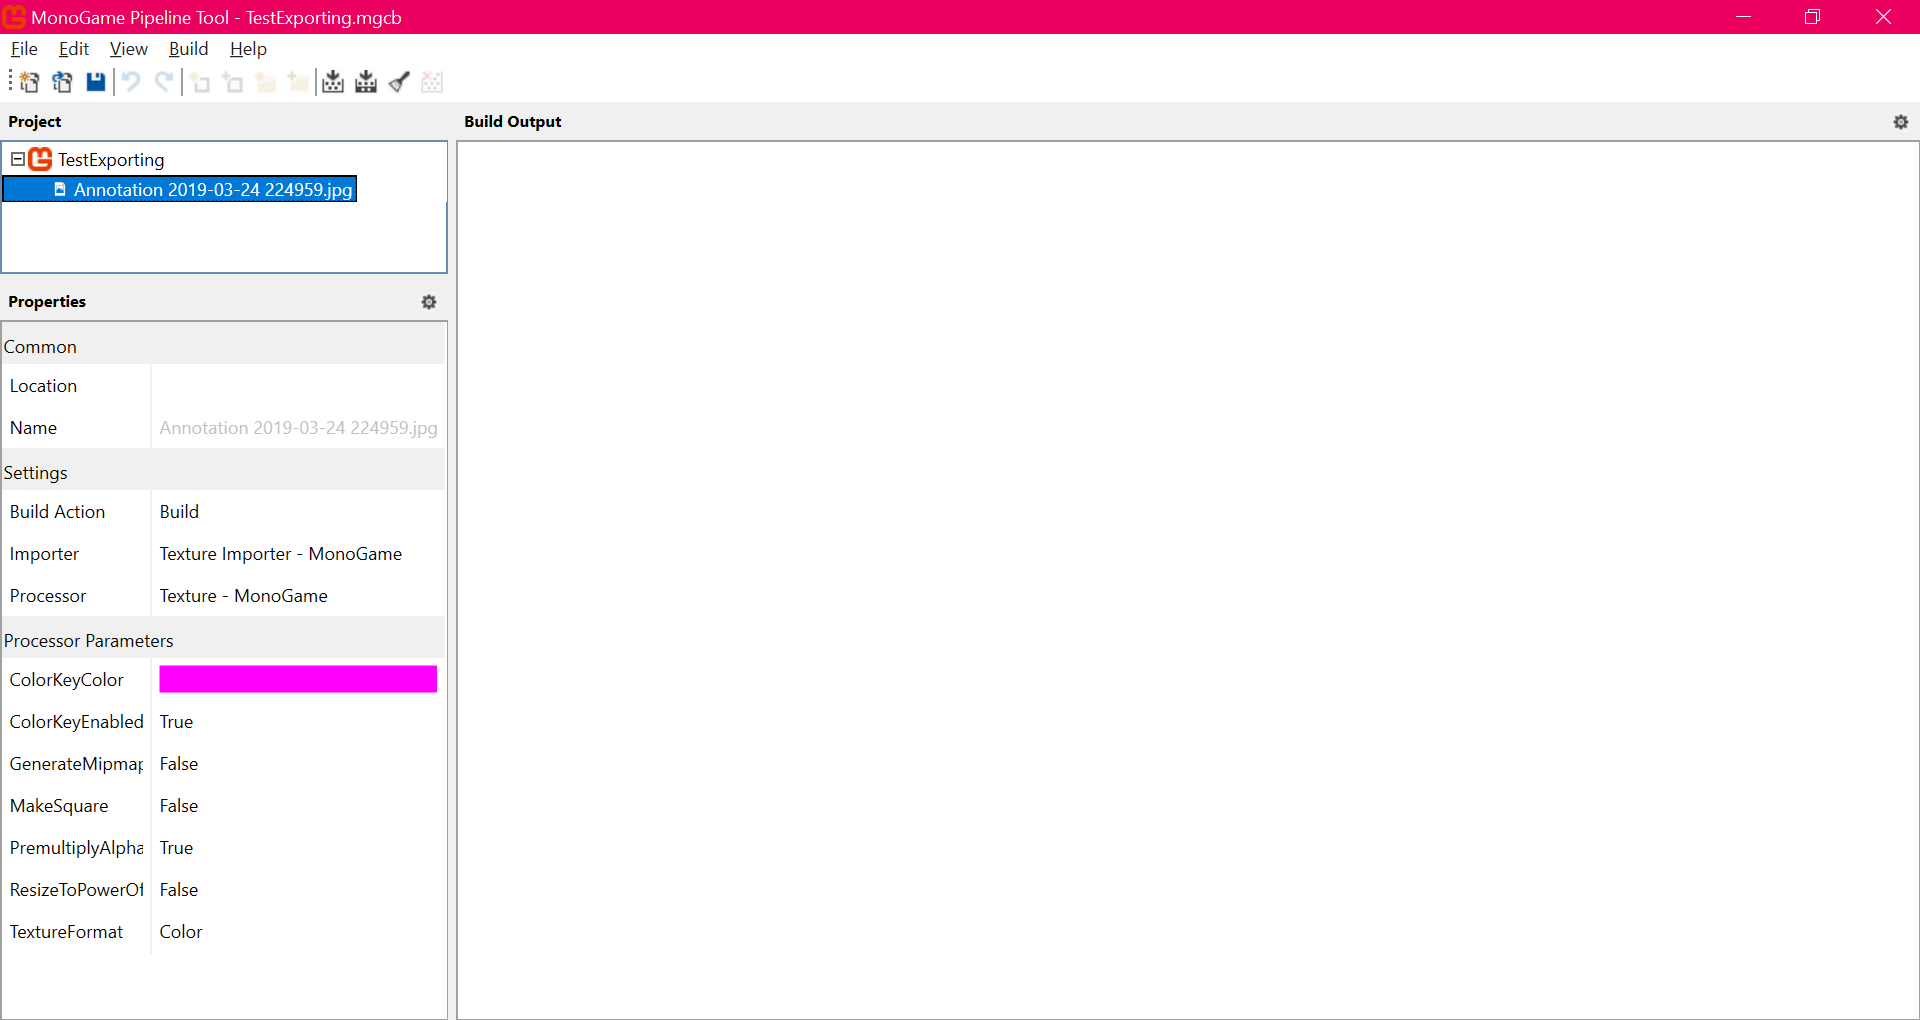
One thing I know right now is, you really want to run your Pipeline tool on a dedicated computer or a VM.
Not sure how to end or start this here, so let me get through a few chapters and I will update back here later this coming week.
Valentine, over and out for now.
EDIT
Current Posts:
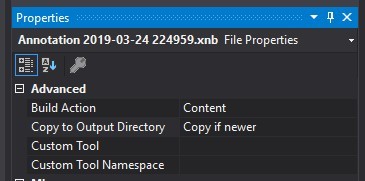
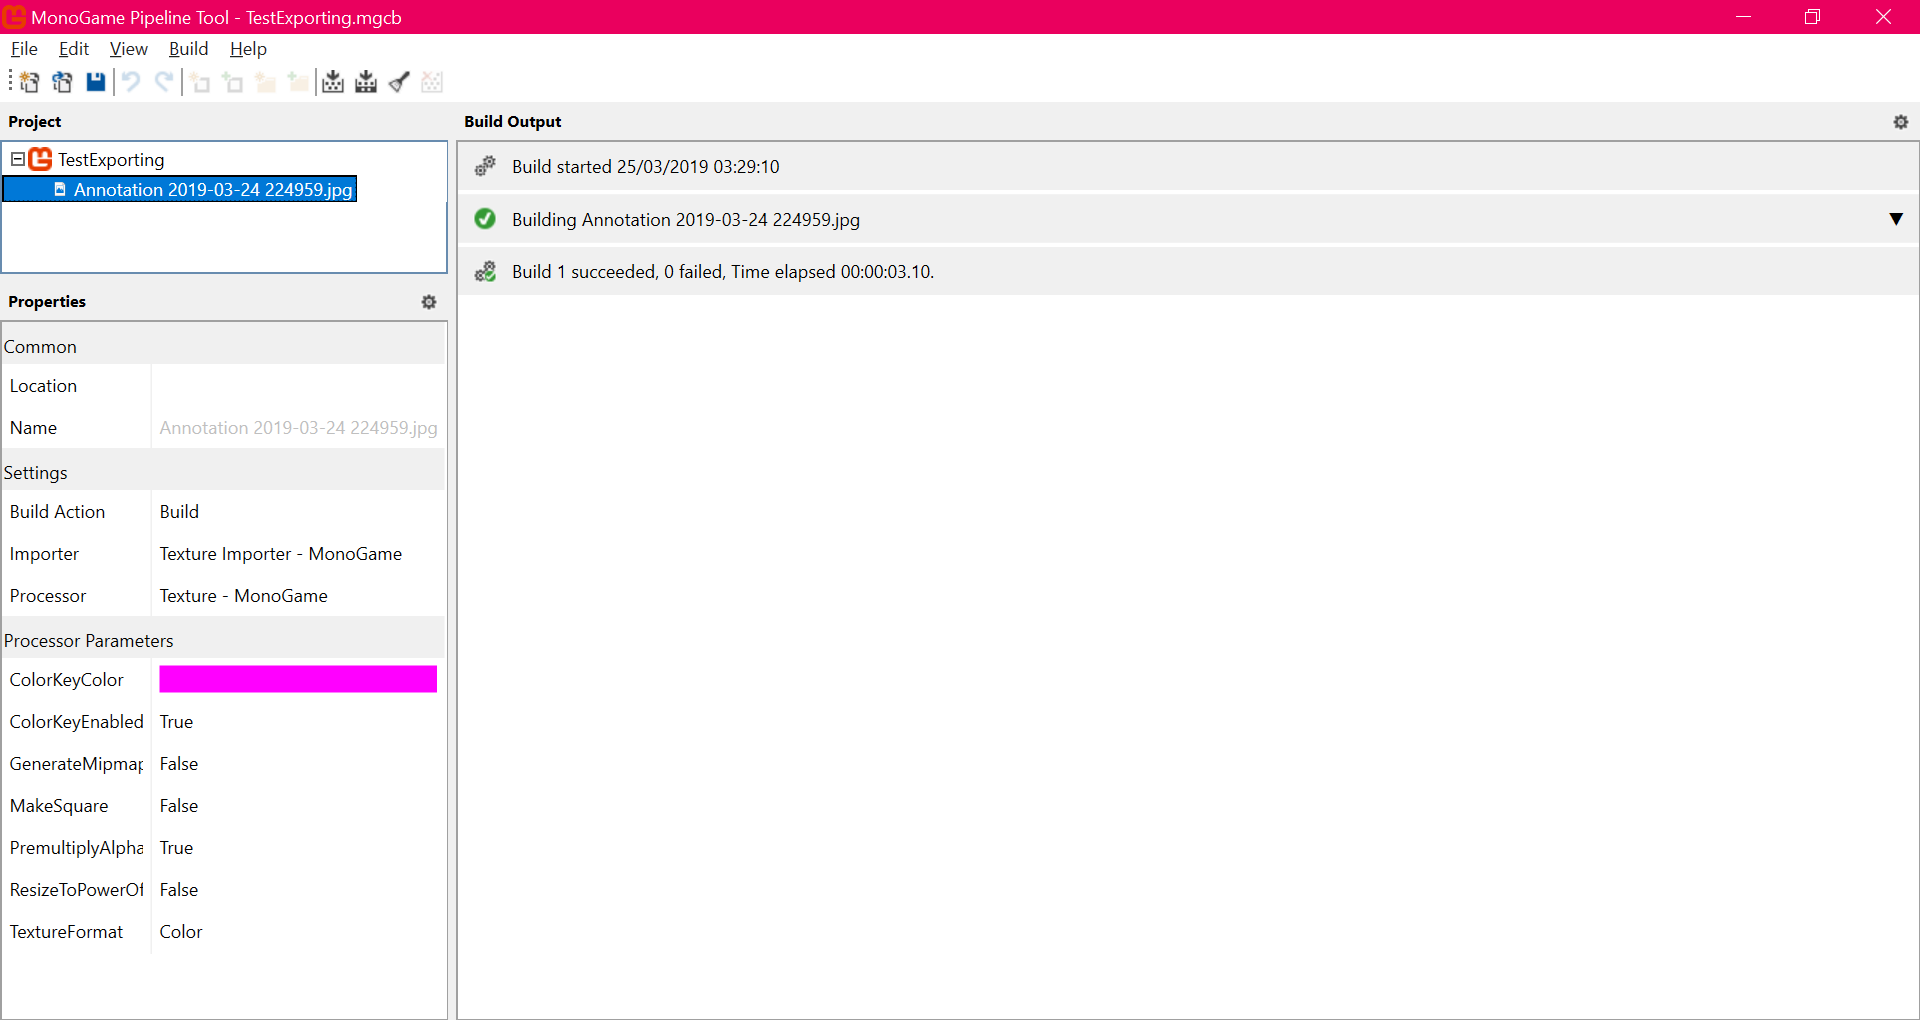
Setting up Content Pipeline
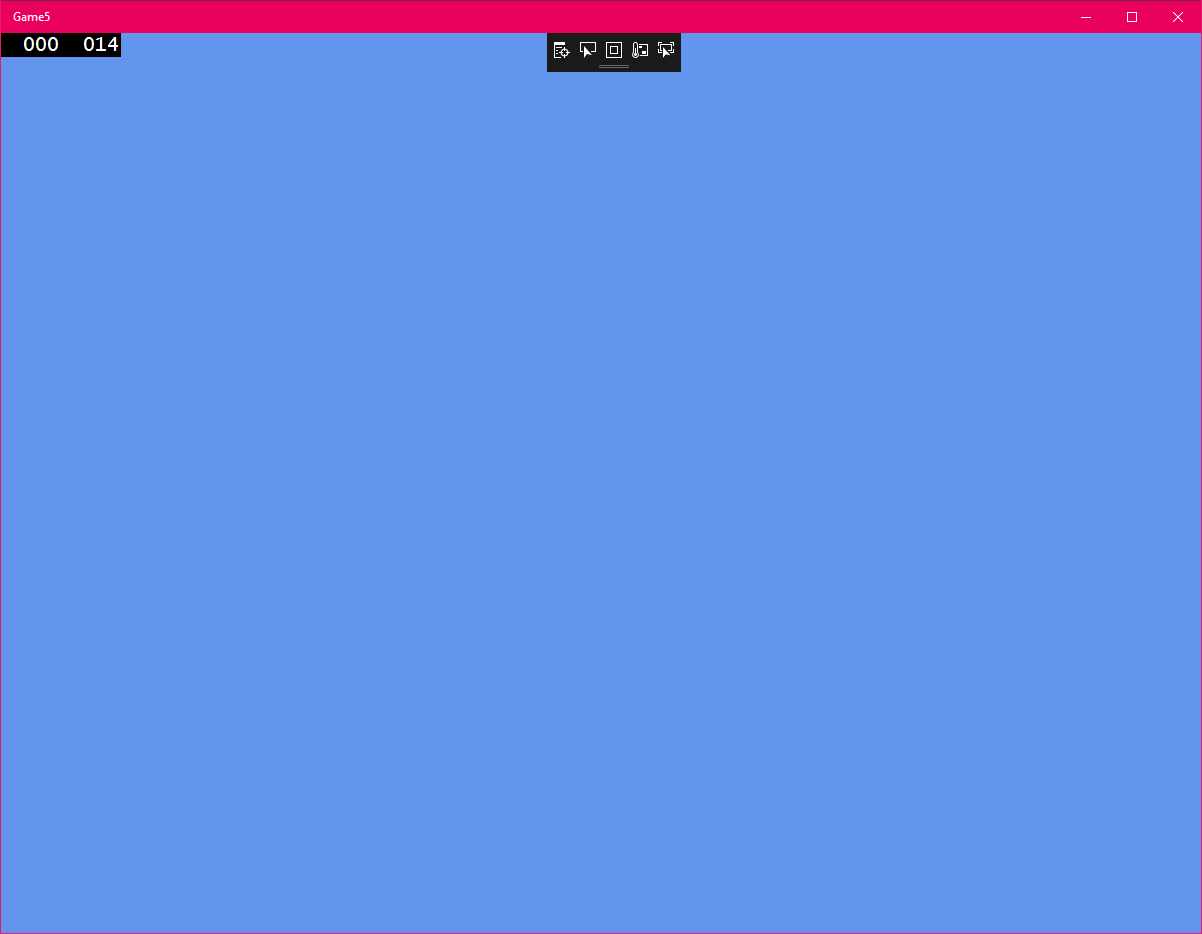
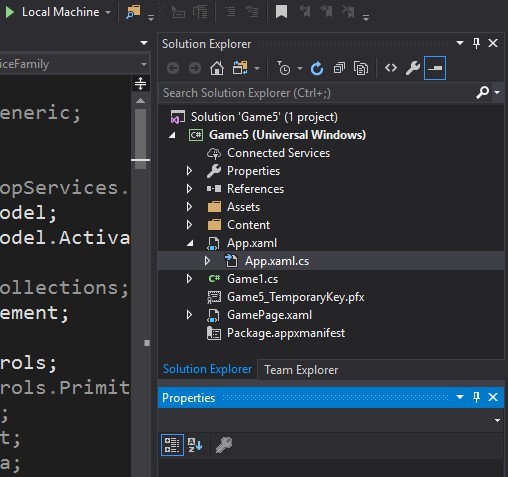
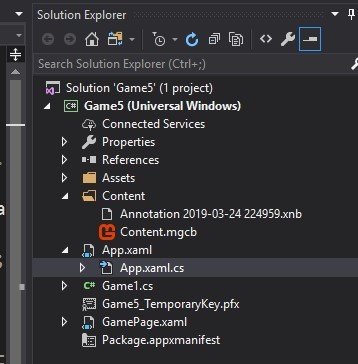
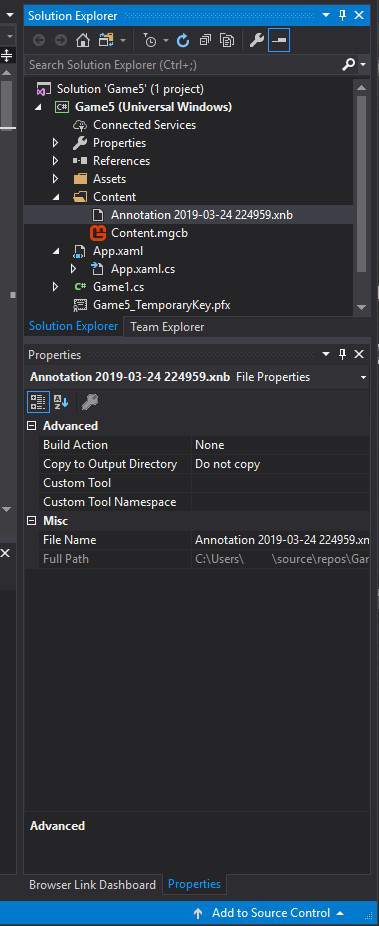
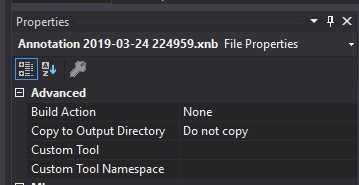
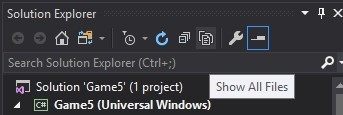
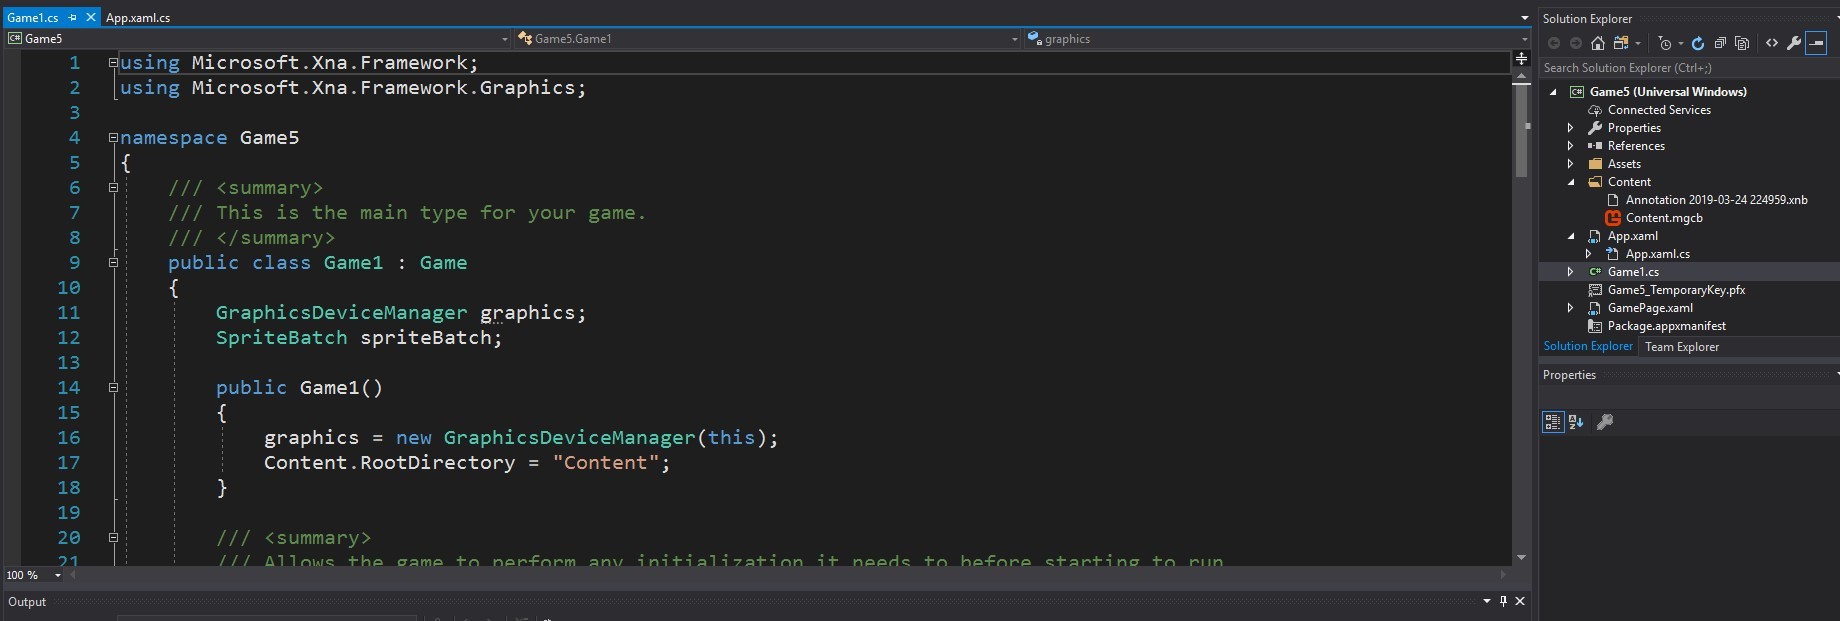
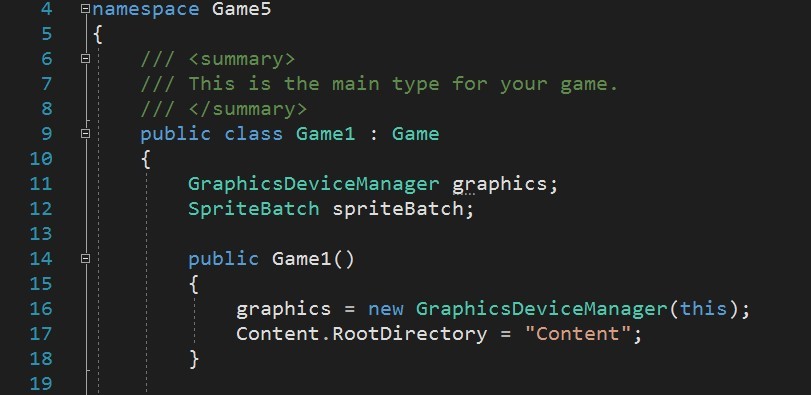
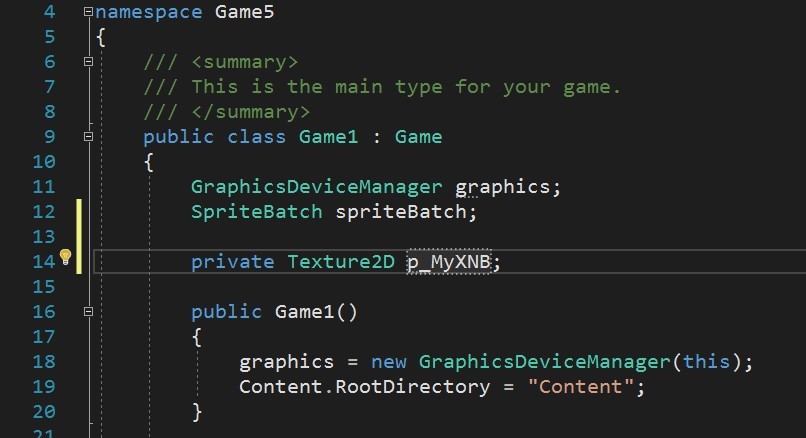
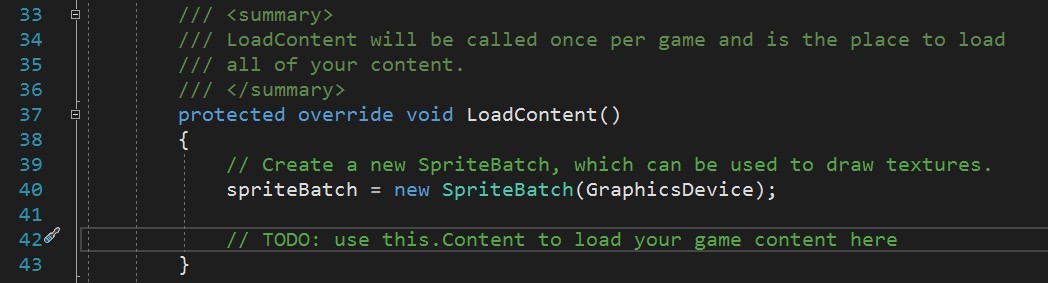
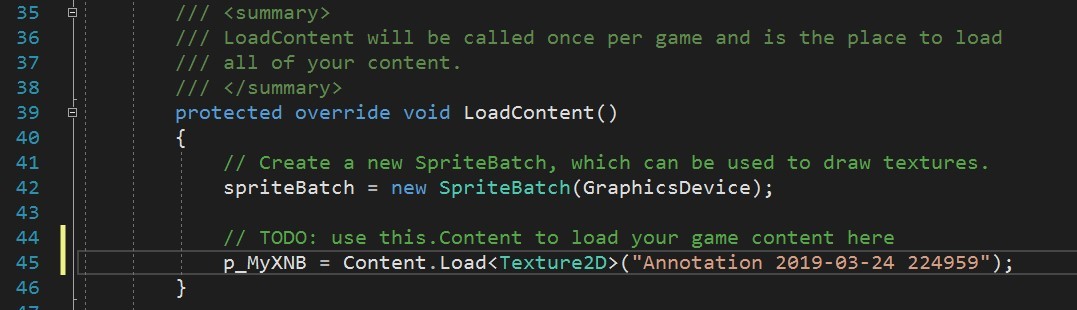
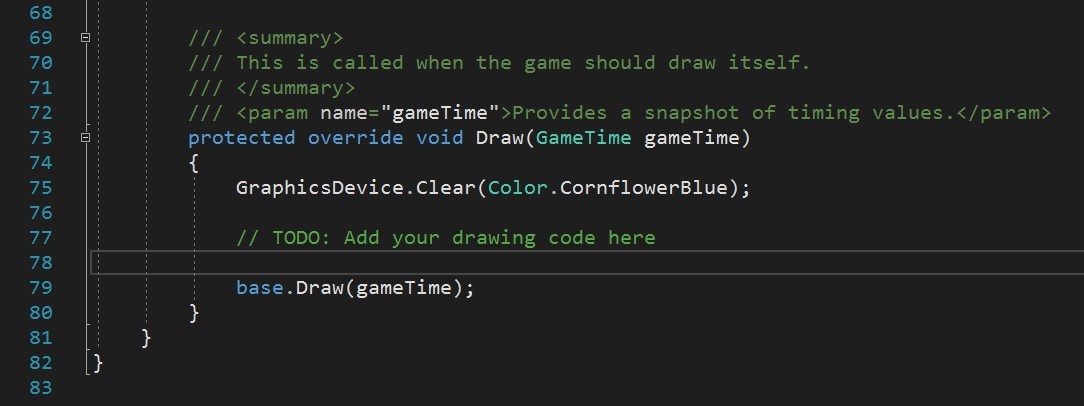
First UWP XAML Project Setup with Asset Import and Display
Upcoming:
Nothing planned as of yet.
EDIT
Decided to share my study progress:
Don’t forget my two other threads:
Useful links related to MonoGame:
A thread where you can discuss pretty much anything, especially coding techniques…
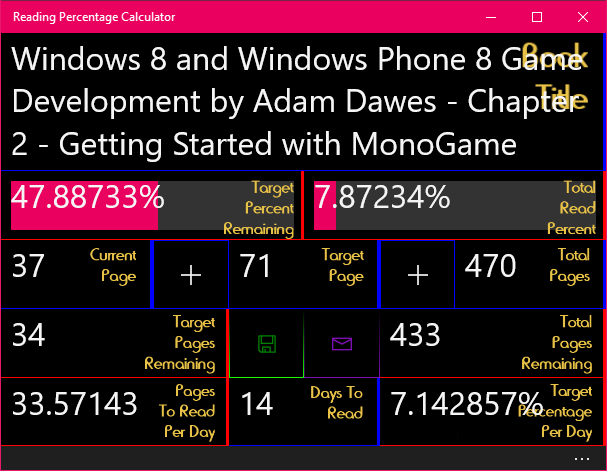


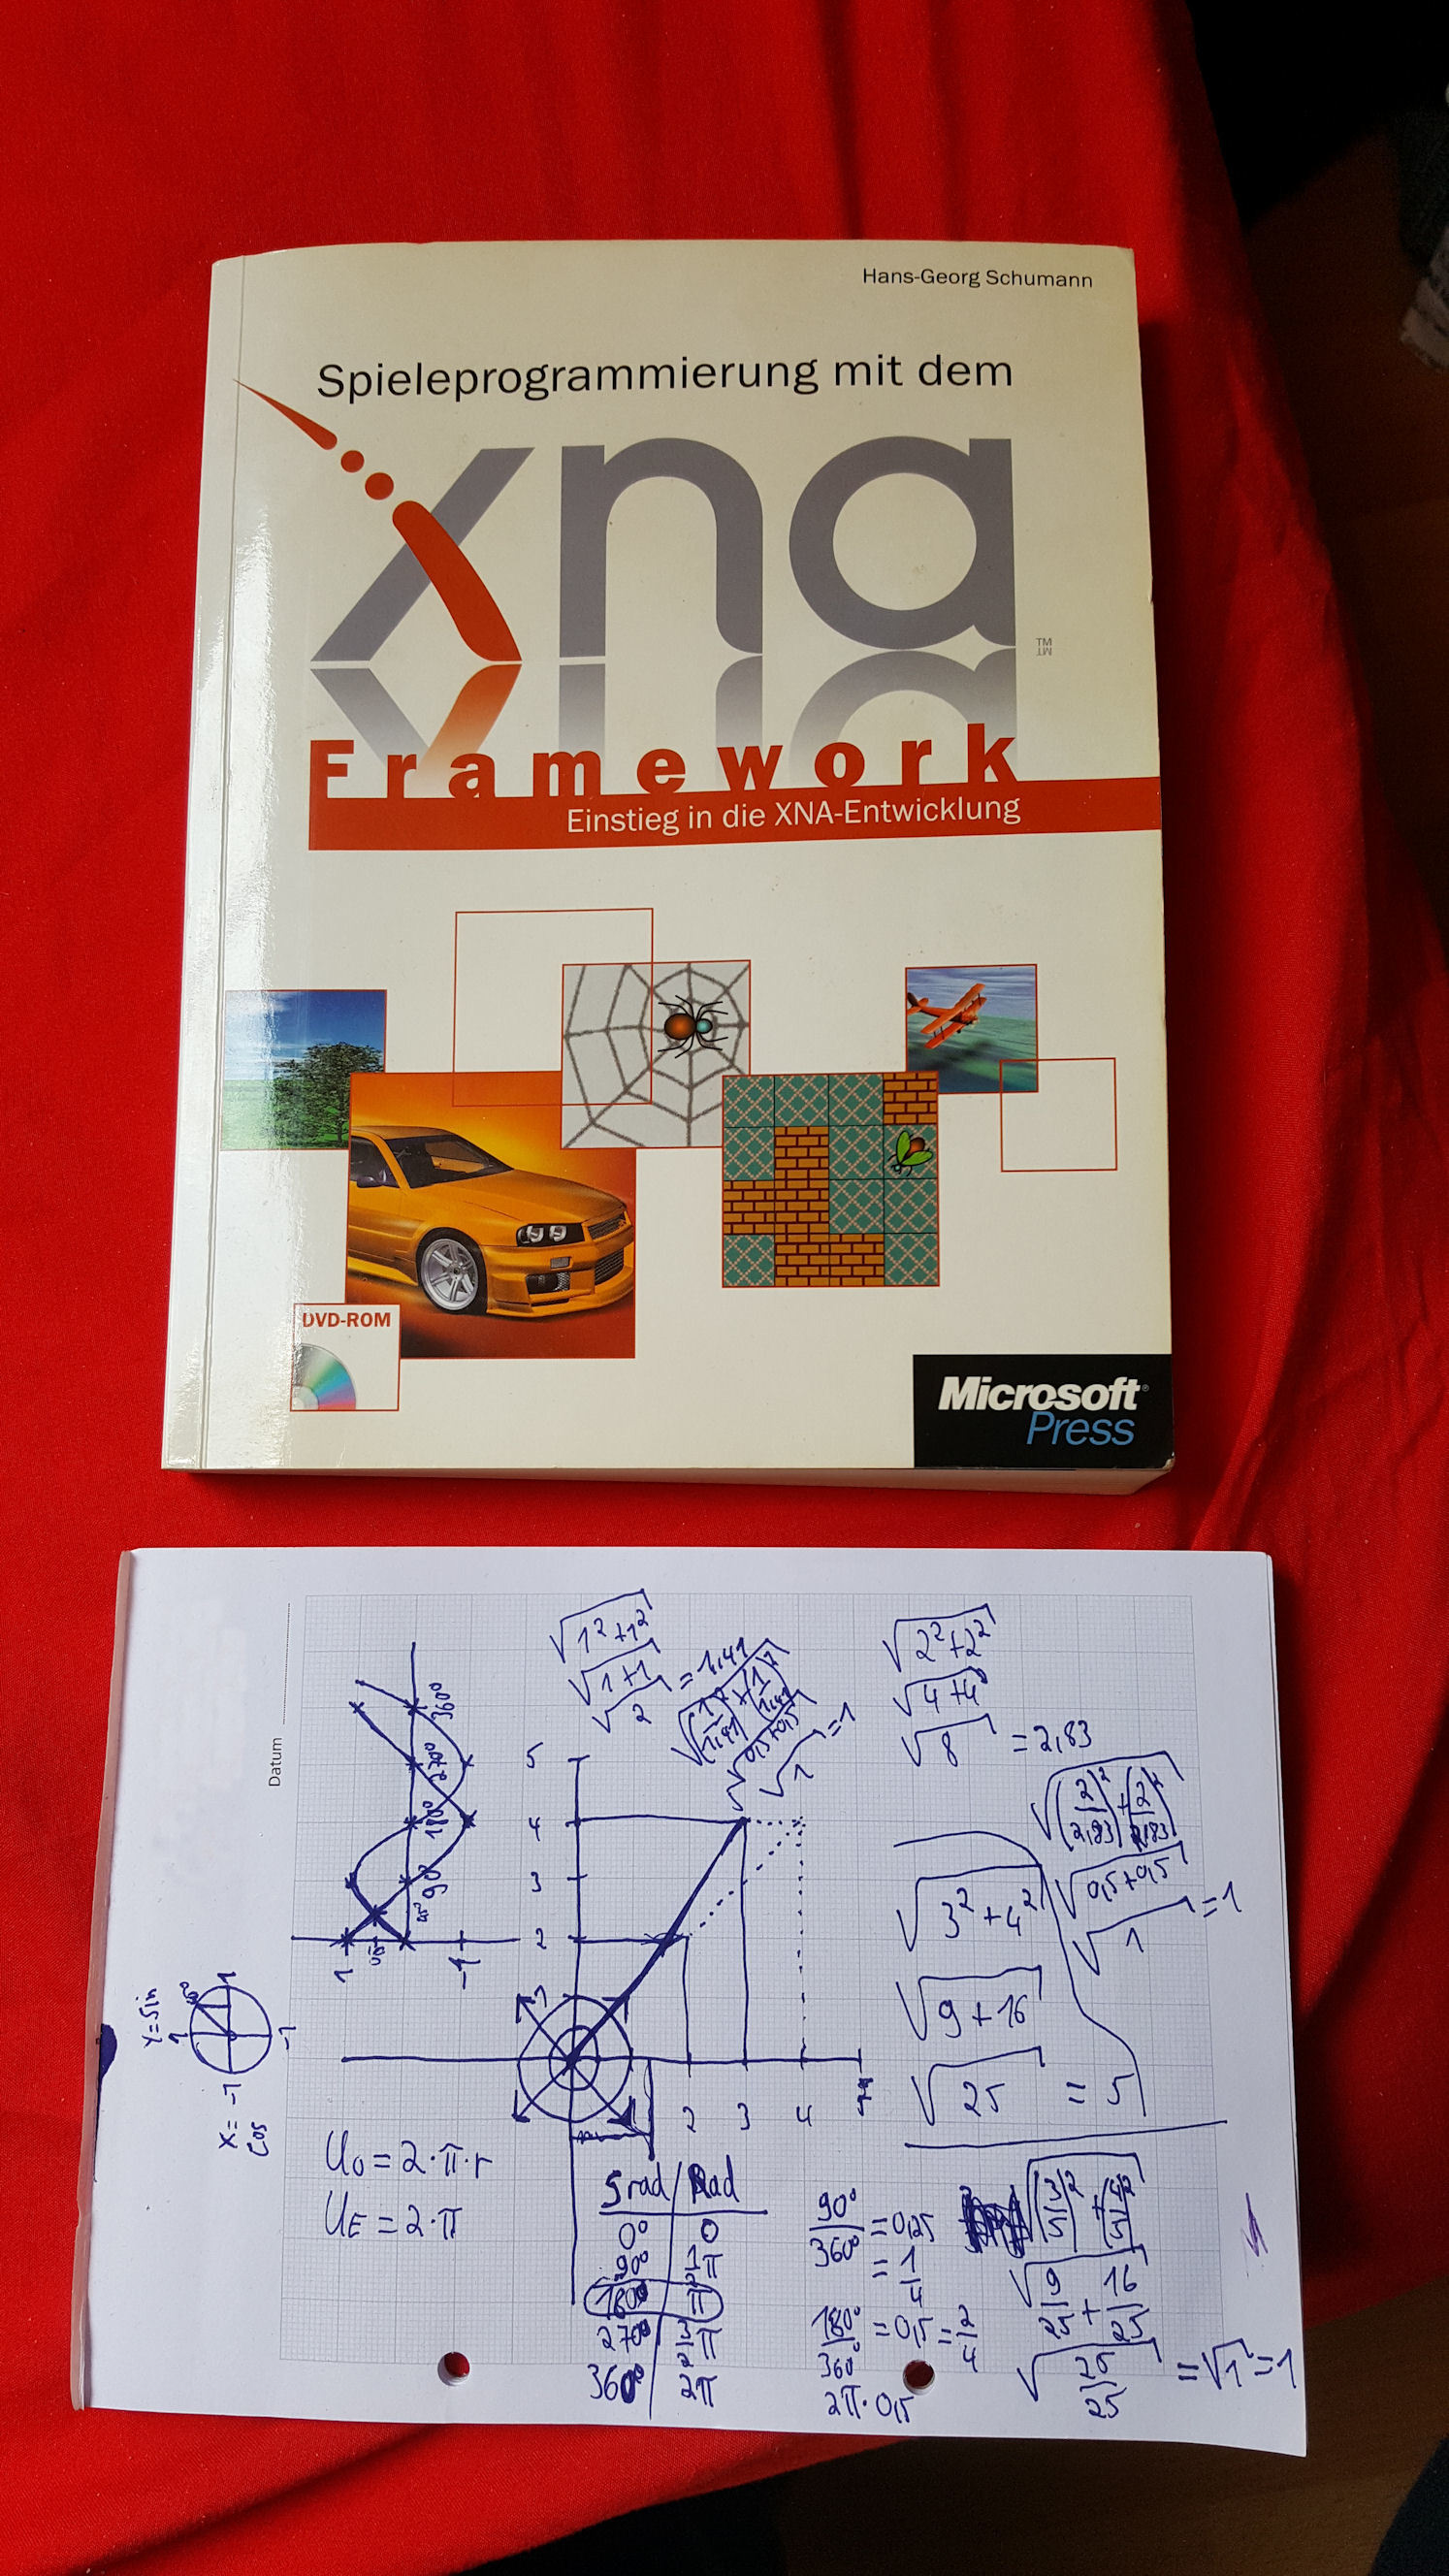
 The book above is the XNA book I mentioned above. It’s slightly yellow now (originally white).