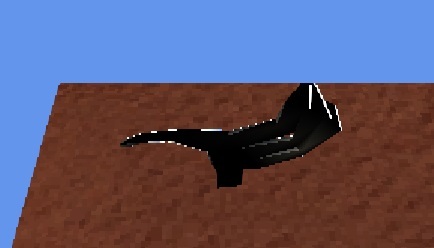
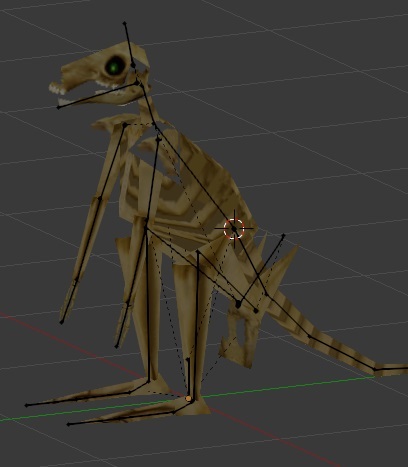
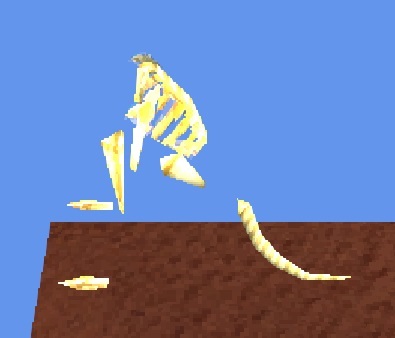
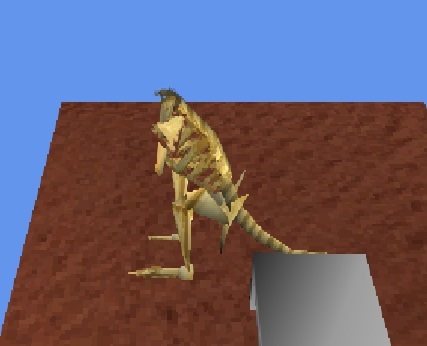
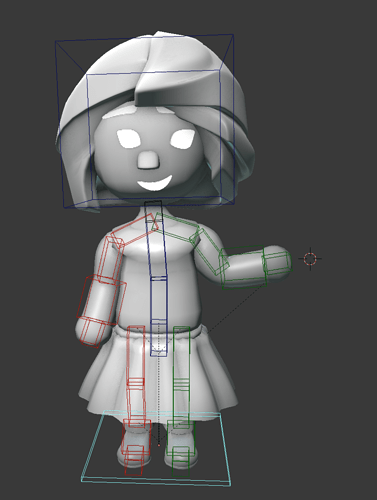
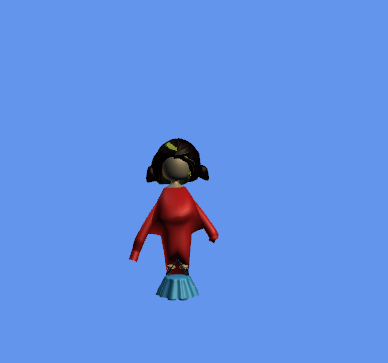
Hi. First and foremost, I want to give shout outs to Alkher and KonajuGames for explaining this entire process to me. A slight disclaimer: this tutorial is in no way written by a professional on the subject. It’s entirely possible I used the wrong terminology at points, or missed explaining why something is done. I hope the images I’ve included clear up any confusion.
I recently had a need to get 3D .fbx animations into my game. However, all the information I could find on the subject was either outdated or didn’t work for me for one reason or another. I’ve also seen many people in my situation, so now I’ll do my best to show how to add the Skinned Model Processor into MonoGame.
I will be using MonoGame 3.5 for this, as well as SkinningSample_4_0.
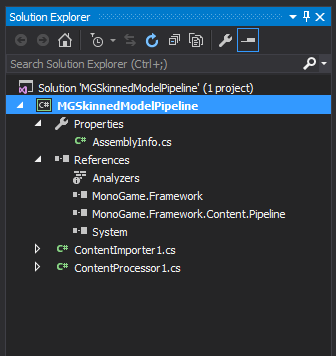
First off, you’ll need to create a new MonoGame Pipeline Extension Project in Visual Studio. I called my project MGSkinnedModelPipeline
Your Solution Explorer will look like this.
Now, you’re going to need to right-click your solution, and go Add > New Project, and create another MonoGame Pipeline Extension Project. I called mine MGSkinnedModel. This project will contain the class definitions used by MGSkinnedModelProcessor.
This should be your Solution Explorer now.
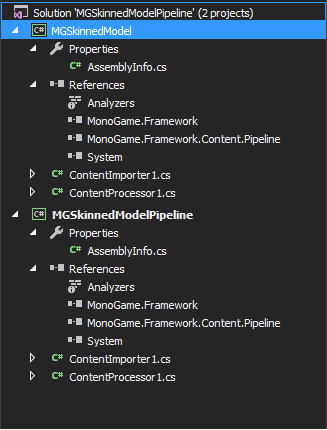
MGSkinnedModelPipeline will need to know about MGSkinnedModel, so right click it’s References and Add Reference > Projects > MG Skinned Model.
Now, the next step is rather easy. Remove the .cs files from both projects, and then add the .cs files from XNA’s SkinningSample_4_0 to their respective project (SkinnedModelPipeline’s go to MGSkinnedModelPipeline; SkinnedModel’s go to SkinnedModel). Also, you can go ahead and remove the MonoGame.Framework.Content.Pipeline reference from MGSkinnedModel as it doesn’t need it.
Your Solution Explorer should look like this:
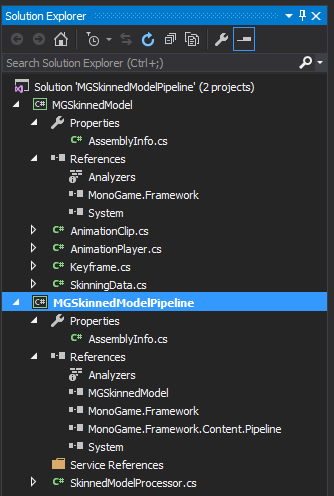
Now, for a very minor code change. Open SkinnedModelProcessor.cs and add the following instead of line 29:
[ContentProcessor(DisplayName = "Skinned Model Processor")]
The pipeline tool will then use this name when you’re selecting processors.
Now, there’s still one more step. Be sure that your project is saved, then right click on both projects and set their Target framework to be .Net Framework 4.5.
Check that your Configuration Manager has both projects compiling to either Any CPU or x64, and then build the project! You shouldn’t get any errors (great!). You’re now ready to add the new processor to MonoGames pipeline tool.
Open your real game project and then open its Content.mgcb file.
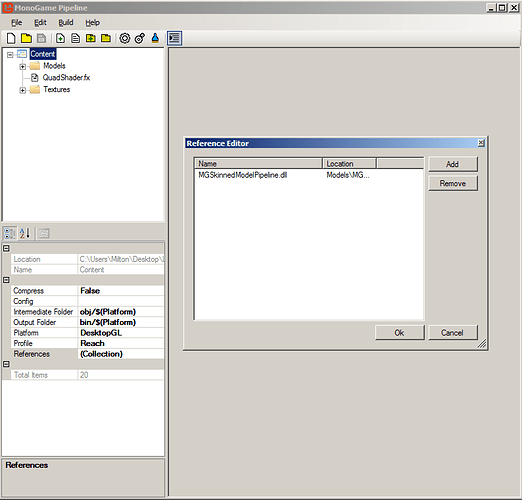
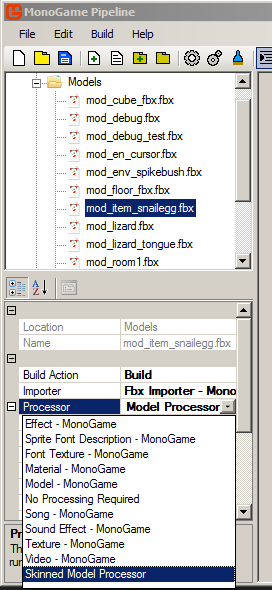
Click Content, then in References you’re going to add the MGSkinnedModelPipeline.dll that your build generated. You should now be able to select it as a processor for your imported .fbx’s (you may need to close and re-open the tool before it appears):
Hooray! Your project can now import animated models! In order to draw them, have a look at how the SkinningSample project included in XNA’s SkinningSample_4_0 does it. Don’t forget to include your MGSkinnedModel project in your game project (and remember to have it reference it).
 I may need in a near future
